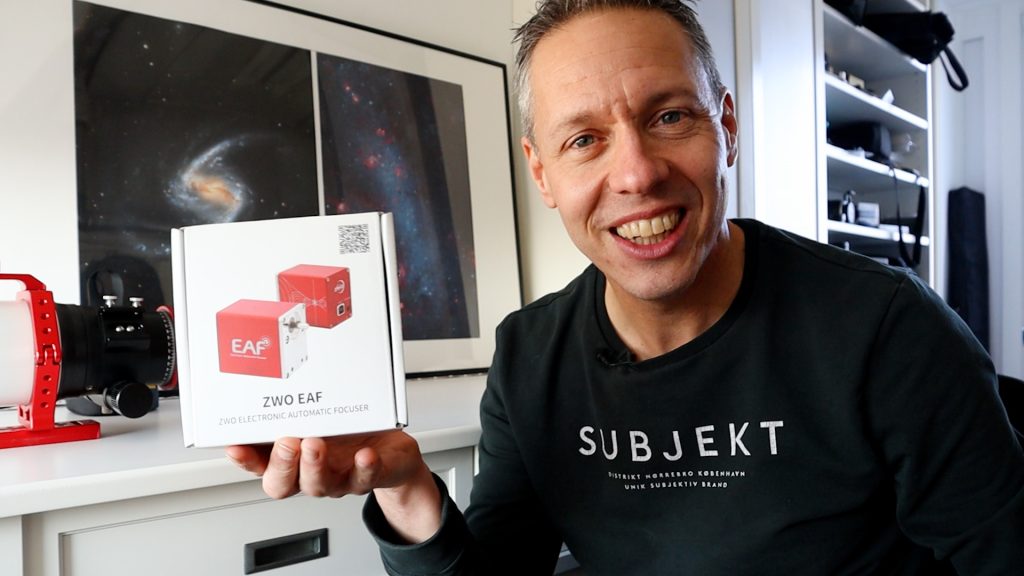
When I first heard about the new ZWO CAA Rotator, I couldn’t resist and got one to test it out on my FF80 telescope. I still had an EAF that I bought but never installed, and the idea of fully automating my imaging sessions was exciting. In this blog, I’ll take you through the process of installing and using both tools, and share how they performed under the stars.
Why Automation Matters
I’ve always thought it romantic to manually focus my telescope and rotate my camera on my telescope under a starry sky to frame that perfect shot of my favorite deep-sky objects. But let’s face it—on cold winter nights, standing outside and making tiny adjustments is far from comfortable. Switching filters also adds complexity, as it can throw off focus, especially when you’re switching between broadband and narrowband filters. That’s where ZWO’s new Camera Angle Adjuster (CAA) and Electronic Auto Focuser (EAF) come in. These tools promise to make astrophotography much easier and more efficient by automating the process. Here’s how I set them up and tested them out.
The CAA Rotator is available at ZWO (WW), High Point Scientific (USA/WW), Agena Astro (USA/WW), and Astroshop (EU/WW).
The EAF is available at ZWO (WW), High Point Scientific (USA/WW), Agena Astro (USA/WW), and Astroshop (EU/WW).
Setting Up the ZWO CAA Rotator and EAF
Installing the ZWO CAA Rotator
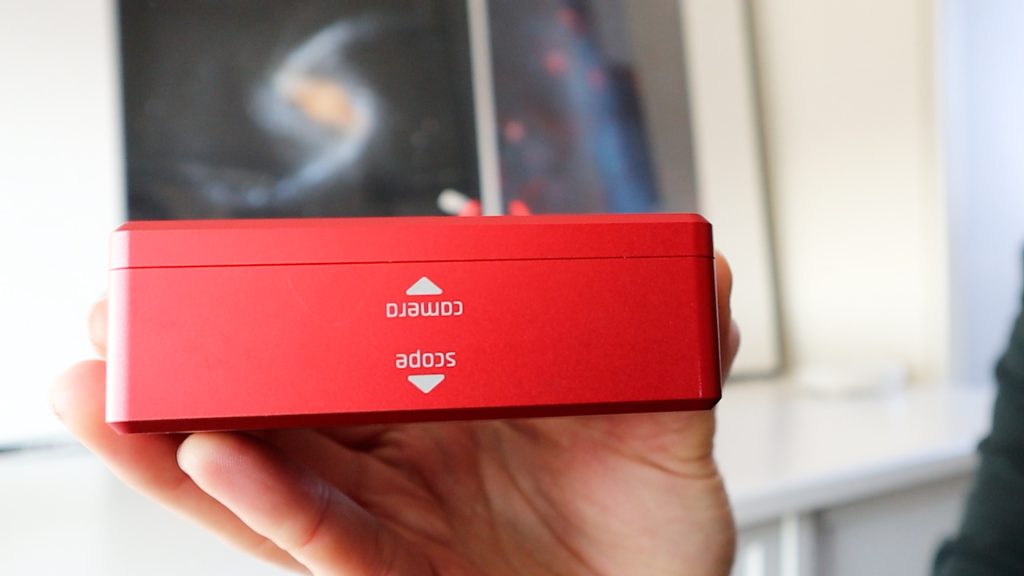
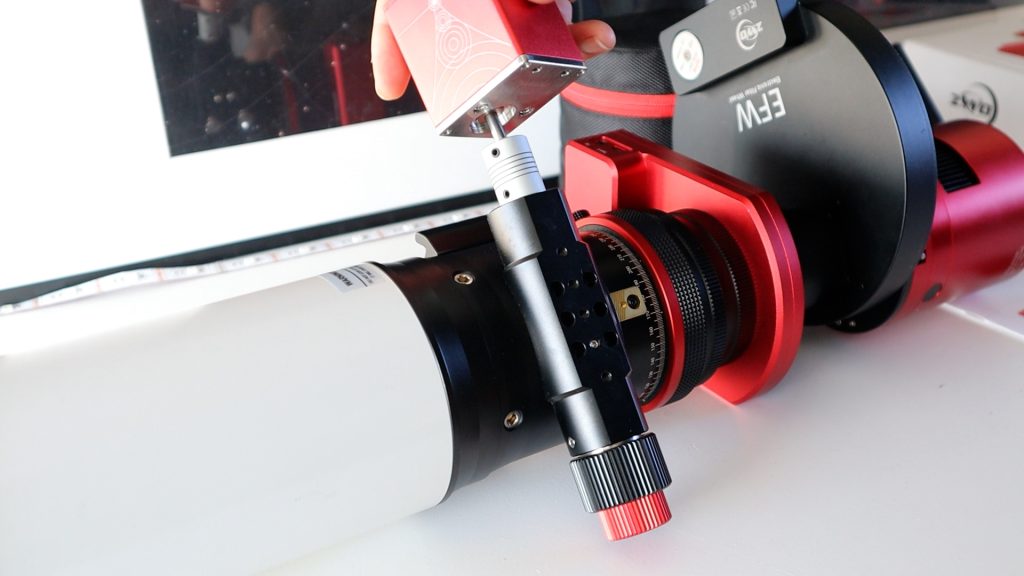
Setting up the rotator was really simple. It comes as a single piece of hardware, with clear arrows indicating which end should be connected to the telescope and camera. I installed the rotator by rotating it—pun intended—to the thread of my FF80 telescope until it locked onto my telescope.
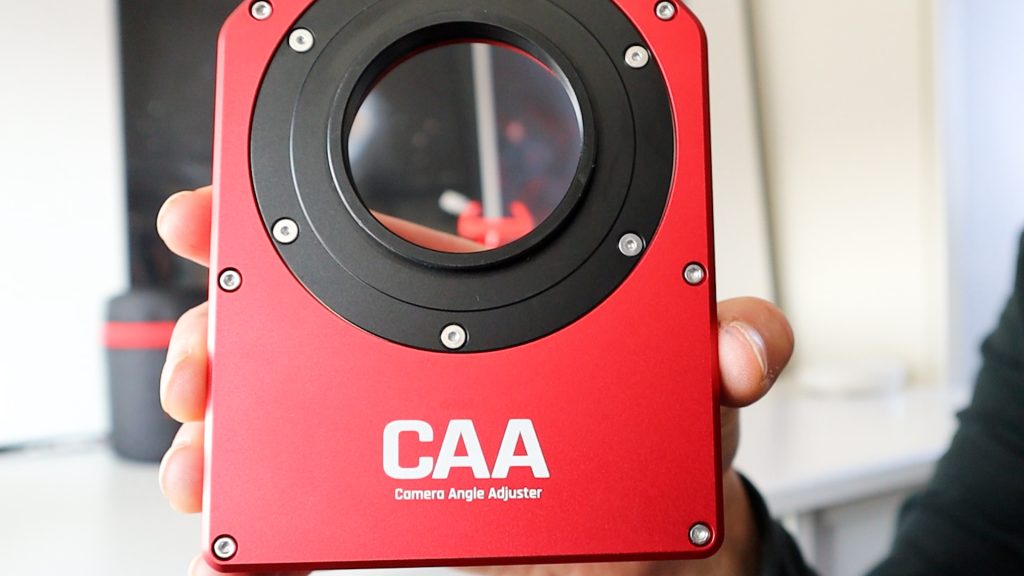
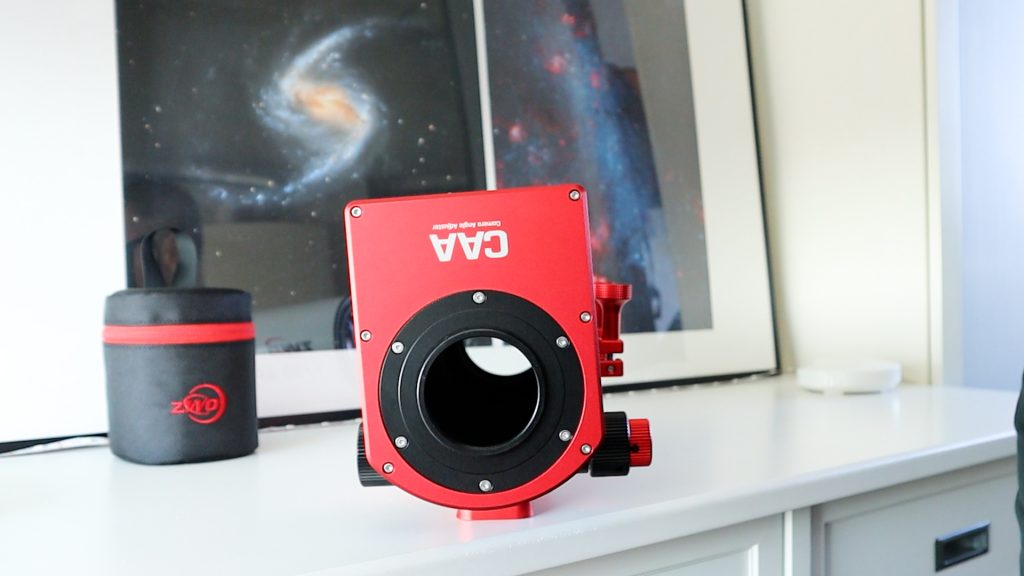
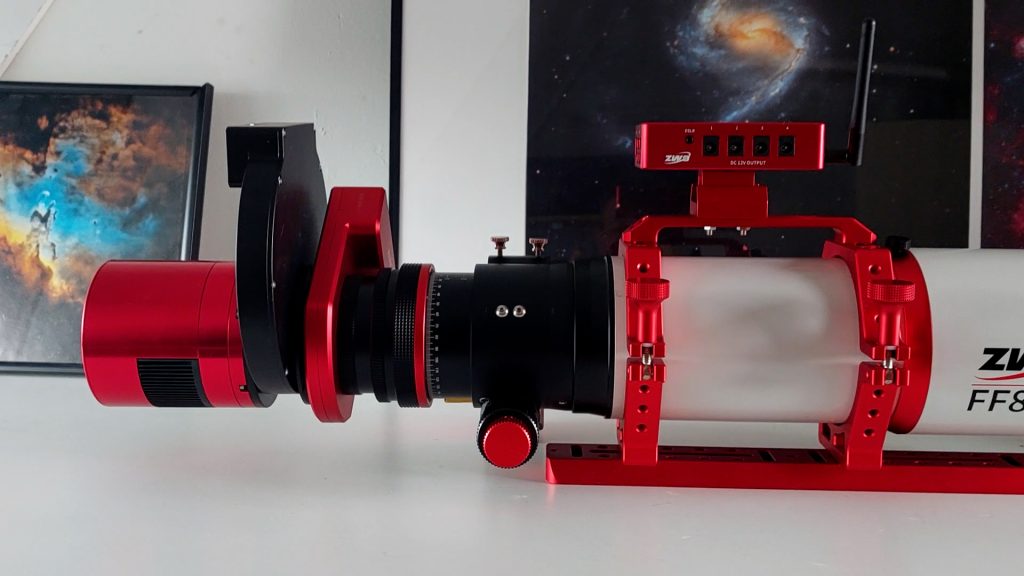
The camera side has an M54 opening, which fits large-diameter cameras like the ASI2600MM/MC DUO or AIR (see picture below on the left). If you have a smaller APS-C-sized format camera, like my ASI2600MC Pro, you’ll need an M54-to-M48 adapter. So, what I did was first thread the CAA rotator to my FF80 telescope. Next, I put an M54-to-M48 adapter in place. For some folks, this could also be your field flattener if you have a triplet refractor. After that, I threaded my filter wheel in place and attached my camera to the filter wheel. All in all, it only took about a minute.
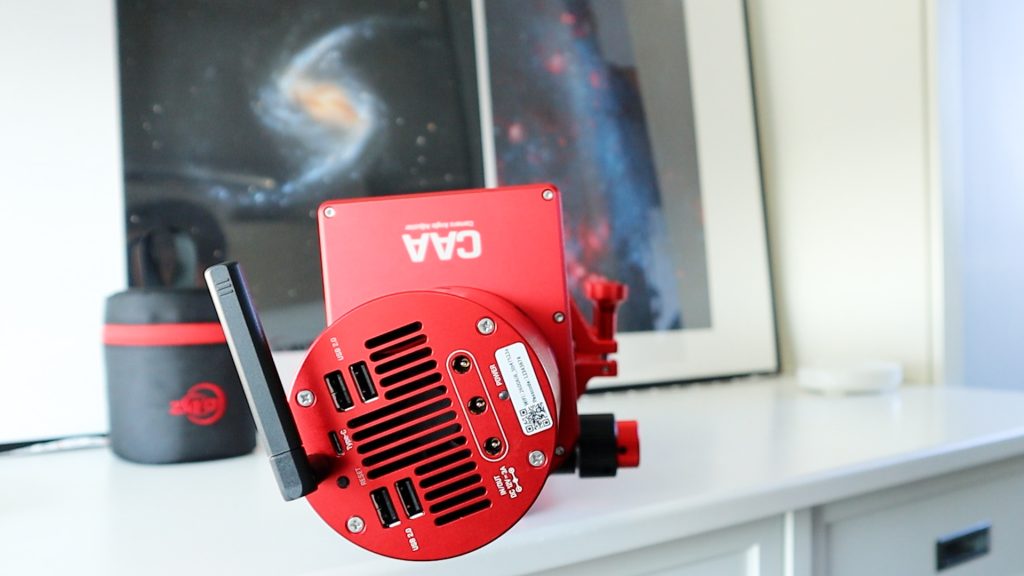
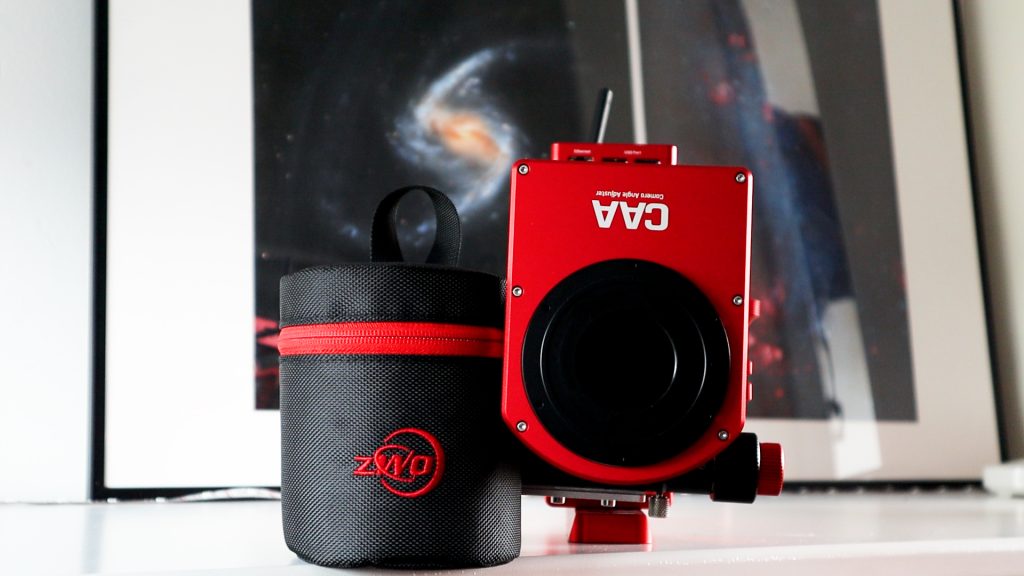

ZWO promises 0.02-degree accuracy, and while it is compact and lightweight, it can still carry 5 kg or 11 pounds of payload capacity. The rotator speed is 7.5 degrees per second, so it takes about 48 seconds for the rotator to complete one full rotation. I recommend doing a full rotation with the setup to ensure that the rotator doesn’t interfere with any other gear you’ve installed on your astro rig. There’s a USB-C output to connect the rotator to the ASIAIR Plus or your favorite mini-PC. And yes, there is also an ASCOM driver available.
Installing the ZWO EAF
Setting up the EAF was a bit more hands-on, but the process was straightforward. Here’s how I did it in four steps:
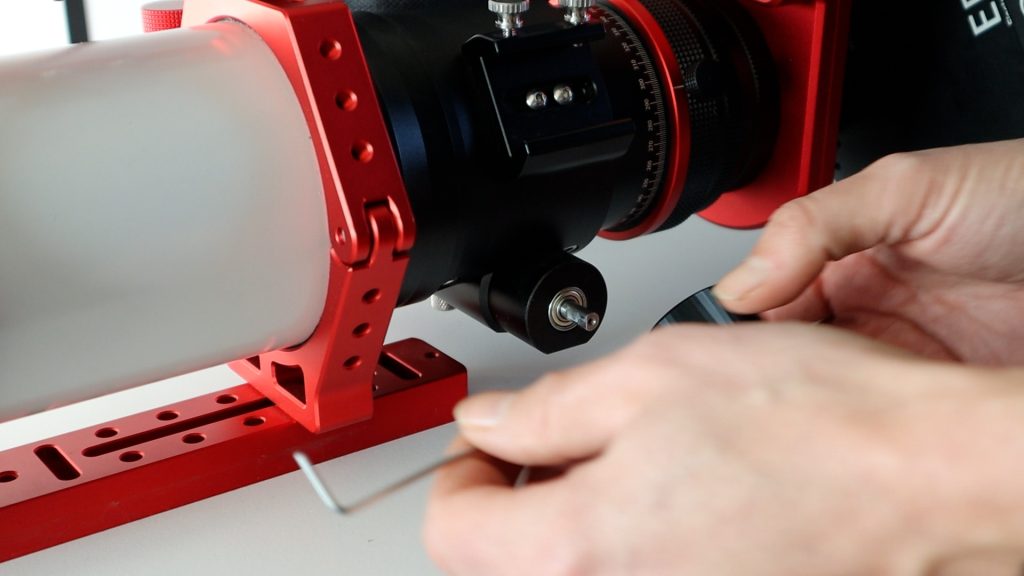
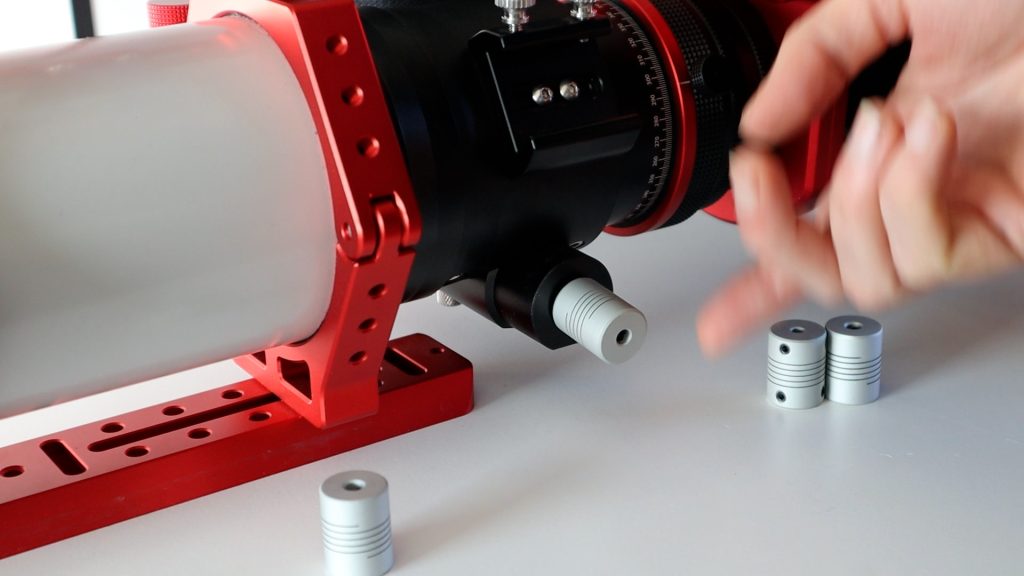
Removing the Manual Focuser: I used the included wrench to remove the coarse adjustment knob from my telescope. Choosing the Right Coupling: The EAF comes with four flexible couplings. After testing each one, I found the best fit for my telescope’s focuser shaft and attached it, tightening the lock screws.


Mounting the EAF: I connected the EAF body to the coupling and secured it with the provided screws. Then, I loosly attached the EAF’s bracket to the telescope’s focuser with the extra screws available, and tightened everything after I made sure I had achieved a good fit.
With everything set up, I was ready to connect the EAF and CAA rotator to my ASIAIR Plus and test whether these changes truly enable a fully automated astrophotography experience.
Connecting the CAA Rotator to the ASIAIR Plus
Once everything was physically set up, I opened the ASIAIR app to configure the CAA Rotator. Here’s what I did:
- Firmware Update: After connecting the rotator, I updated the ASIAIR firmware to ensure compatibility. The new CAA icon appeared in the app menu.
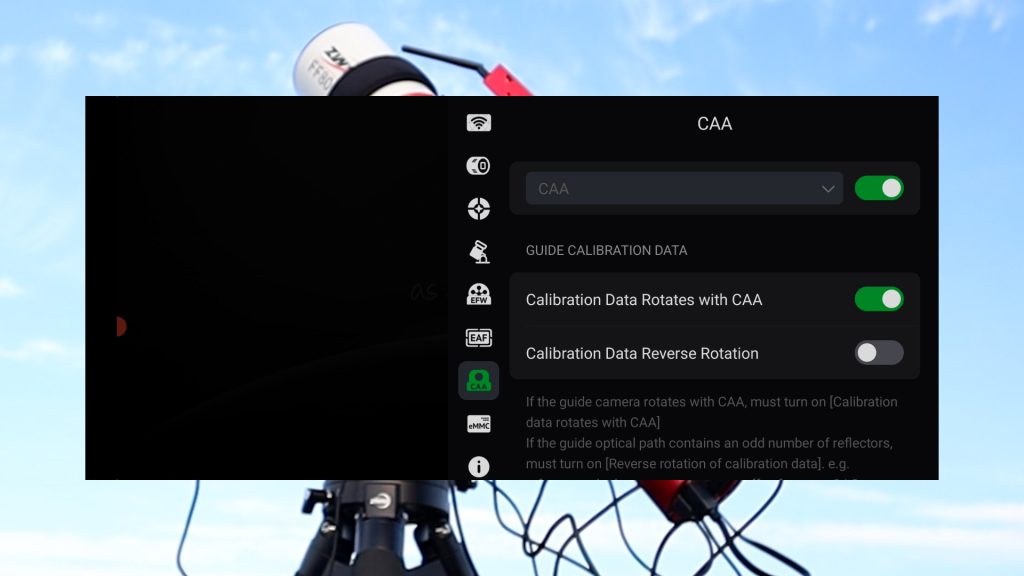
- Guide Camera Considerations: The app prompted me to check whether my guide camera would rotate with the CAA. If you’re using an off-axis guider or a dual-sensor camera like the ASI2600MC DUO, the guide camera will rotate along with the CAA. In this case, you need to enable the “Data Rotates with CAA” option. If you have an off-axis guider, you should probably also switch on “Calibrate Data Reverse Rotation”.
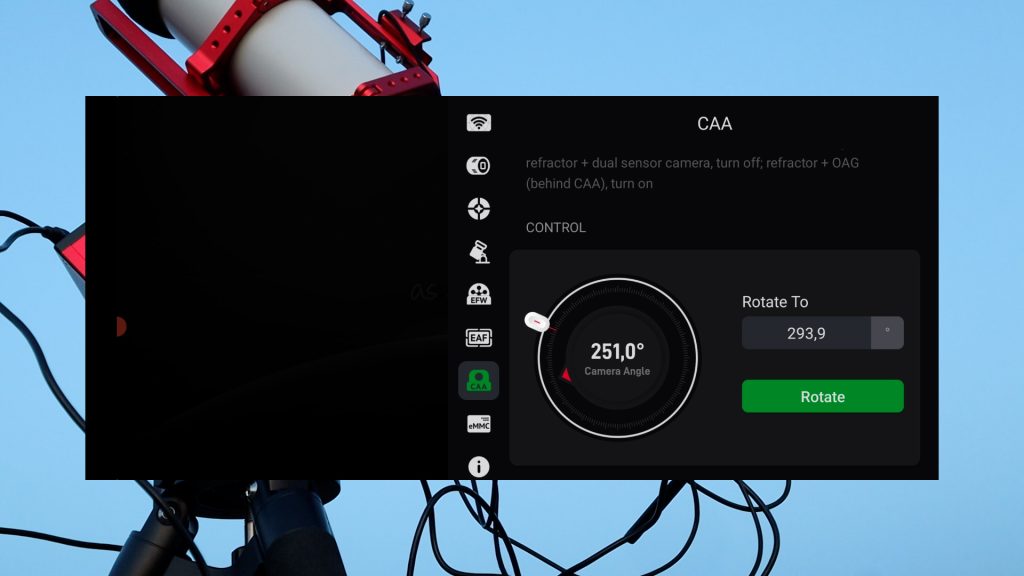
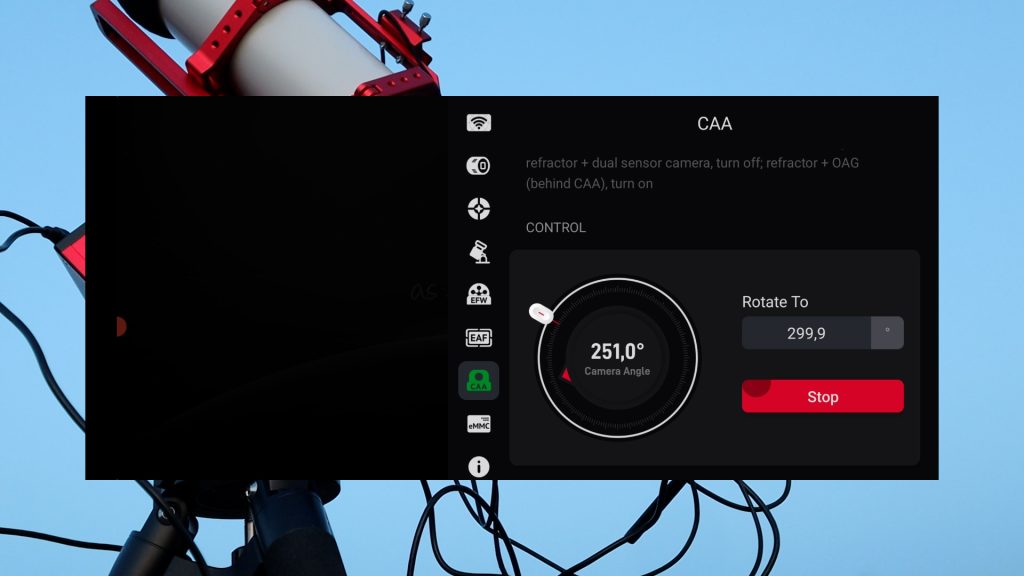
- Testing the Rotator: I adjusted the rotator’s position using the app and confirmed that it moved smoothly without any issues. As a precaution, I recommend doing a full rotation to check for potential obstructions in your setup.
For the EAA, I left everything at default for my first night. This meant the EAF would autofocus before starting an imaging session (e.g., autorun) and after switching between filters. Alternatively, you can set the EAF to focus at regular time intervals or when the temperature drops by a certain number of degrees, as temperature changes can also affect your focus.
Testing the ZWO CAA Rotator and EAF Under the Stars
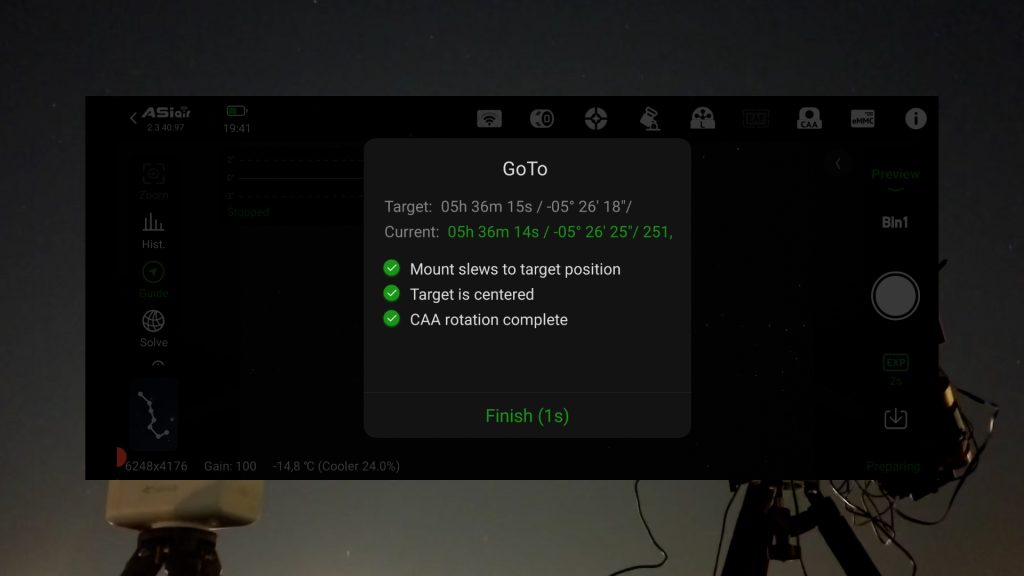
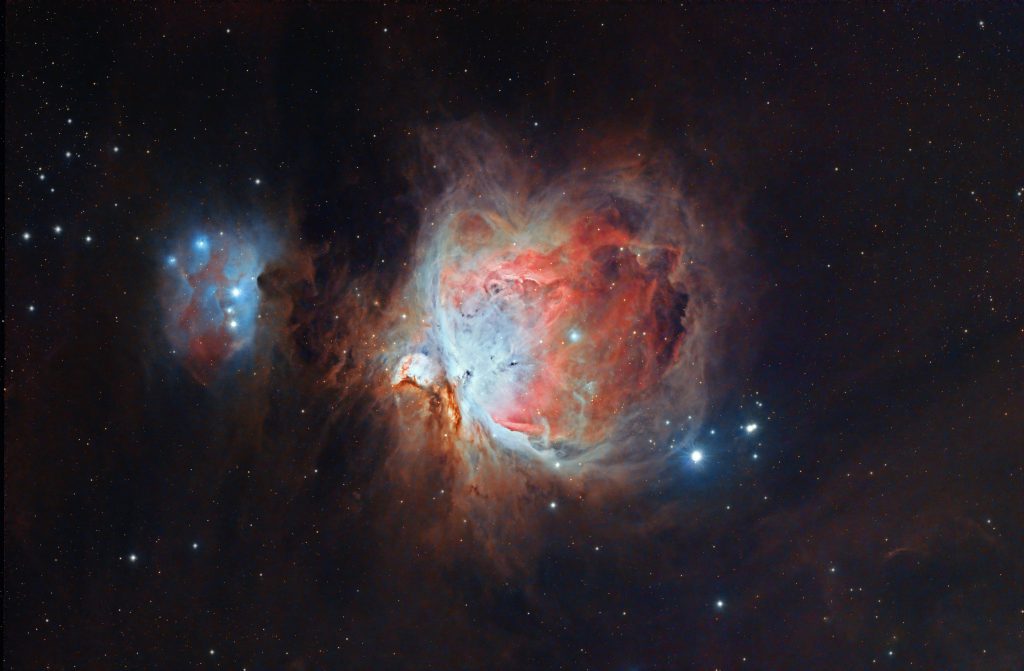
With everything set up, it was time to test the system on a clear night. After a rough focus and polar alignment of my mount, I used the GoTo function in the ASIAIR app to select the Orion Nebula as my target. However, this time, I did the following: I selected the preview menu, went to image management, and selected one of the photos I captured during a previous imaging session. I hit “GoTo,” and my mount instantly slewed to the object, while the CAA automatically framed it exactly as in the photo I selected. Long story short, this is perfect when imaging across different nights. Simply select a picture from a prior session, and the CAA rotator will frame the object exactly the same. This saves a lot of time compared to manually rotating your camera to match a photo from the previous session, which is great.
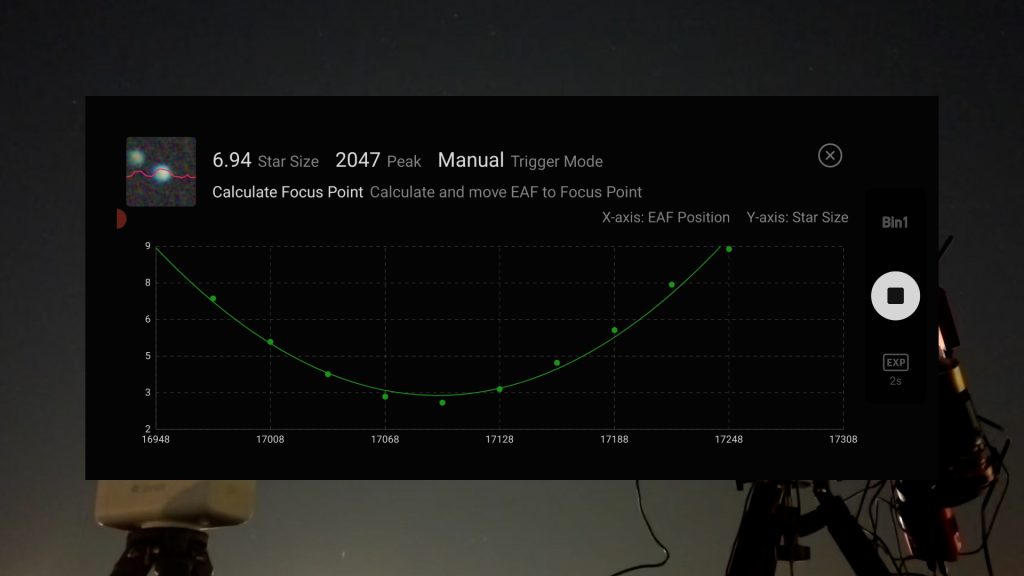
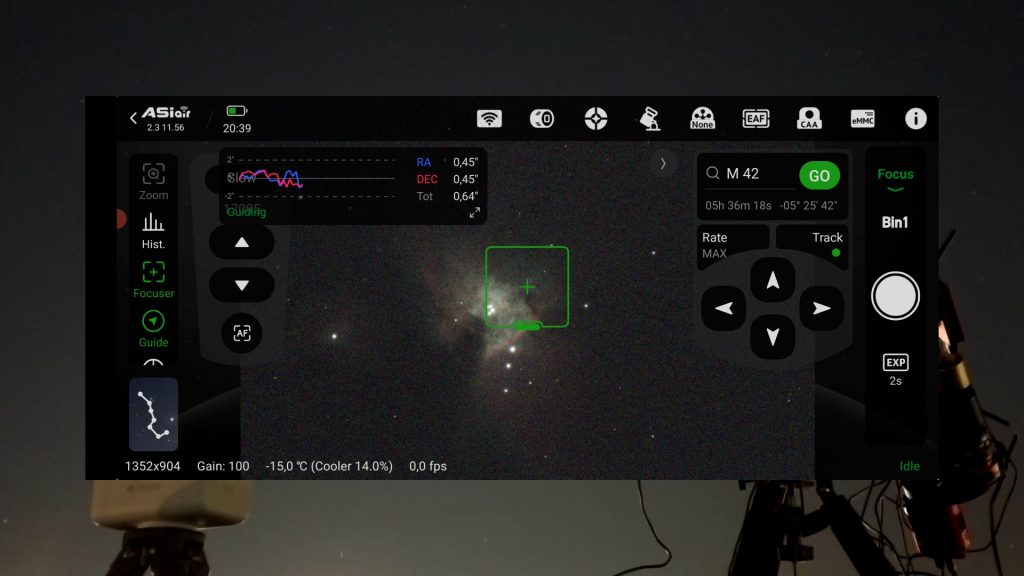
Before starting the imaging session, I noticed the autofocus system performing its focusing routine, which also worked like a charm. It achieved focus using 2-second intervals in just a minute or two. I did change the exposure time to 5 seconds while focusing in combination with my narrowband filters to ensure enough light reached the camera sensor for a reliable measurement of the star diameter.

I captured the Orion Nebula in H-alpha and combined it with my RGB data from an earlier session. The data matched up very well. I processed the photos in PixInsight. Here’s my picture, and please note that I’m imaging under heavily light-polluted Bortle Class 8 city skies. You can probably do a lot better if you live under darker skies.
The CAA Rotator is available at ZWO (WW), High Point Scientific (USA/WW), Agena Astro (USA/WW), and Astroshop (EU/WW).
The EAF is available at ZWO (WW), High Point Scientific (USA/WW), Agena Astro (USA/WW), and Astroshop (EU/WW).
Final Thoughts
The ZWO CAA Rotator and EAF truly transform the astrophotography experience. The automated setup made the entire process much smoother and more enjoyable. If you already own an EAF or another electronic focuser, adding the CAA Rotator for around $200 is a fantastic way to fully automate your setup. It’s especially useful for remote imaging or reducing the time spent outside on cold nights.
While nothing compares to the satisfaction of being under the stars, the convenience of automation is hard to overlook. Whether you’re imaging from a dark-sky location or a light-polluted city, this setup helps you capture stunning images with minimal effort.
Have you tried automating your telescope setup? I’d love to hear about your experiences in the comments below.
Clear skies!
Wido
Thanks for review.