The budget smart telescope market is getting crowded. After the Seestar S50 and S30, ZWO developed two “Pro” versions with the Seestar S30 Pro and S50 Pro. While everyone was awaiting a rumored Seestar S70, ZWO did something unexpected and released the NEW affordable Seestar S30 PLUS (~ $499). Is this the new best budget telescope on the market? Let’s find out…
Unboxing and Technical Specifications
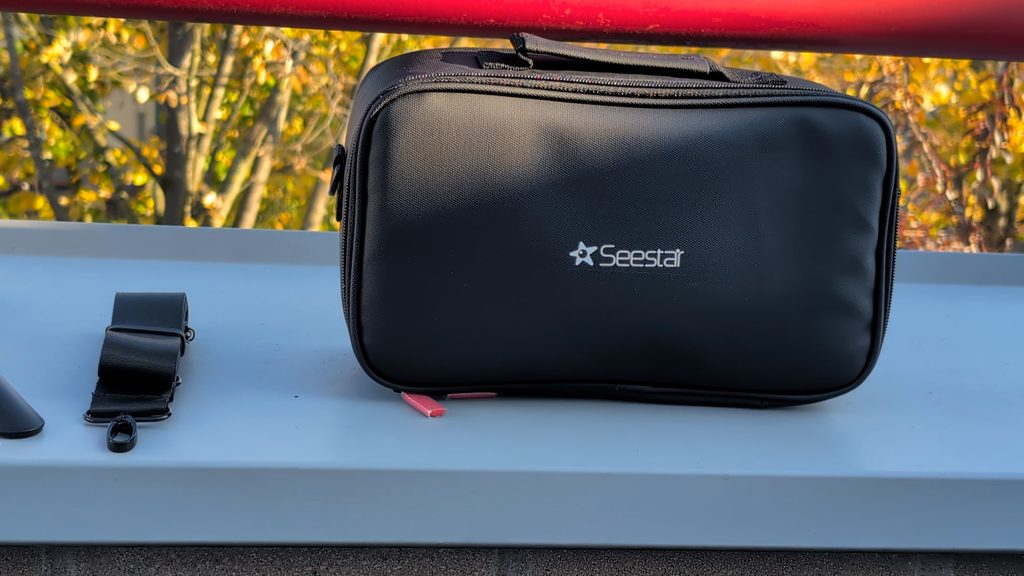
My Seestar S30 plus arrived with a nice strap-on bag, a small tripod, a magnetic solar filter and a usb-c cable
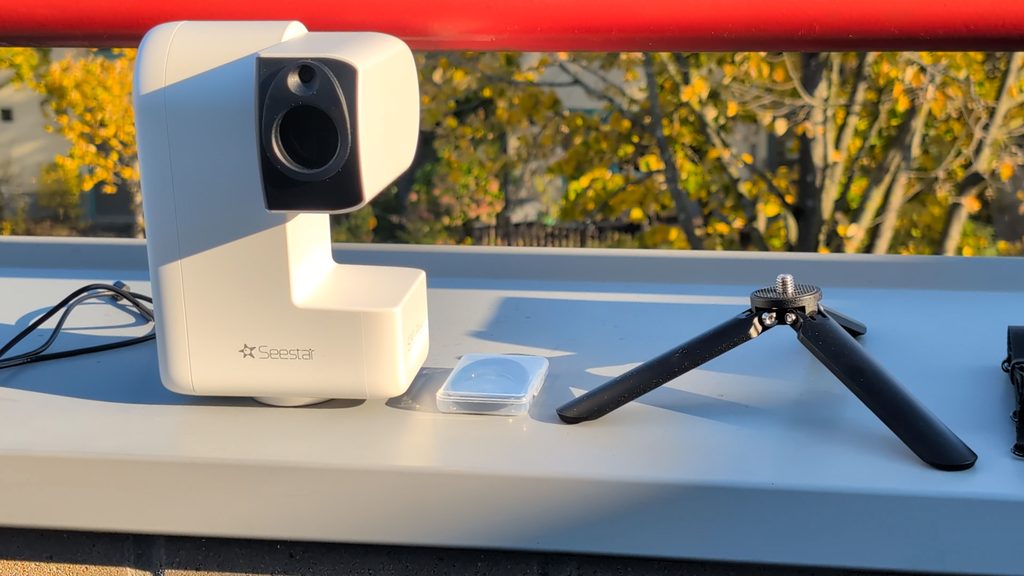
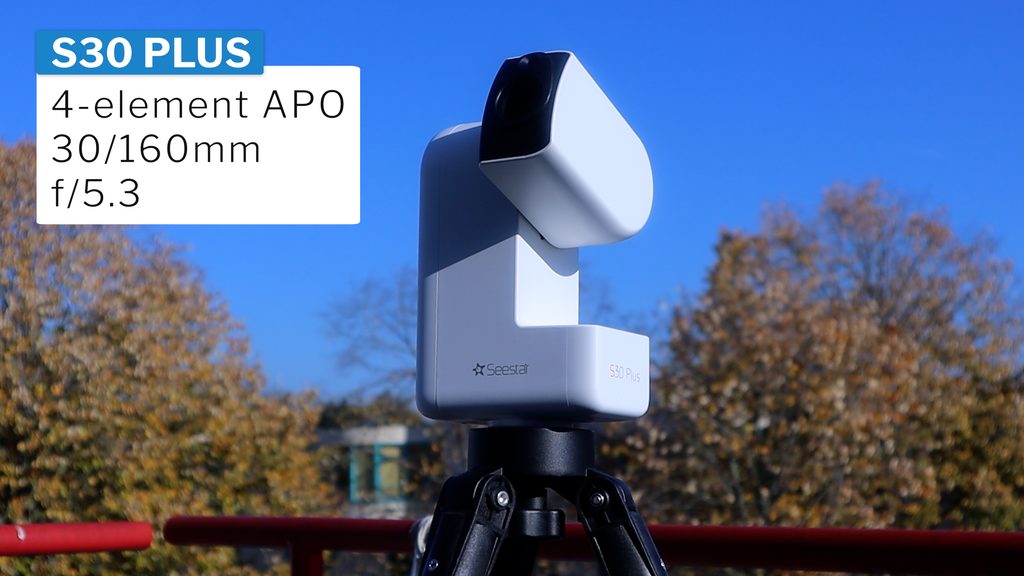
The Seestar S30 Plus features a 4-element apochromatic refractor telescope with a 30mm aperture, a 160mm focal length, at a fast f/5.3 focal ratio.
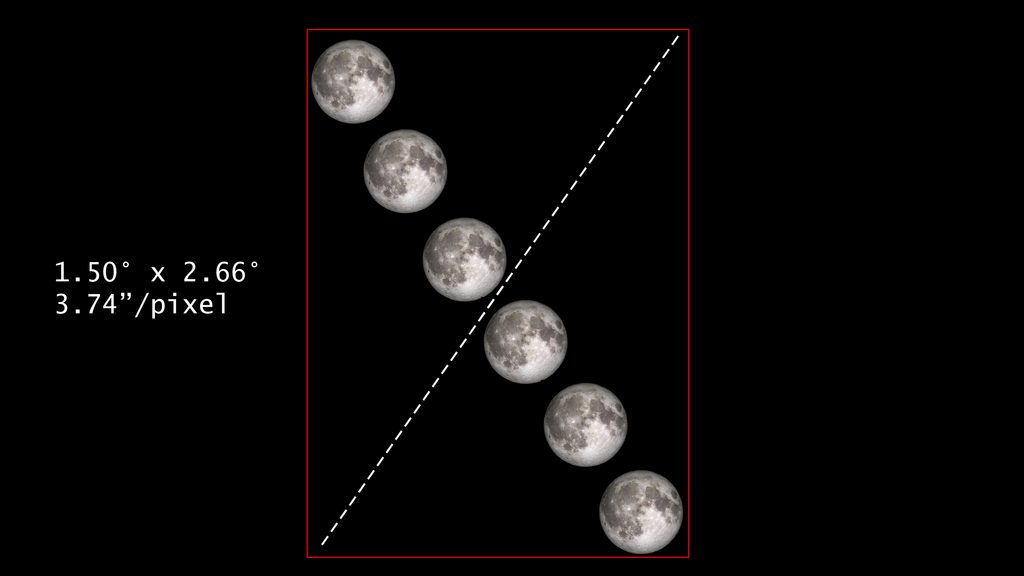
Incoming light from the refractor is captured in 2K resolution at 1440 by 2560 pixels with a SmartSens (SC485SL) camera sensor. SmartSens is a global security camera manufacturer and its cameras are known for their exceptional low-light and dynamic CMOS sensors. This combination gives you a 3-degree diagonal field of view of the night sky—that’s about 6 times the full moon —at an image scale of 3.74 arcseconds per pixel.
A second Sony IMX586 camera sensor serves as a wide-field lens providing a sweeping 43.5-degree view in 2K portrait mode. It’s fantastic for daytime photos and videos, Milky Way and star-trail photography, and acts as a wide-angle finder to effortlessly line up targets before switching to the telephoto lens.
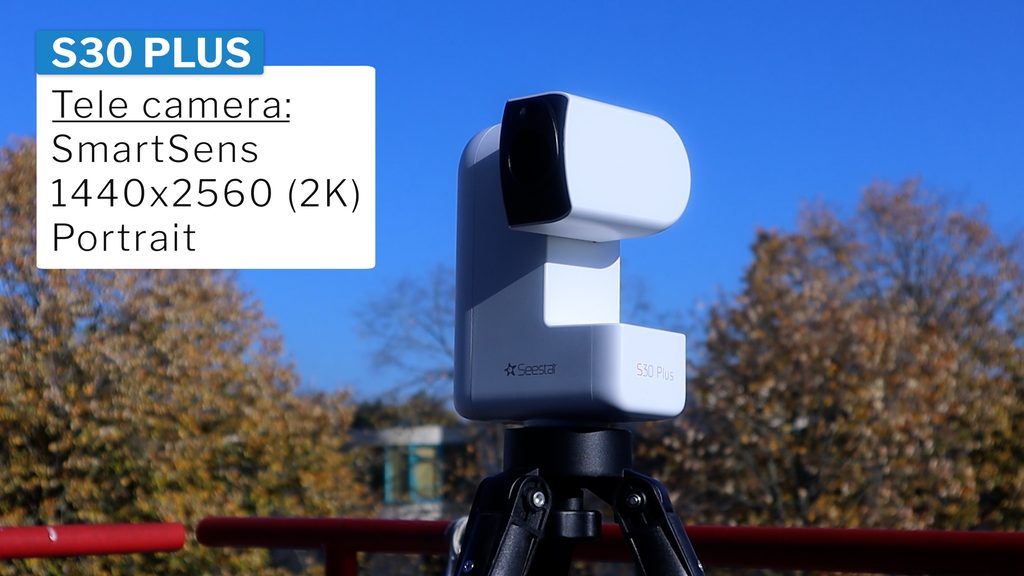
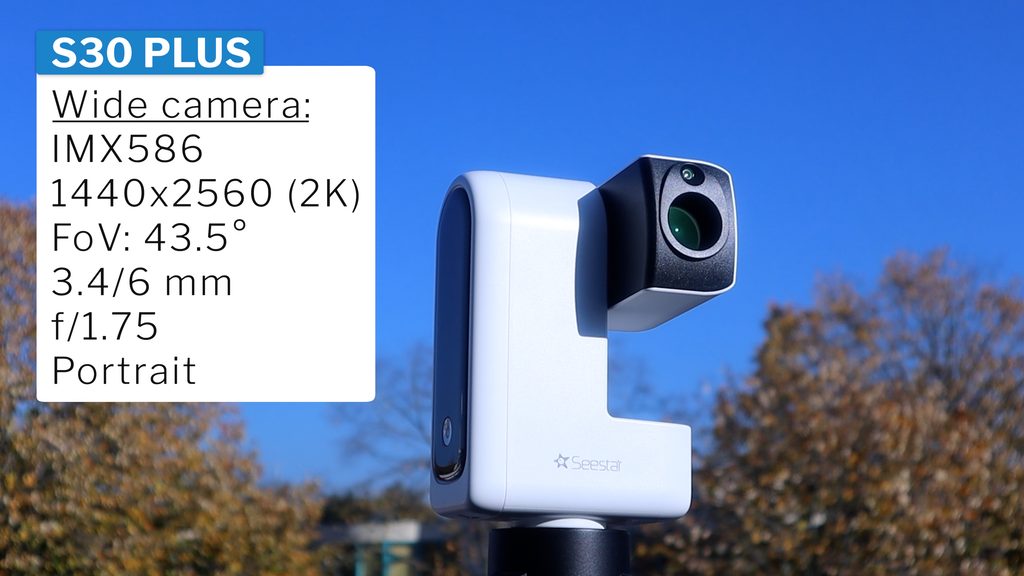
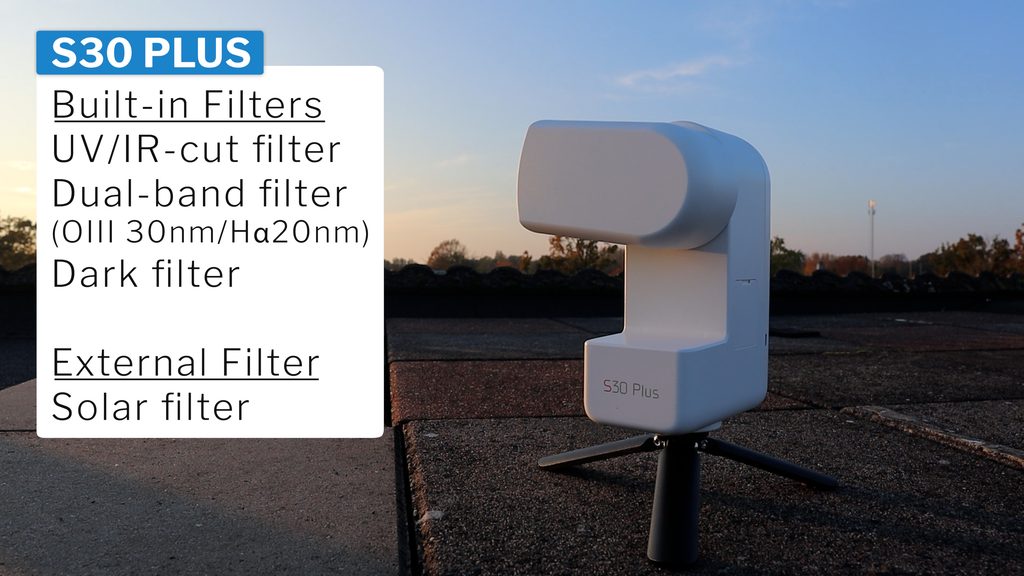
The S30 Plus includes four astrophotography filters: a built-in UV/IR cut filter for standard day and night video and photography, a built-in dual-band Ha/OIII light pollution filter to block urban light pollution and capture light from emission nebulae, a built-in dark filter for taking dark calibration frames to eliminate camera noise, and a clip-on magnetic solar filter for safely capturing the sun.
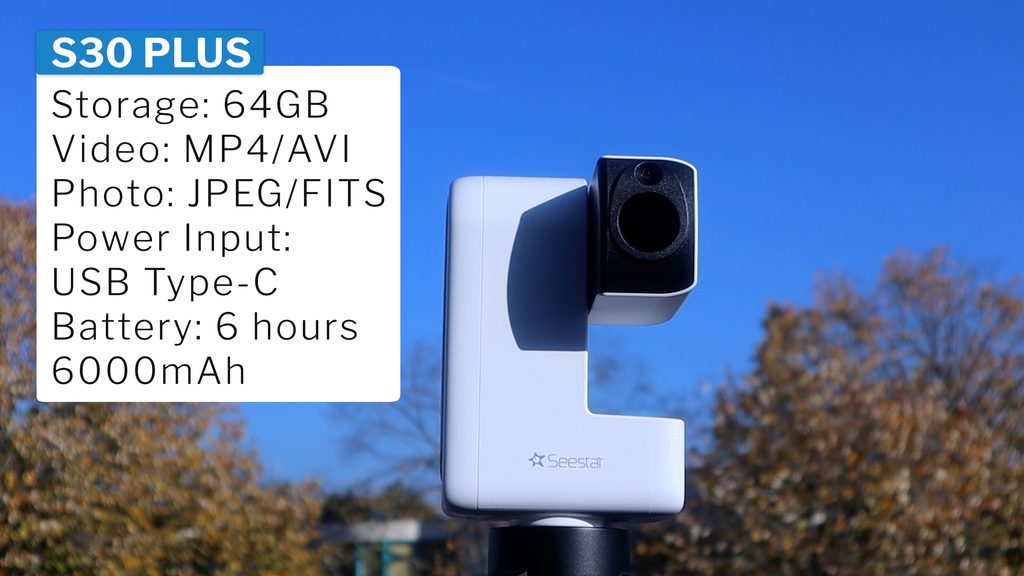
Like it’s S30 predecessors, the S30 plus weighs just 1.65 kilograms at 21 by 14 by 8 centimeters, so it slides easily into a backpack when you plan on traveling to dark skies. It packs 64GB of internal storage—leaving roughly 44GB of free space after system files— which is plenty of space to store your MP4 or AVI RAW videos, and JPEG or FITS images. The S30 Plus is powered by a built-in battery that lasts up to 6 hours, and it can also be easily hooked up to an external power bank with a usb-c cable for all-night imaging sessions.
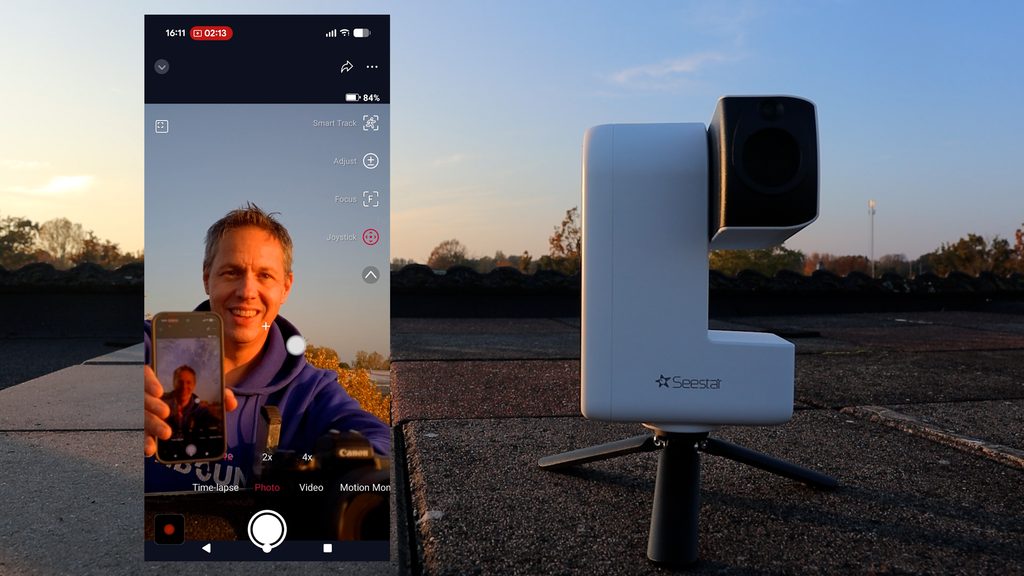
Testing the S30 Plus in alt-az mode on the included mini tripod
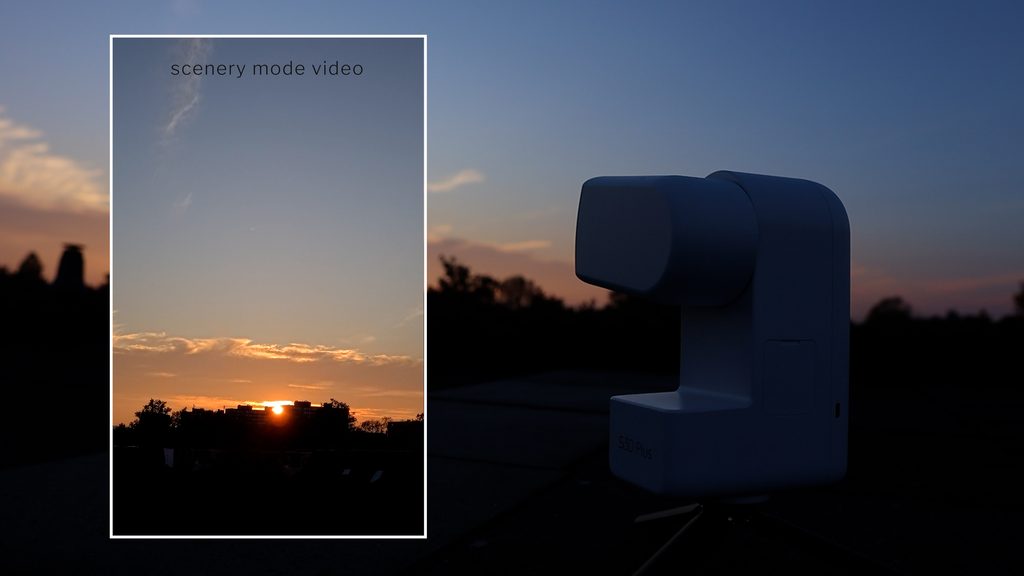
I first selected Scenery mode in the Seestar app to take a video of the sunset through the widefield lens in MP4 format. It worked great, although some clouds kinda ruined the sunset. You can also take photos and timelapses using Scenery mode, and it can even track daytime objects like planes or animals.
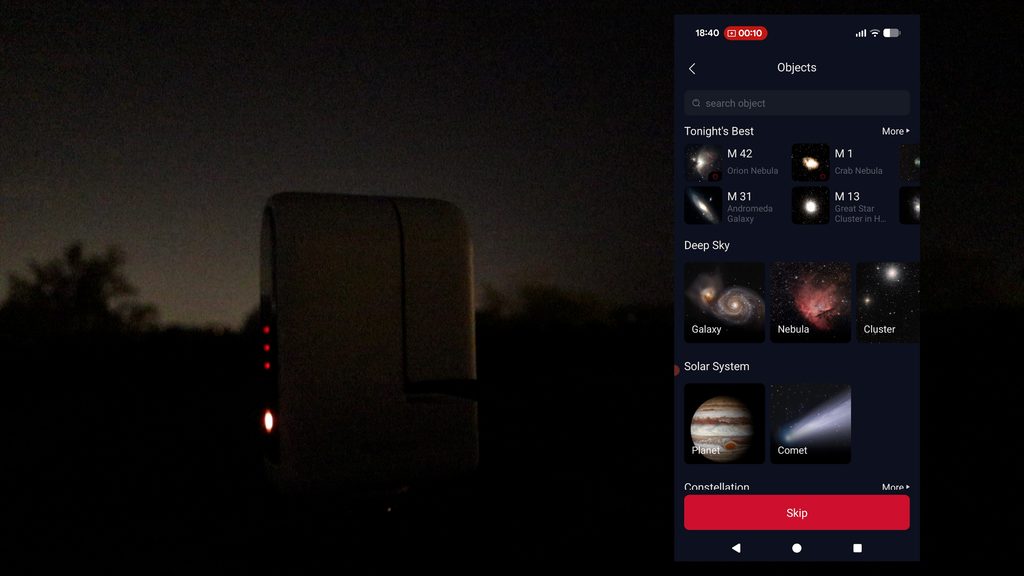
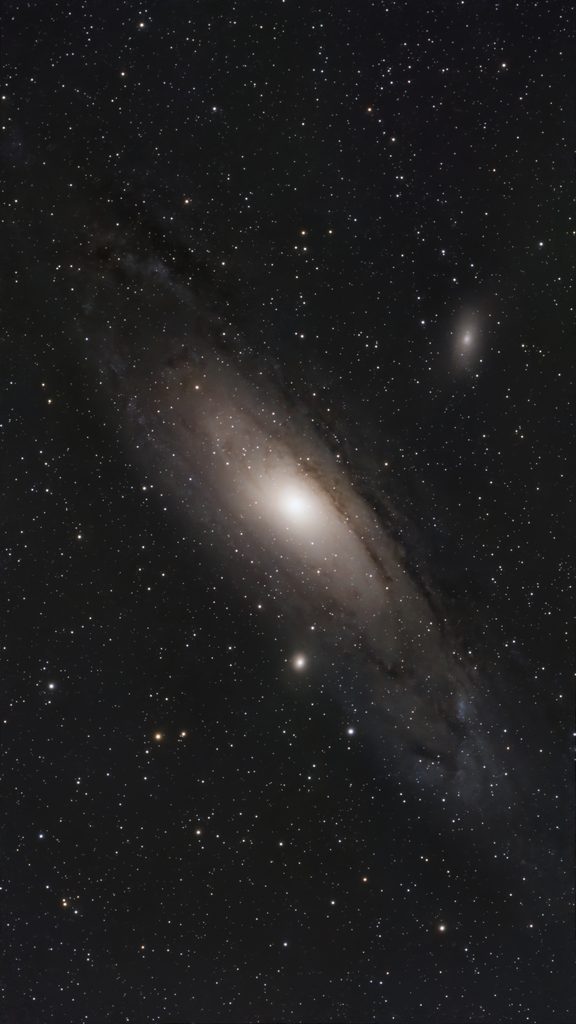
After nightfall, I tapped the Stargazing menu in the Seestar APP, which gives you lots of options to capture objects in the night sky, including lists of galaxies, nebulae, star clusters, and, of course, solar system objects. I decided to image M31 (Andromeda) and M33 (Triangulum) first, which are part of our local group of galaxies about 2 million light-years away. I selected M31 in the Stargazing list, tapped “Go Gazing,” and the telescope automatically calibrated its position, slewed to the object, and started imaging.
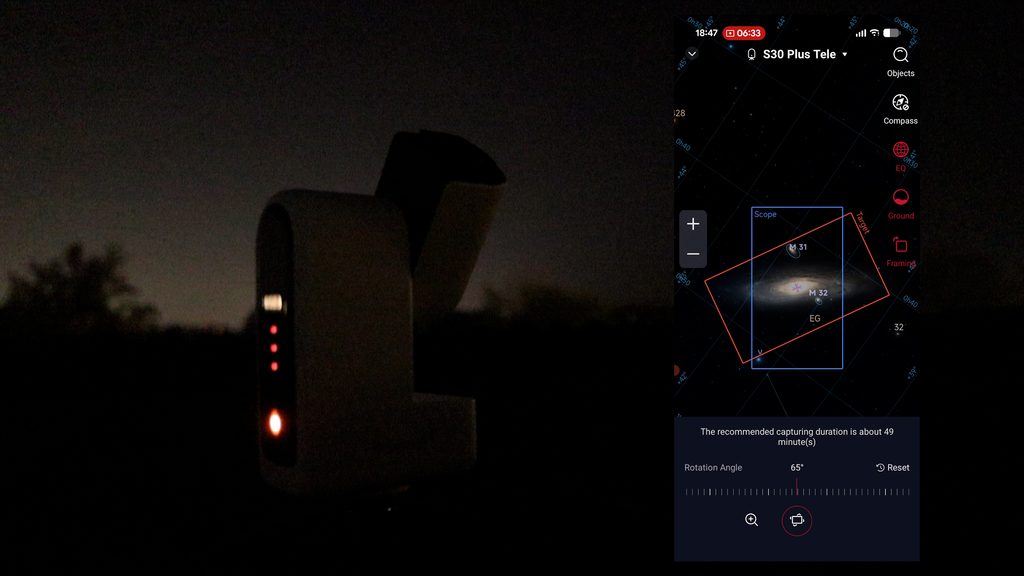
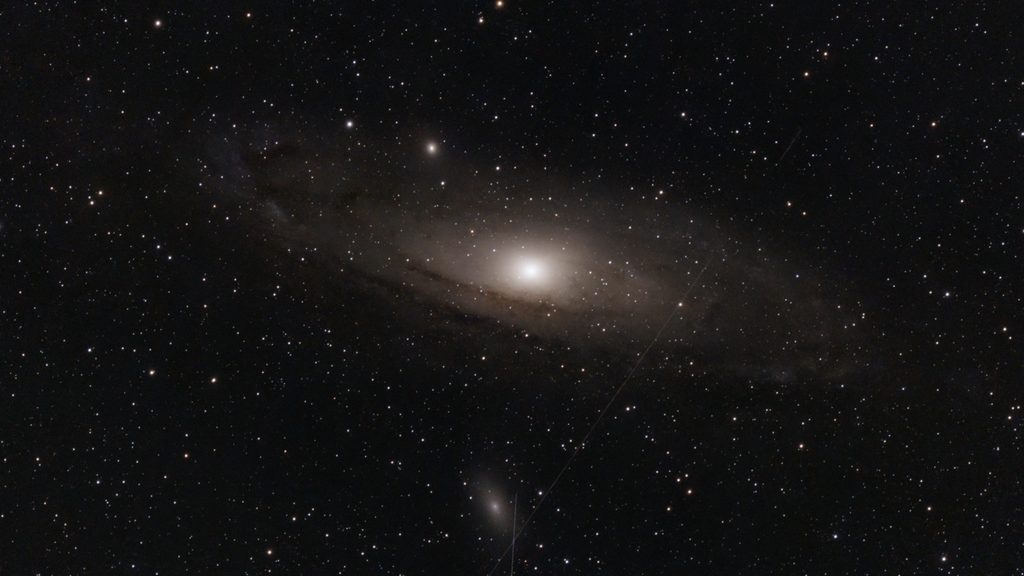
I set the exposure time to 10 seconds—which is recommended when using the S30 Plus in its original configuration to avoid elongated stars. When checking my framing by tapping the virtual sky atlas at the bottom, I saw that M31 was larger than the S30 Plus camera sensor, so I tapped framing, which allows you to enlarge and rotate the framing to your liking. After I was happy with the framing, I let it run for 90 minutes. The S30 Plus started stacking 10-second photos, which improves the picture with every photo you stack. Unfortunately, I got some satellites moving across my image, which I decided to leave in as evidence that Seestar takes real long-exposure photos of your local night sky. You can also see that the Seestar images different parts of the sky and stitches these photos together automatically to create a mosaic image matching the framing I selected for M31.
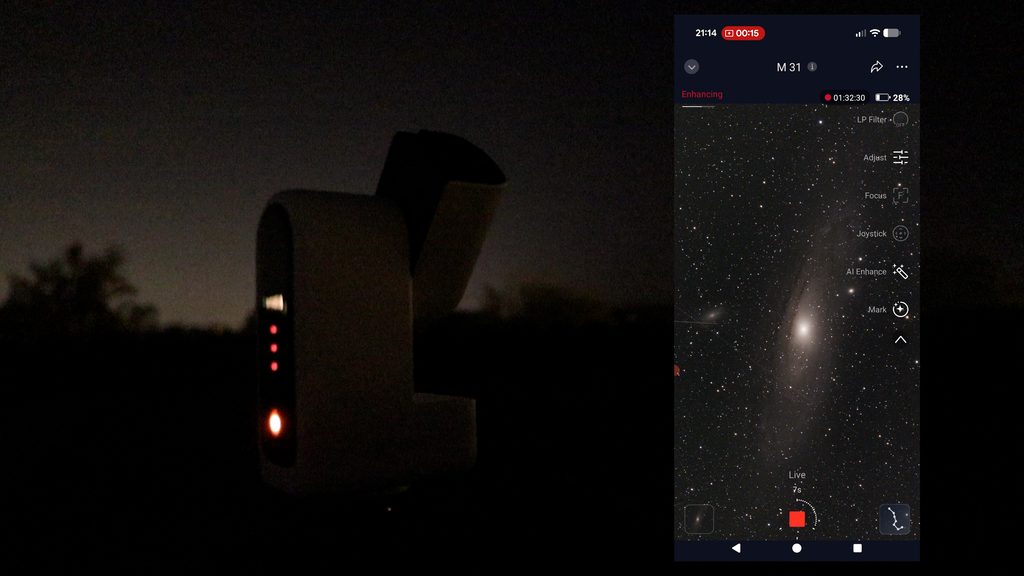
The Stargazing mode of the Seestar app also has an AI enhance feature that lets you frame your stacked image and apply some star reduction to reduce the size of the dominant stars, along with other basic editing features like adjusting brightness, contrast, saturation, and denoise. Here is the original stacked and in-app enhanced image of the Andromeda Galaxy.
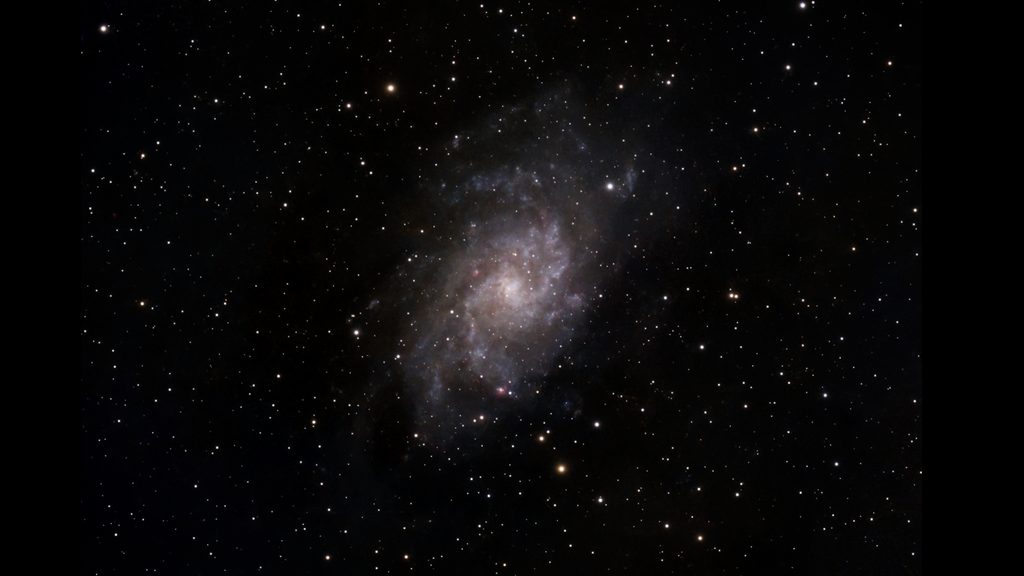
As a second object, I captured M33, the Triangulum galaxy, which is another galaxy that is part of our local group. This galaxy is somewhat dimmer than Andromeda, so I captured it for two hours. Here is the automatically stacked and in-app enhanced image of the Triangulum galaxy I took that night.
Testing The Seestar S30 Plus in EQ mode
You can also setup every Seestar Smart Telescope in equatorial (EQ) mode, for which you need an extra tilt adapter or an EQ wedge. Seestar sells them separately, but I used my Skywatcher EQ wedge along with my (bigger) iOptron tripod on my second imaging night.
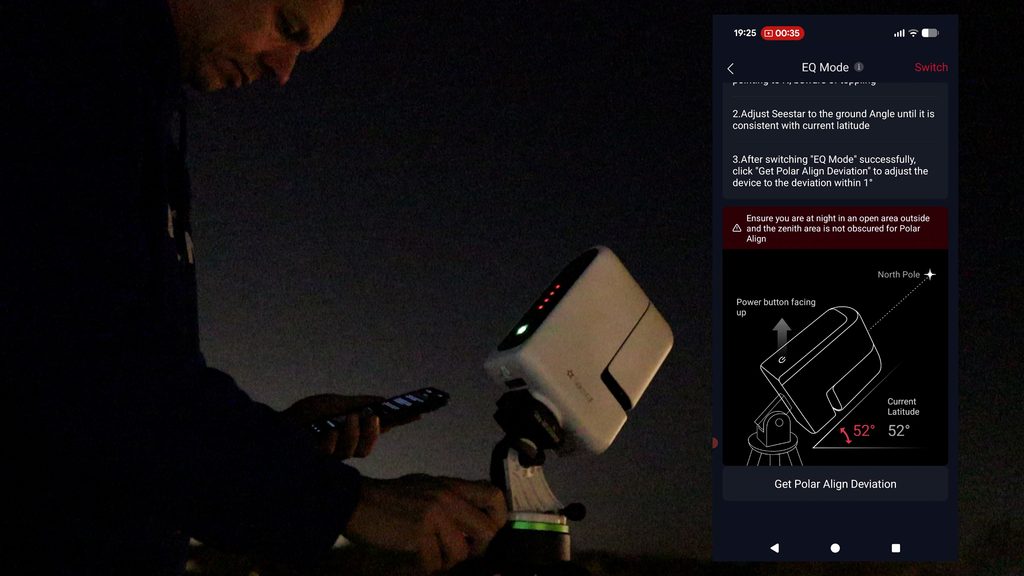
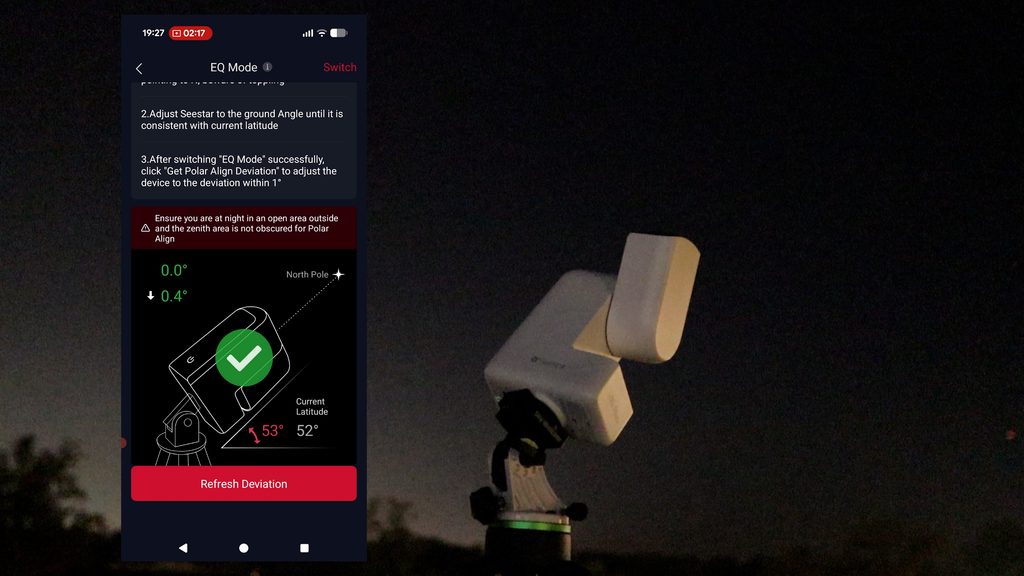
Setting the Seestar up in EQ mode takes a little time as you have to polar align your Seestar with the celestial pole and switch the mount mode from alt-az to EQ in the Seestar app. The Seestar will take a couple of images and tell you how to adjust your equatorial wedge to align your telescope with the celestial pole. This takes some time, but it is useful for three reasons.
First, your Seestar tracks the night sky more accurately, so you can take longer exposure photos to collect more light in each single picture of a deep-sky object.
Second, the Seestar will mimic the exact arc of objects as they rise in the east and set in the west, which avoids field rotation. For example, if I look carefully at the corners of my two-hour stacked M33 picture, I can see some field rotation (lost data) in the corners. This happens because M33 rotates when moving from east to west in the night sky, but the camera sensor stays fixed, so it cannot track that rotation in alt az mode. However, when you put the Seestar in EQ mode, you align the telescope with the celestial pole and follow the exact movement and rotation of stars in the night sky, which avoids potential field rotation issues completely.
Third, by capturing longer exposure photos you also collect fewer photos which saves a lot of storage space – particularly when you are planning to save each individual frame in addition to the automatically stacked image. You can select save each frame in the Seetar APP by tapping on the three dots in stargazing mode and switching this option on. Saving individual photos or frames useful for multiple reasons. For example, you can throw out bad frames because of satellite trails, clouds, or other artifacts, and only stack the images that are good. Also, with 10-second exposures, you’ll get 6 photos per minute and 360 photos per hour—which takes up about 2.5 GB of storage. With 30-second tracking, you get “only” 180 photos, around 1.2 GB, and with the maximmum 60-second tracking, just 60 photos which is under half a gigabyte. The Seestar APP actually has a stacking routine under the post processing tab, or you could use external stacking and processing software by simply connecting your Seestar to a computer and downloading the files.
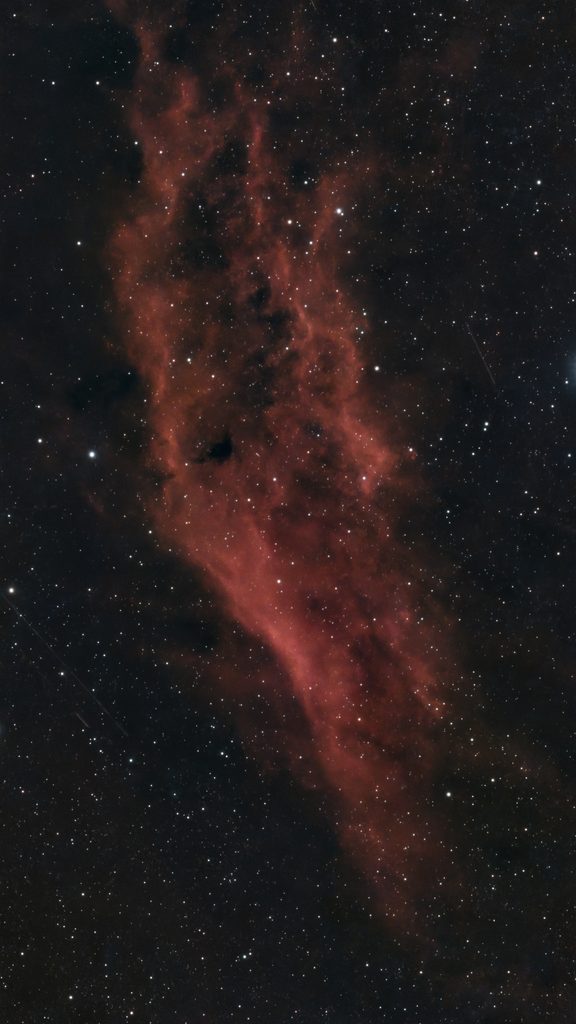
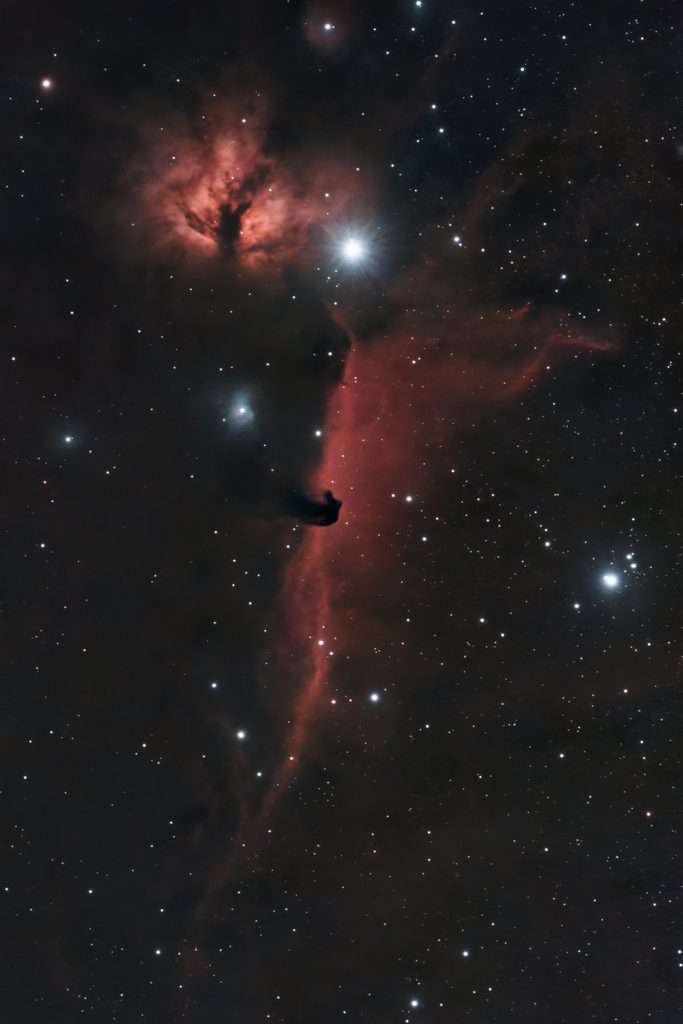
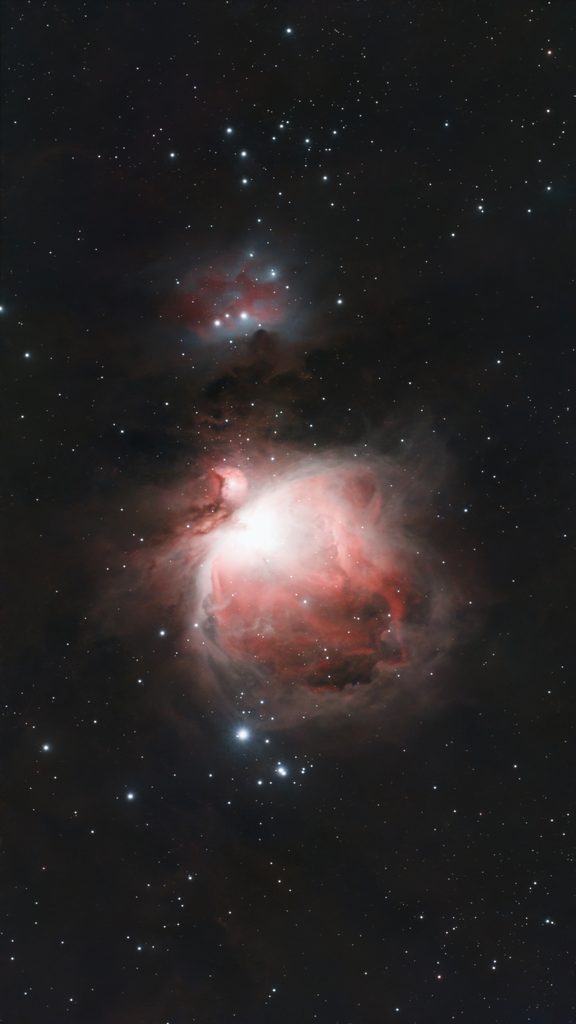
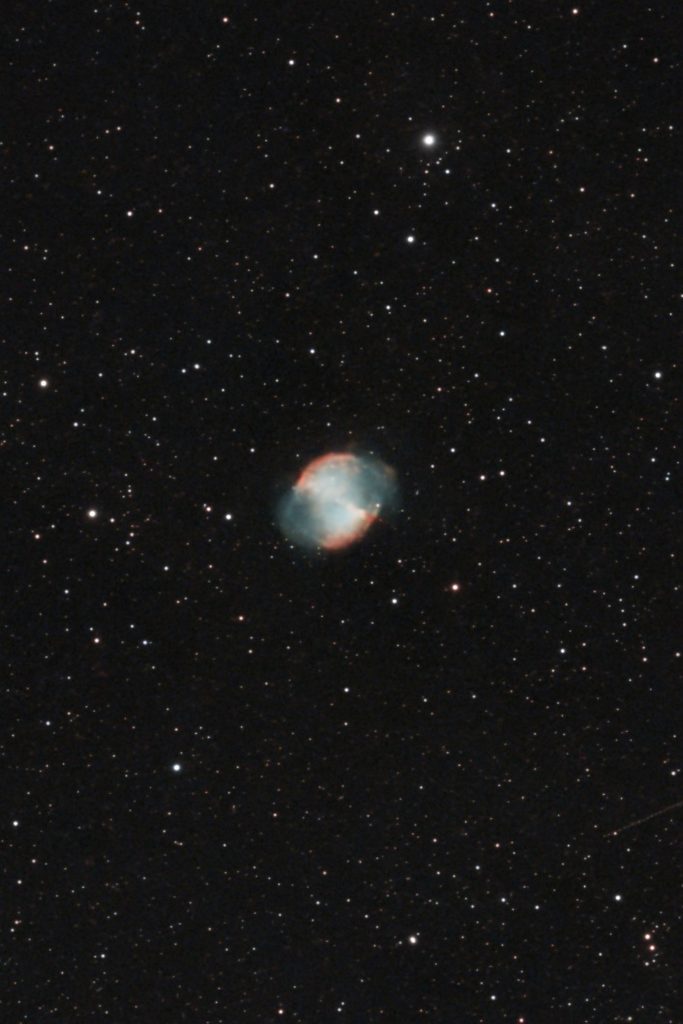
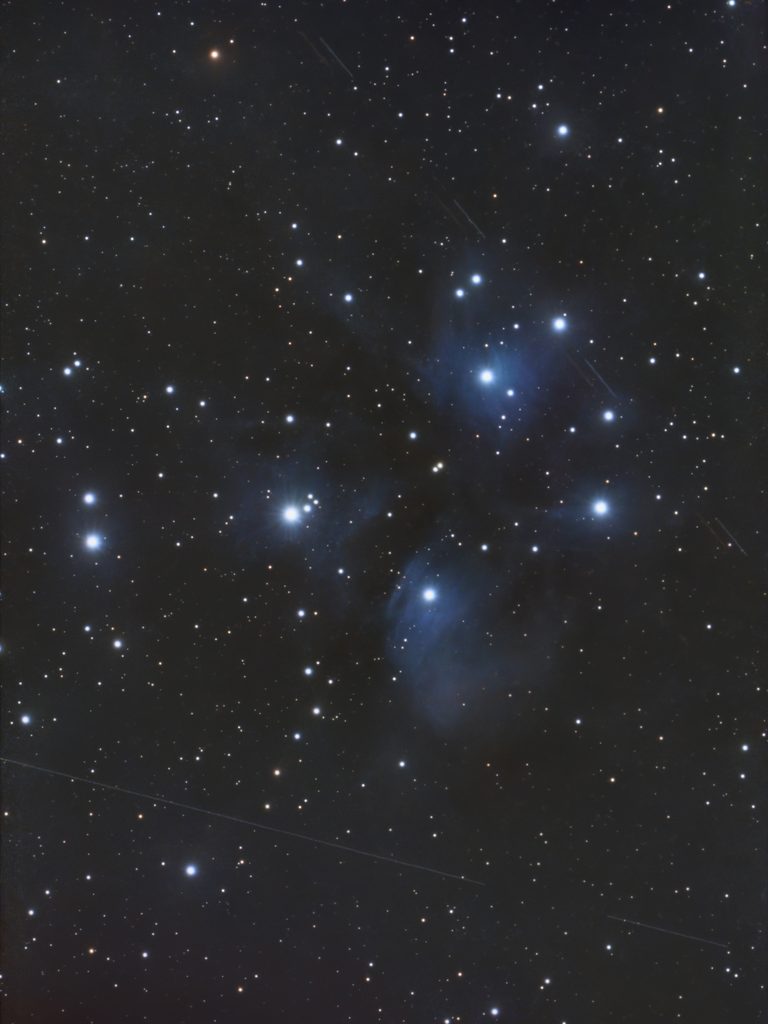
Let me show you other deep-sky images I captured on my second and third night with the Seestar S30 Plus in EQ mode. I used 30-second exposures to capture the images, as it was quite windy and I wanted to avoid elongated stars. Here are the automatically stacked and in-app enhanced photos I took during those two clear nights.
I have developed a seestar course with short, hands-on tutorial videos on how to use your Seestar smart telescope—including how to set it up in equatorial mode, how to use the planning mode, and how to process your images in the Seestar app. All my channel members have access to the course. It only costs €2.99 a month to become a member of my channel, and you can cancel anytime. If that’s too much, subscribing to my YouTube channel and tapping on the notification bell is completely free, and you will get notifications whenever I upload a new video. Your support is greatly appreciated!
MilkyWay and StarTrail Photography on a budget with the Seestar S30 Plus
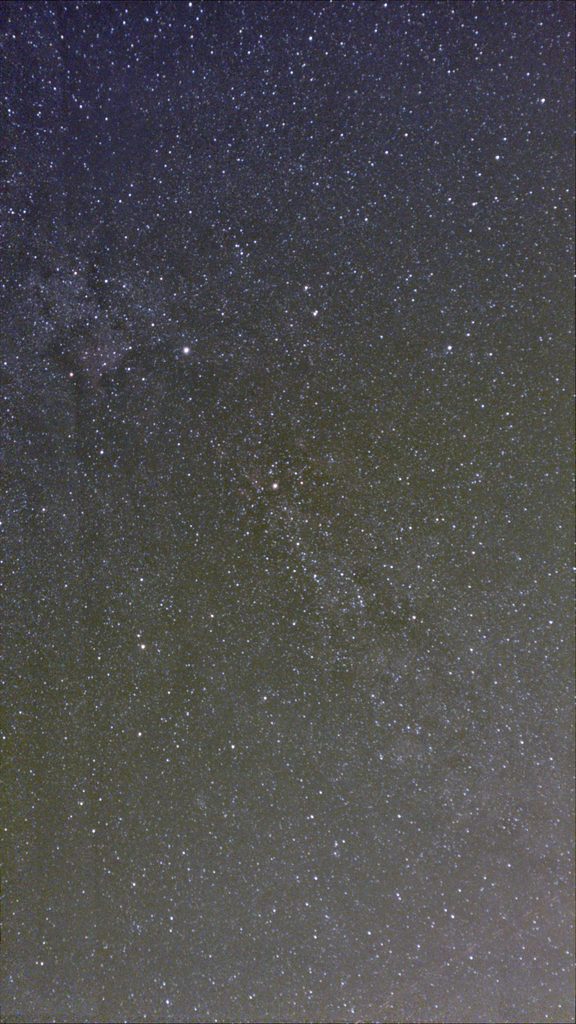
The S30 Plus also includes a Milky Way mode, but you should know that I live in a Bortle 7, city sky. To really capture the Milky Way, you need some darker skies. However, I tested it picking the constellation Cygnus, which is part of the MilkyWay and relatively high up in the night sky to avoid city glow. Using Milkyway Mode, the S30 Plus began taking and stacking images through the widefield lens, I stacked the constellation Cygnus for 20 minutes and edited the image in the Seestar APP.
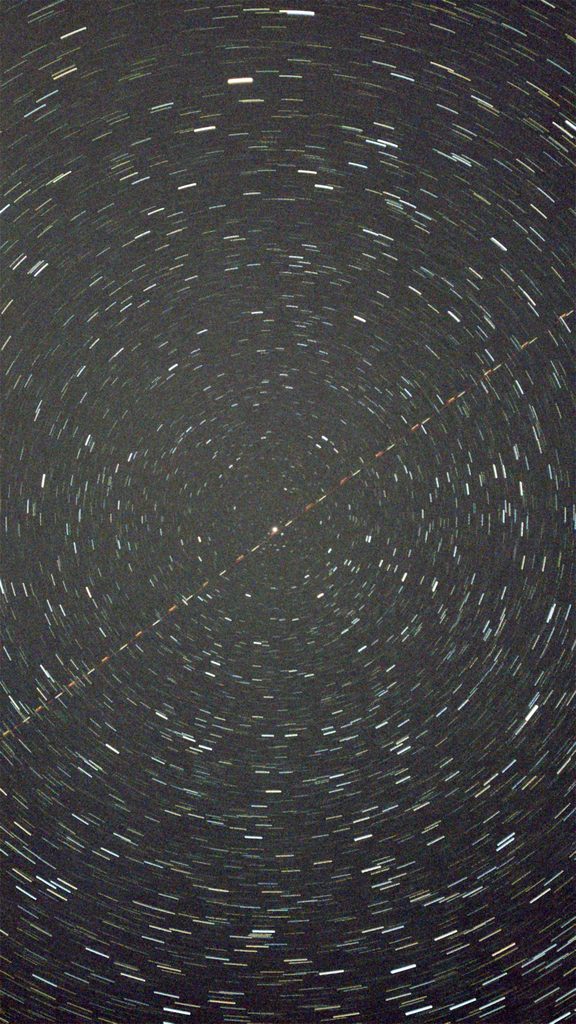
MilkyWay mode can also be used to take widefield startrail images with the S30 Plus So I pointed the telescope towards Polaris, near the north celestial pole of the Earth around which all objects appear to rotate, to create a startrail photo. The S30 Plus again began to stack 30 second images, but this time, it was deliberately not tracking the images to create star trails through the widefield lens. The S30 Plus can also capture a star trail video. You can see a plane crossed my stacked star trails photo, which proves again that the Seestar really takes photos of your local night sky.
Lunar and Solar video- & photography with the S30 Plus
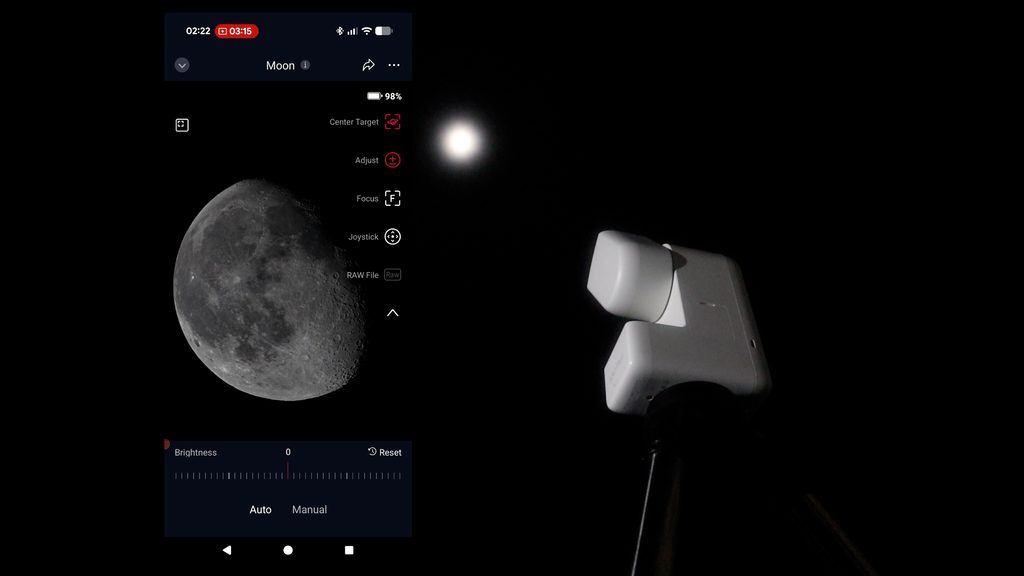
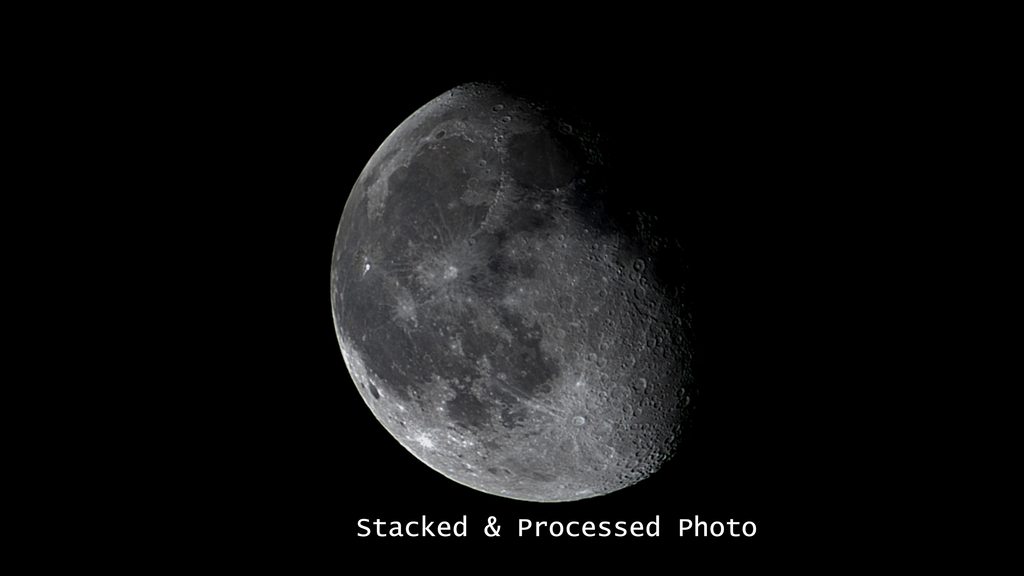
We have many cloudy nights in The Netherlands…During one such night, however, I saw some cracks between the clouds with a beautiful waning Moon behind it. So I decided to setup the s30 plus to quickly capture before it would disappear again behind the clouds. One big advantage of a smart telescope like the Seestar S30 plus is that you can set it up almost instantly. I was up and running in about 2 minutes, selected the moon in the solar system menu, and the s30 plus automatically slewed and started tracking the Moon. In solar system mode, you can zoom, re-focus, and adjust the brightness to your liking – although the default settings are often already quite good. You can take timelapse, photos and videos of solar system objects. Also, the Seestar APP includes an advanced way to capture the Moon. In video mode, you can select RAW and take a 30 second video. This RAW AVI video records the Moon in high quality format, which takes up about 1.5 GB of storage space per minute, so be aware of that! After taking a 30 second RAW video, you tap on processing and select stack video frames. You will find all your RAW videos here and you can stack the individual frames of these videos to create a stacked image of the Moon. After that, you can use that stacked image of the moon to further edit the image in the Seestar App for the best results.
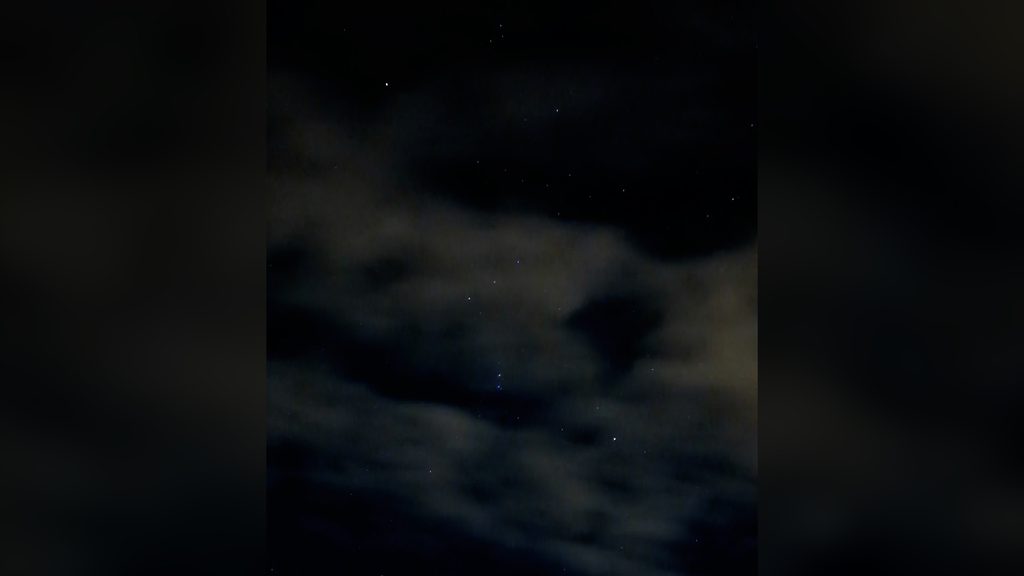
That night, it was cloudy, but I did see the constellation orion appearing behind the clouds and I was waiting to capture the Orion Nebula. So I decided to switch to scenery mode, and I captured a timelapse video of the Orion Nebula. The widefield lens also enabled me to monitor the clouds, so I used it as an all-sky camera…
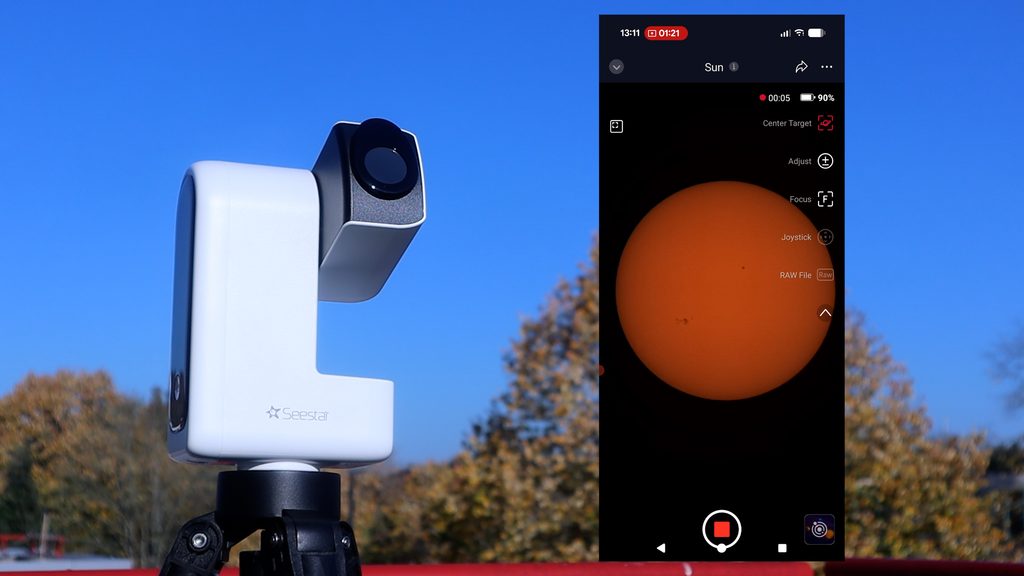
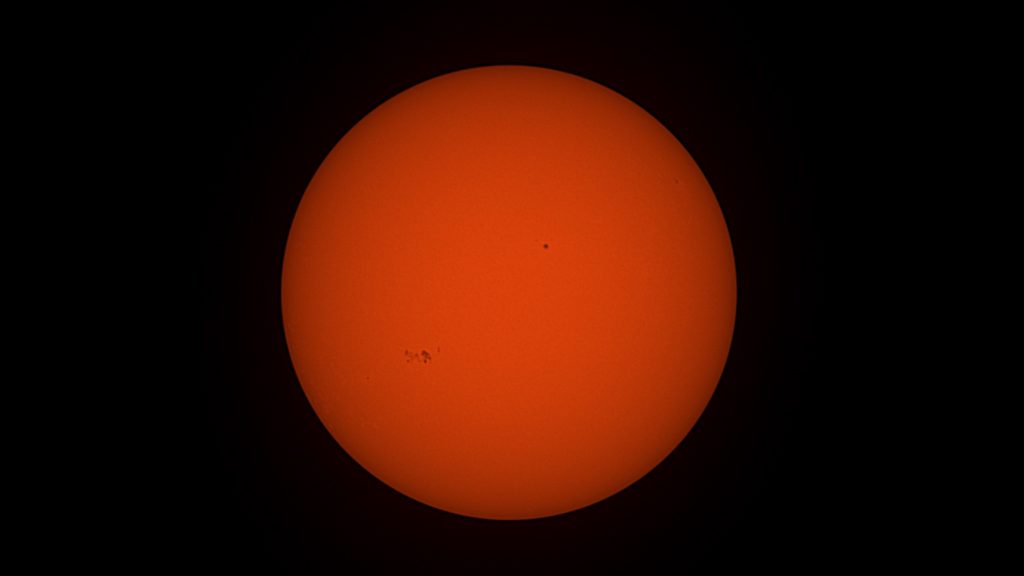
Capturing the Sun is super easy. Just dont ever look at the Sun directly as you might go blind like Galileo Galilei, and always put the magnetic solar filter in front of the lens. In the solar system menu, you can select the Sun and the app will remind you to install the solar filter. After that’s done, the S30 Plus will automatically slew to and start tracking the sun. Similar to the Moon, in solar system mode you can zoom in, refocus, adjust the brightness settings and take timelapses, photos and videos of the sun. So I took a RAW 30s video again which I stacked and processed in the APP. This is the resulting image.
Talking about our solar sytem, none of the Seestar smart telesscopes are really suited for planetary imaging. The planets are bright enough, but they appear as very small dots in your screen. Even when using the larger S50 Pro, the biggest planets like saturn of jupiter are only 10 to 20 pixels in diameter, you actually need much bigger telescopes in terms of aperture and focal length to capture the planets.
S30 Plus vs the original S30, S50, and the pro versions?
So if you are a classic S30 or S50 user, you may ask if it is worth the upgrade. What the S30 Plus offers you is a larger 2K camera sensor compared to the HD sensors on both the original S30 and the S50, giving you a wider native field of view which helps you capture larger objects in a single photo.
Also, the portrait camera on the Seestar S30 Plus now supports Milky Way and star trail imaging. The original S30 widefield sensor doesn’t include these options, I think because the widefield sensor on the original S30 was in landscape rather than portrait mode. The original S50 didn’t include any widefield sensor at all, which makes it hard sometimes to find objects like the moon in the night sky without a widefield lens. This being said, imaging space is all about aperture and focal length, so if you have that original Seestar S50, you’re going to end up with more detailed images as compared to any Seestar S30 smart telescope—even with the somewhat dated camera sensor on that classic S50.
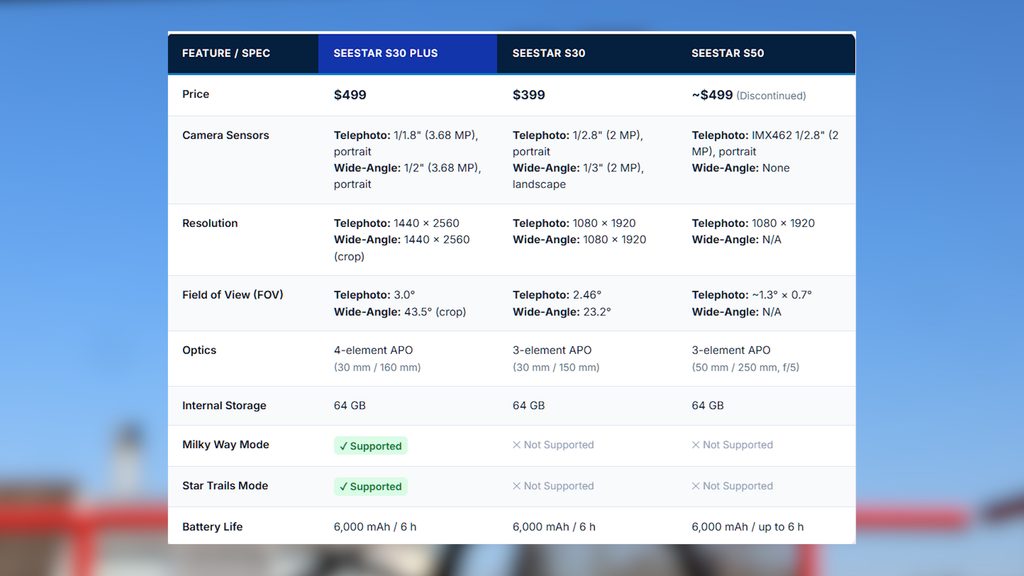
Seestar also has the S30 Pro, which is about $200 more expensive than the S30 Plus, and the S50 Pro, which is the flagship and about $500 more expensive than the S30 Plus. Both models include more advanced Milky Way and comet capturing and processing options, they come with 128 GB of storage instead of 64 GB, and both include a larger 8.3-megapixel sensor to capture more of the night sky in a single photo.
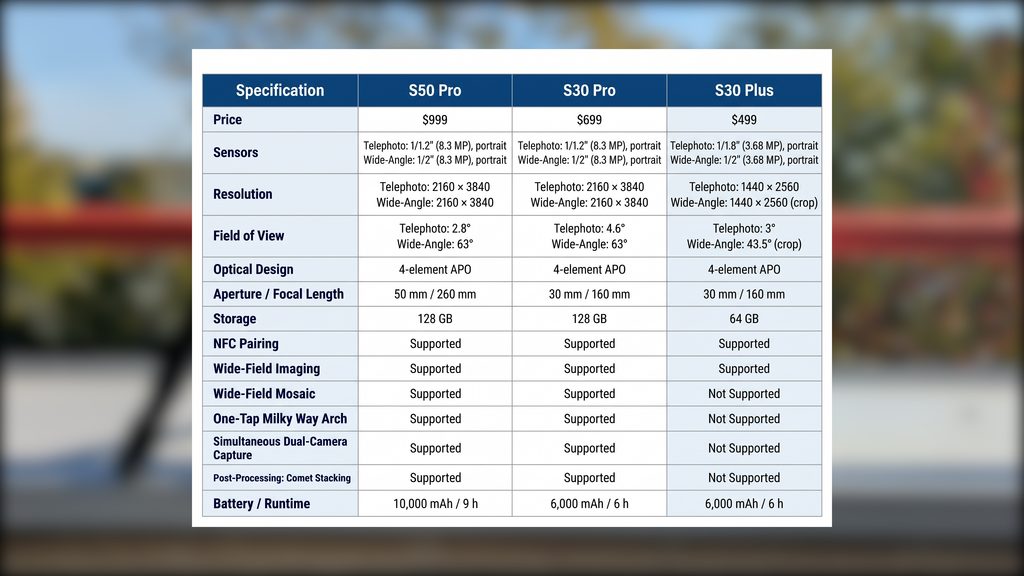
Interestingly, the S30 Plus has a similar field of view to the S50 Pro, but because of its bigger aperture and longer focal length, the S50 Pro images the night sky at a finer image scale, which translates into sharper, more detailed photos compared to all the S30 versions.
My verdict on the S30 Plus
While everyone was awaiting a potential Seestar S70, ZWO returned to its roots and did what it does best: making astrophotography accessible and affordable with their new S30 Plus Smart Telescope. To be clear, this smart telescope will not replace any expensive custom astrophotography rig. However, with its larger 2K camera sensor and its Milky Way and star-trail widefield astrophotography options, the S30 Plus might just become the best new budget smart telescope on the astrophotography market in 2027. I had a lot of fun with it; the quality of the photos is pretty decent for its size and aperture. I can see folks looking for an easy way to get into astronomy and astrophotography without breaking the bank flocking in droves to this latest iteration of the Seestar smart telescope. Also, it is extremely lightweight and very portable, so you can take it with you on your holiday trips or weekend getaways to gaze at the universe. Great job, ZWO!
Clear skies!