Accurate polar alignment is crucial for achieving optimal results in astrophotography. While it is commonly associated with nighttime observations, there is a method that allows for polar alignment during the day using the Sun. However, it is important to exercise caution and have the appropriate certified equipment before attempting this technique. In this blog, I will walk you through the process of safely using the brightest object in the daytime sky to achieve polar alignment.
When it comes to observing or imaging the Sun, Moon, or planets, highly accurate polar alignment may not be necessary as these targets can tolerate some drift. However, for auto-guiding and imaging faint deep-sky objects or comets, precise polar alignment becomes more critical. However, not everyone has a permanent observatory or the ability to view Polaris from their location, I don’t! In some cases, you may find yourself needing to set up your telescope during the day, such as for solar imaging or observing bright planets like Venus that are visible in the daytime sky.
Below, I present a step-by-step guide to achieving reasonably accurate polar alignment during daylight hours, even without the visibility of stars or Polaris.
Please remember to never look directly at the Sun and always use a certified solar filter to ensure your safety.
You will Need:
- Certified solar filter!!!
- A sunny day
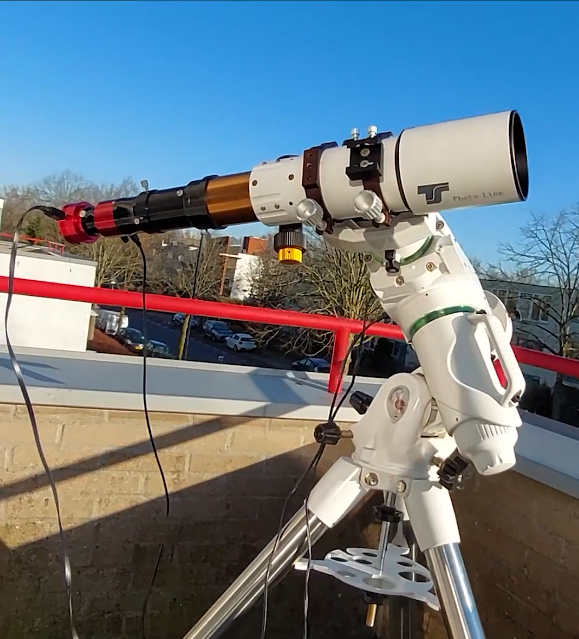
- Computerized Equatorial (GoTo) Mount
- A Telescope with a camera or eyepiece
- Handset, WiFi APP, or computer control
- Compass or smartphone compass app
Step 1: Determine the direction of north at your location. If you are at home, you may already know the rough direction. If not, use a compass or a compass app on your smartphone to find magnetic north.
Step 2: Set up the equatorial mount, ensuring that the north leg and counterweight are roughly pointing in the direction of north. Although this alignment will be approximate at this stage, the closer it is to true north, the easier the next step will be.
Step 3: Use a computer or the handset control, or APP (if available) to select and slew the telescope to point at the Sun. Remember to securely cap any finder and use certified solar filters on the front of the telescope.
Step 4: The telescope is unlikely to be pointing directly at the Sun. Without adjusting the mount’s Right Ascension and declination controls, you can move the position of the telescope head using the azimuth and latitude bolts. Try to center the Sun as closely as possible in the field of view.
Step 5: Observe the shadow of the telescope cast on the ground or allow filtered light to pass through the telescope, refining the centering of the Sun’s image. At this point, the mount should be effectively polar aligned.
Step 6: Lock down the mount to prevent any movement and begin your observations. Monitor the movement of your target object. If it drifts north or south within the field of view, it indicates a slight misalignment in polar alignment. If necessary, return to Steps 4 and 5 to eliminate any image drift.
Conclusion:
Achieving polar alignment during the day using the Sun as a reference point is possible with careful execution and suitable equipment. By following this step-by-step guide, you can attain reasonably accurate polar alignment for activities like solar imaging or locating bright celestial objects such as planets in the daytime sky.
Clear skies!
good article I will need this for my Coronado on a EQ mount