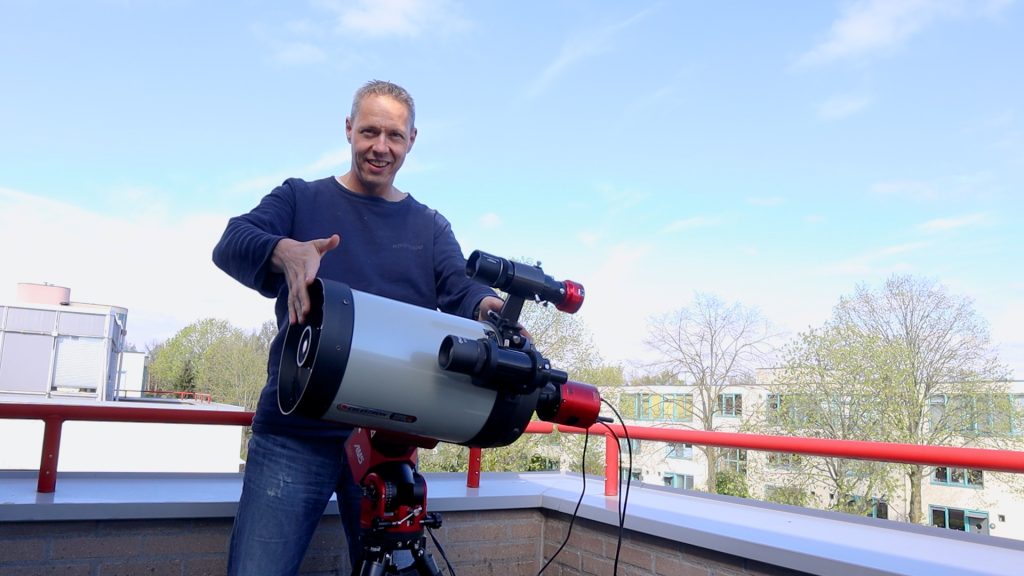
After nearly five years of using the Celestron Edge HD 8″, I can confidently say it remains one of the most versatile and reliable telescopes in my astrophotography toolkit. In this blog, I’ll walk you through why I originally bought the Edge HD 8″, how I’ve used it for imaging everything from the Moon and planets to deep-sky objects and galaxies, and why I’ve never felt the urge to sell it. Whether you’re just getting into astrophotography or considering adding a longer focal length scope to your setup, I hope this post gives you some useful insights.
Why I Chose the Edge HD 8”
When I first got into serious astrophotography, I was looking for a telescope that could do it all. I didn’t want to invest in separate setups for lunar, planetary, and deep-sky imaging. The Edge HD 8” seemed to offer the perfect balance.
With an 8-inch (200mm) aperture, it collects significantly more light than the smaller 3- or 4-inch APO refractors I had been using. More light means more detail — whether that’s the surface of the Moon, the rings of Saturn, or faint spiral arms of distant galaxies. Its native 2000mm focal length also gives it the magnifying power needed for high-resolution planetary imaging.


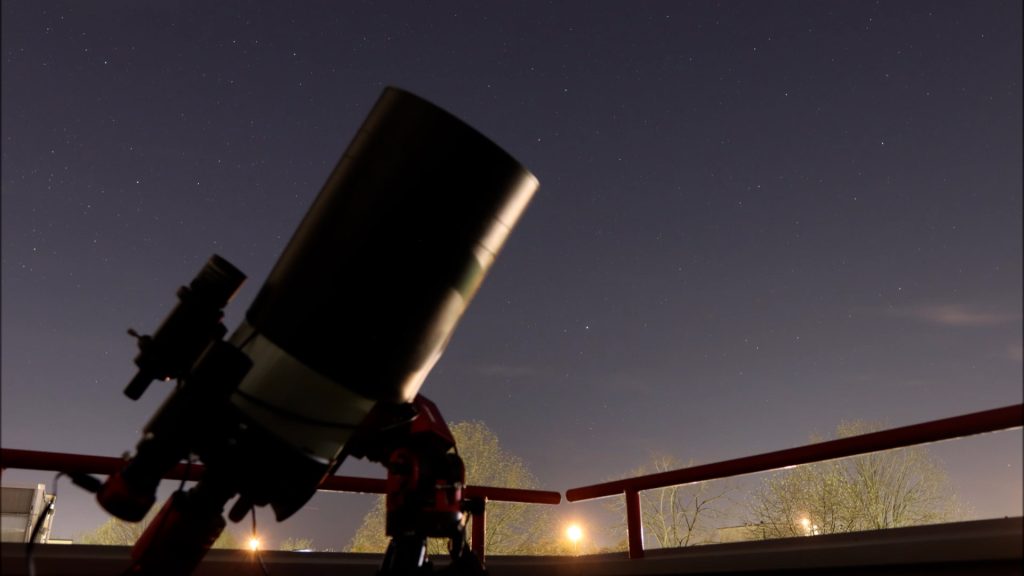
Despite its power, the Edge HD 8″ is surprisingly compact. The optical tube is just under 24 cm wide (9.5 inches), 43cm long (17 inches) long, and weighs about 6.3 kg (about 14 lbs), making the telescope very portable and light enough for most mid-range equatorial mounts. Over the years, I’ve used it successfully on a SkyWatcher EQ6R Pro and more recently on the ZWO AM5(N).
One standout feature of this telescope is its flat imaging field. Unlike standard Schmidt-Cassegrains, the Edge HD offers pinpoint stars across the entire frame — especially important when paired with a large sensor astro-camera. Right now, I’m using an APS-C sized camera. It’s pushing the limits a bit for this scope, but the results are quite good as I’ll show you below.
Making It “Smart”
Smart telescopes are all the rage right now — and I’ve reviewed plenty myself. But many of them come with a hefty price tag. The great thing about the Edge HD is that you can turn it into a powerful “smart” system.
Mount it on a GoTo equatorial mount, connect an astro camera or DSLR, and control everything with a laptop running free astrophotography software. Or go wireless with something like the ZWO ASIAIR or a smart camera like the ASI2600MC AIR, which I used in my most recent galaxy imaging session. This combo easily rivals many of today’s pre-packaged smart telescope systems.
Lunar and Planetary Imaging
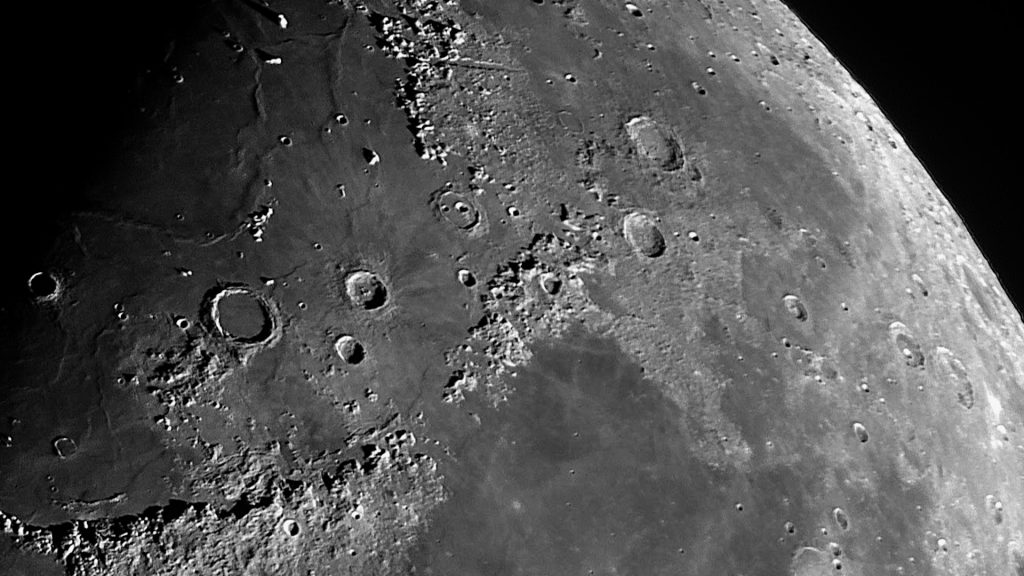
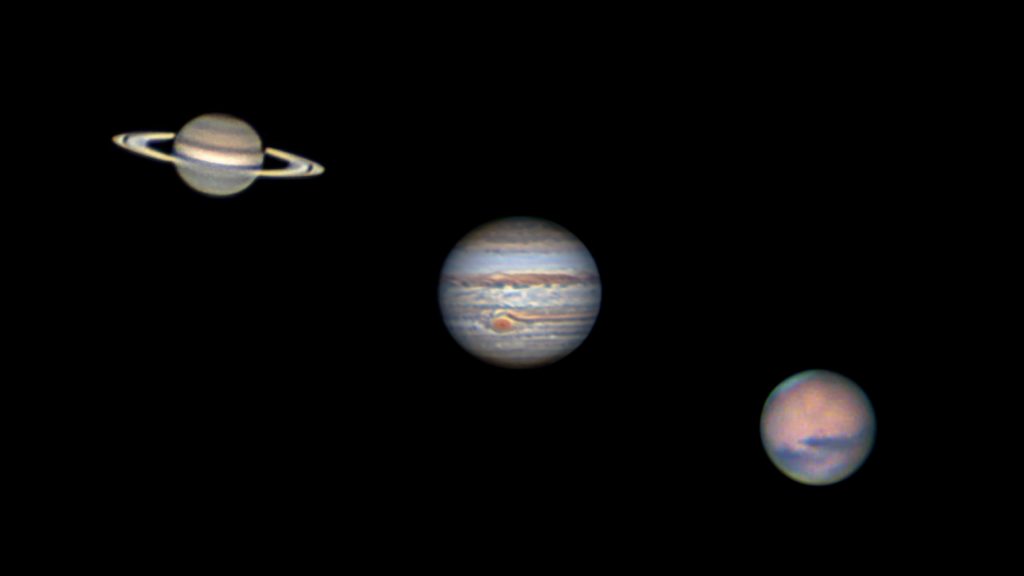
The Edge HD 8” shines in planetary and lunar imaging. With its long focal length and ample aperture, it has allowed me to capture detailed views of Saturn’s rings, Jupiter’s storms, the Great Red Spot, the rugged surface of Mars, and craters on the Moon like Tycho and Montes Apenninus.

Some beginner tips for getting the most out of your planetary imaging sessions:
- Use a fast planetary camera and record short videos of your target.
- Software like SharpCap or FireCapture can help with video capture.
- Stack the best frames with AutoStakkert, and use RegiStax or WaveSharp for final processing.
- Keep exposure times short to beat atmospheric turbulence, and add some gain.
- Let the telescope cool to ambient temperature before imaging.
- Check your collimation regularly. My Edge HD arrived well-collimated, and I’ve only needed to make minor tweaks since.
For more advanced planetary imaging tips, I’ve put together a free three-hour course for members. You can find more about that on my channel or website.
Deep-Sky Imaging with the Edge HD 8”
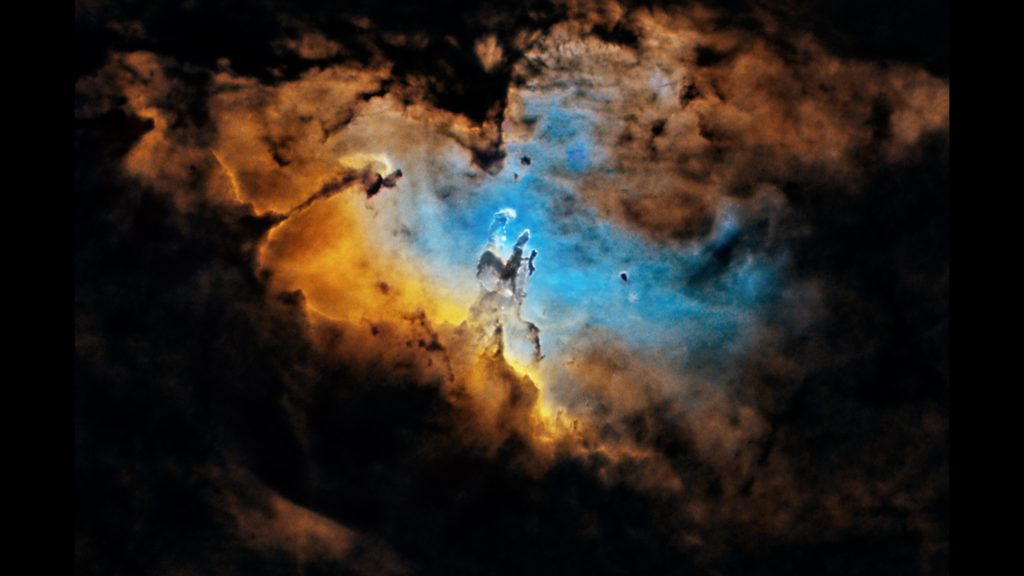
Despite being a long focal length scope, the Edge HD 8” also delivers stunning deep-sky results. Over the years, I’ve used it with both color and monochrome cameras. Some of my favorite captures include:
- The Pillars of Creation in the Eagle Nebula
- M13, the Hercules Globular Cluster
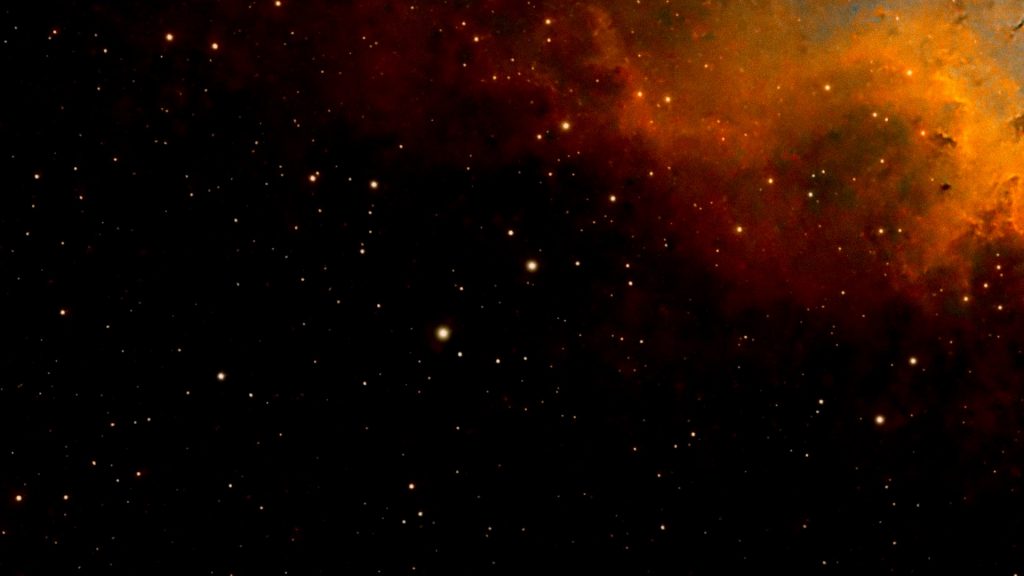
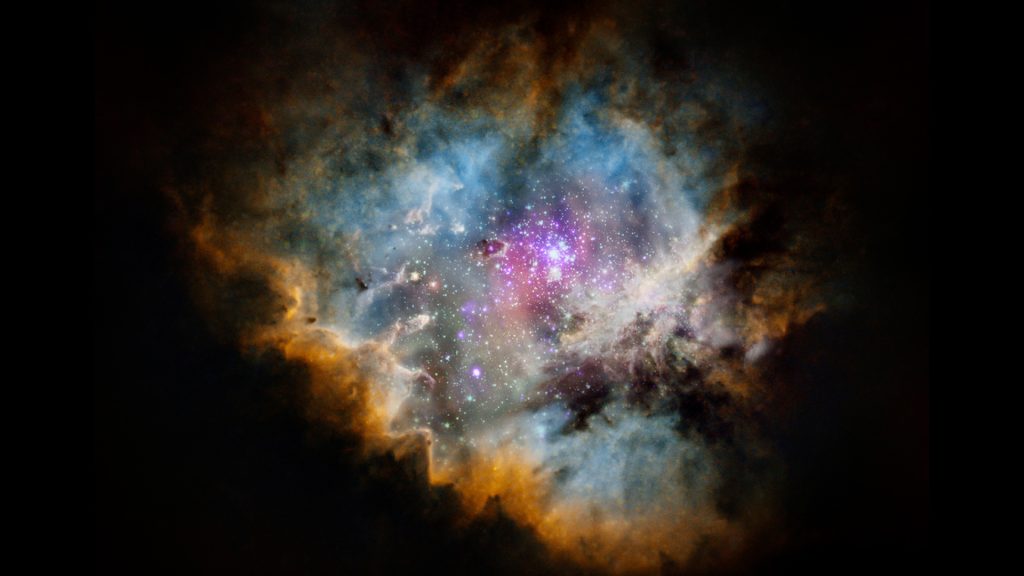
- The PacMan Nebula — an image that earned me an Astronomy Picture of the Day (APOD) from NASA

Here are a couple of tips if you’re planning deep-sky imaging with this scope:
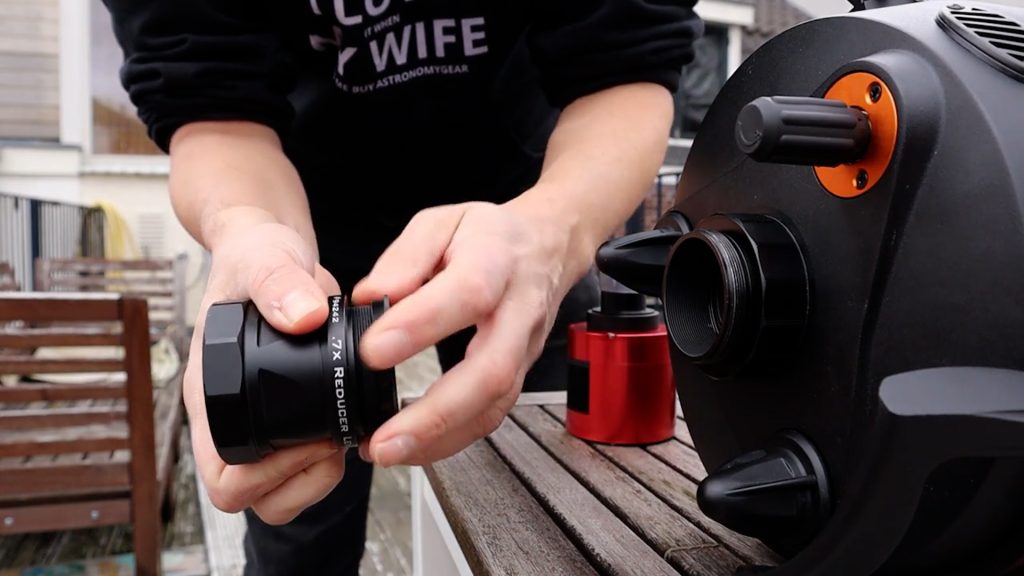
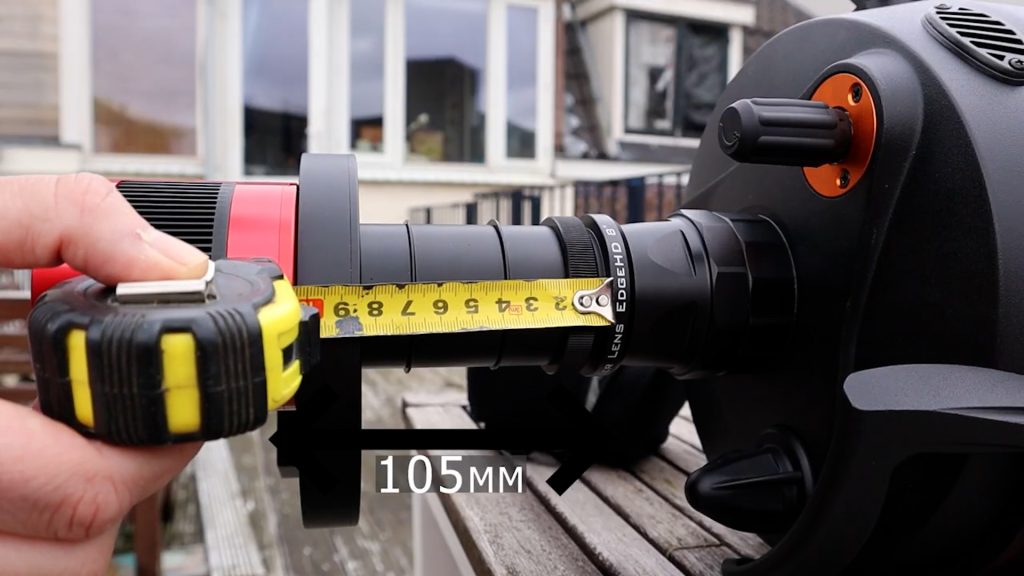
1. Add a 0.7x Reducer:
This brings the focal length down to 1400mm and speeds the scope up to f/7. It makes framing nebulae and other large targets easier and reduces the total exposure time needed. The correct back focus for this setup is 105mm from the rear of the reducer to your camera sensor.
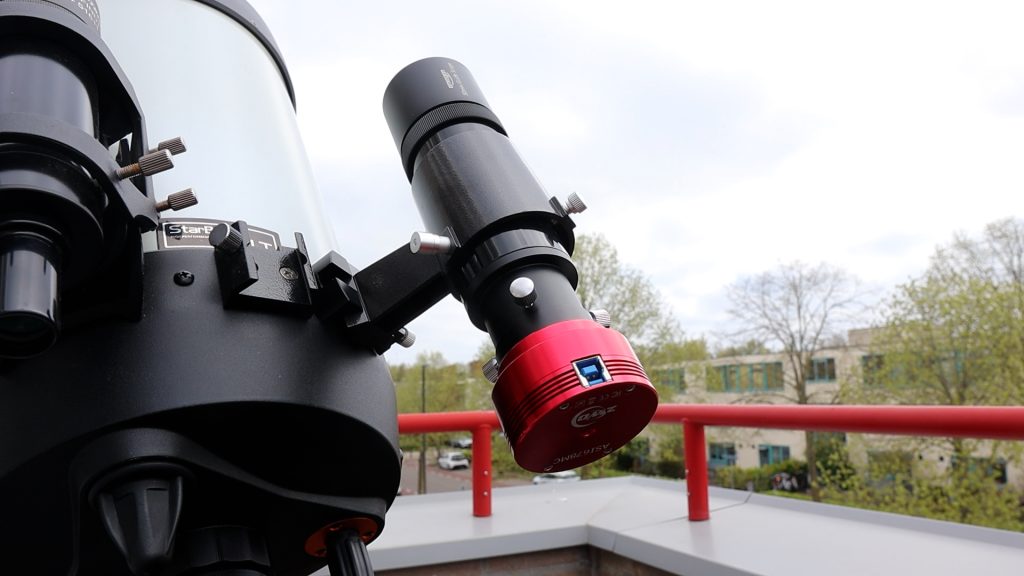
2. Use a Modest Guide Scope:
You don’t need off-axis guiding or a huge guide scope. A 200mm focal length guide scope paired with a guide camera has been more than enough for me to consistently shoot 3–5 minute sharp exposures. I recently saw a great video by Pat from Heavenly Backyard Astronomy using a StarSense Autoguider with his Edge HD 11”, which confirmed my experience — small guide scopes still get the job done.
Imaging Galaxies During Galaxy Season
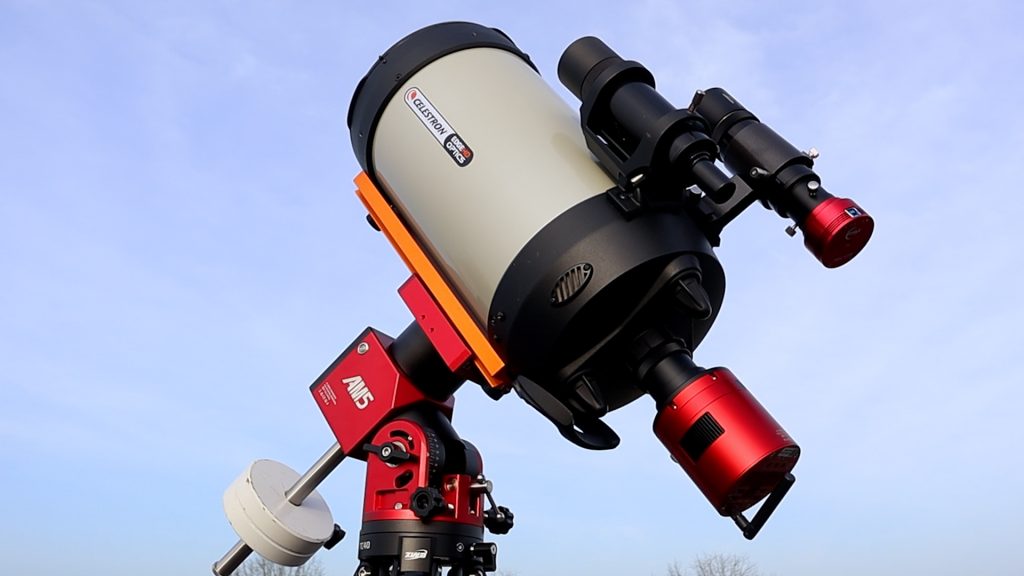
This spring, I used the Edge HD 8” with the new ASI2600MC AIR camera and my AM5N mount to photograph two classic spiral galaxies:
- M51, the Whirlpool Galaxy in Canes Venatici
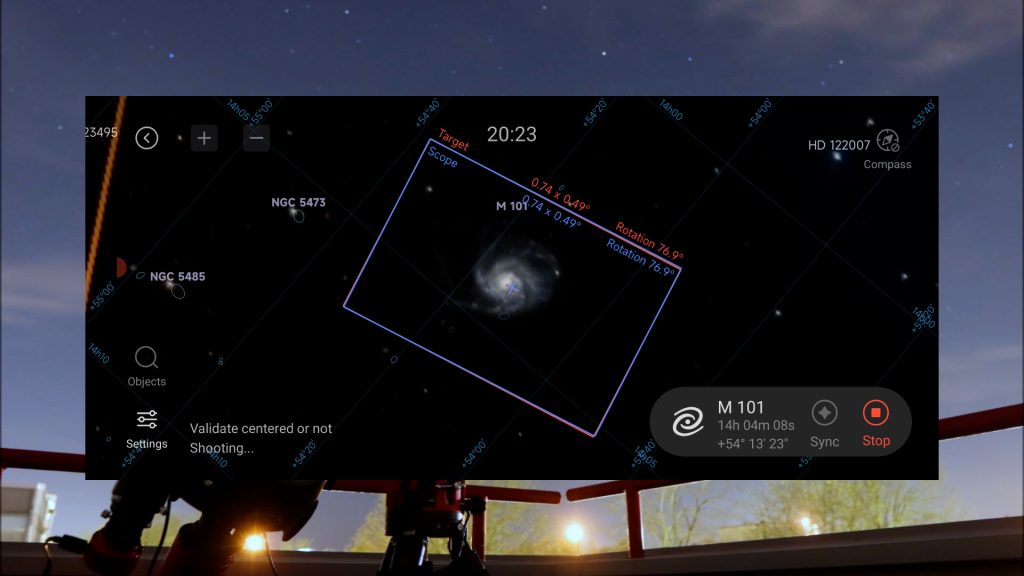
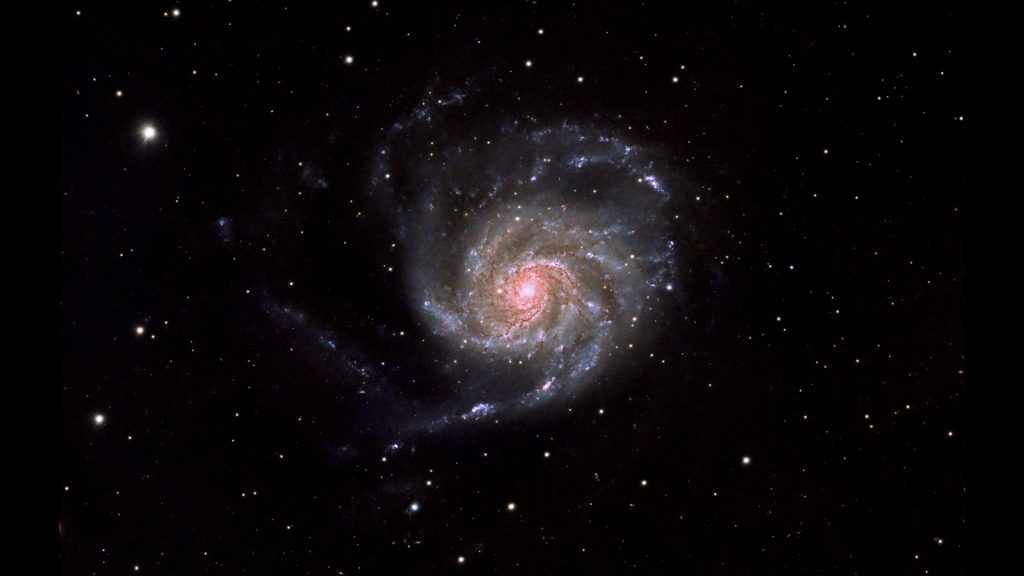
- M101, the Pinwheel Galaxy in Ursa Major
Both are located roughly 21–25 million light-years away.
For this project, I used the native 2000mm focal length (f/10) — no reducer. While many prefer faster optics, I’ve found that the native focal length works surprisingly well for bright targets. I took a mix of 1, 3, and 5-minute exposures, totaling around five hours per target. The short exposures helped preserve detail in the galaxy cores, while the longer ones pulled out faint outer arms.
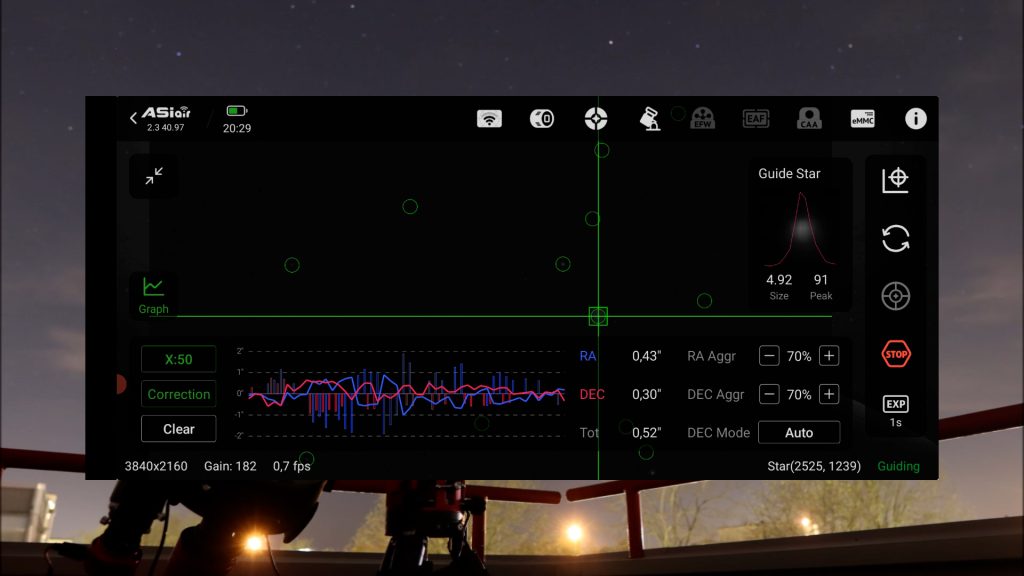
I guided using my standard 200mm guide scope, and since I was using the ASI2600MC AIR, the setup (see above) could be controlled wirelessly via my smartphone or tablet. The built-in ASIAIR control made things simple — mount control, imaging, guiding — all from my phone. For my full review on the ZWO ASI2600MC AIR, click here.
A few bonus tips for galaxy imaging:
- Use a UV/IR cut filter if your camera doesn’t have one built in, to prevent bloated stars.
- Galaxies are broadband targets, so try to image under a new moon.
- For higher-end results, consider mono cameras with LRGB filters, and possibly an H-alpha filter to bring out star-forming regions.
- Light pollution isn’t ideal, but good results are still possible from city skies. I regularly image galaxies from my Bortle 7 backyard, including this time (see images below).
All processing was done in PixInsight, which continues to be my go-to for deep-sky astrophotography.

Final Thoughts
After five years of using the Celestron Edge HD 8″, I still find it to be one of the most capable telescopes out there. It bridges the gap between planetary and deep-sky imaging beautifully, without being too heavy or complex. Whether you’re shooting from a dark sky site or a light-polluted city, this scope delivers. If you’re considering this telescope and want to know where to buy one, I’m collaborating with a number of reliable retailers here:
The Celestron Edge HD 8″ is available at Agena Astro (USA/WW), High Point Scientific (USA/WW), and Astroshop (EU/WW).
Clear skies!
Wido
@Wido’s Astroforum
Hi. I just integrated my 8″ into my astrophotography and came up with the same guide scope solution and it seems to be working. I was dubious about the slowness of the native F10 (I do have the reducer as well), so it’s nice to see how this has worked out for you. I’m looking forward working to adding a planetary camera to the mix. Anyway, thank you for this page, it’s exactly what I needed.
thanks John and clear skies to you!
Have you found the stated back focus of 105mm works with no elongated stars? People on CN are claiming they have to go back as far as 127mm.
For me, it’s 105mm, as indicated in Celestron’s original guide for the 0.7 reducer of the Edge HD 8″. Keep in mind that you should measure 105mm from the end of the reducer’s thread to the camera sensor.
Thank you for this write up. I am looking at a set up just like this. Are you guiding with the ZWO 2600 Air and how is that working for you? I am absolutely strung out trying to make my mind up between a longish refractor (I already know this stuff) and jumping in for the 8 Edge which will give me more reach. The different opinions out there on guiding are also making me more confused. I suppose the 2600 Air looks like an easy solution – if the guiding works! Thanks.
Hi Sarah, I use the Celestron Edge HD 8 with the 0.7× reducer and an ZWO ASI2600MC Pro, and I do see a bit of vignetting in the extreme corners.
The ASI2600 has a 28.3 mm diagonal, while the reducer only fully illuminates about 26–27 mm, so the sensor is just slightly larger than the corrected image circle.
It’s pretty mild though, and with proper flats it calibrates out completely.
The stars stay sharp all the way to the edges as long as the backfocus is correct.
So yes, the image circle is a bit tight for APS-C, but it’s never been a real issue for me.
Awesome write up!
Why didn’t you use the built-in guider on the ASIAIR2600MC?
How did you secure your 200mm guide scope to your OTA?
Thanks
DD