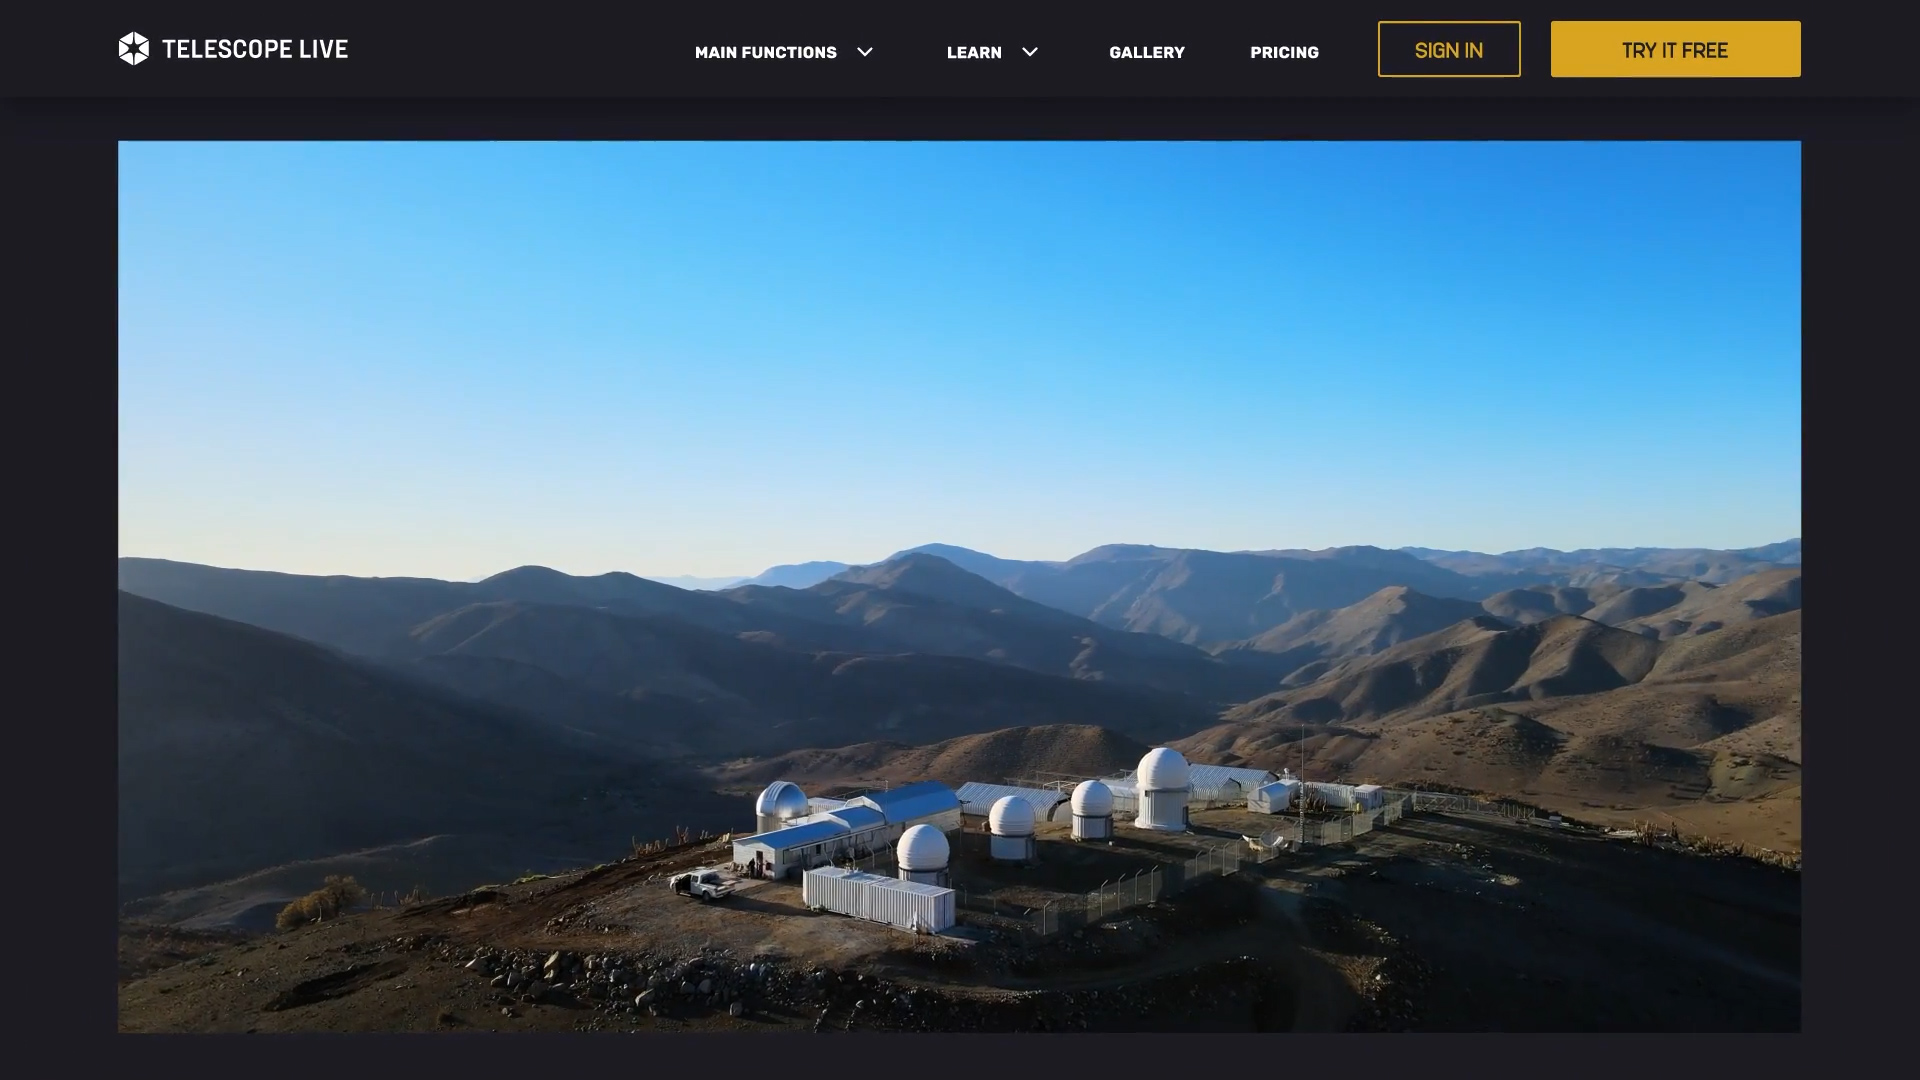
Telescope Live operates observatories in prime dark sky destinations worldwide, spanning Spain, Australia, and Chile. Their core offerings include downloading observation data (astrophotos) as well as booking imaging time with state-of-the-art telescopes and cameras. Curious about their services and how they stack up against backyard astrophotography? Keep on reading for a deep dive into Telescope Live!
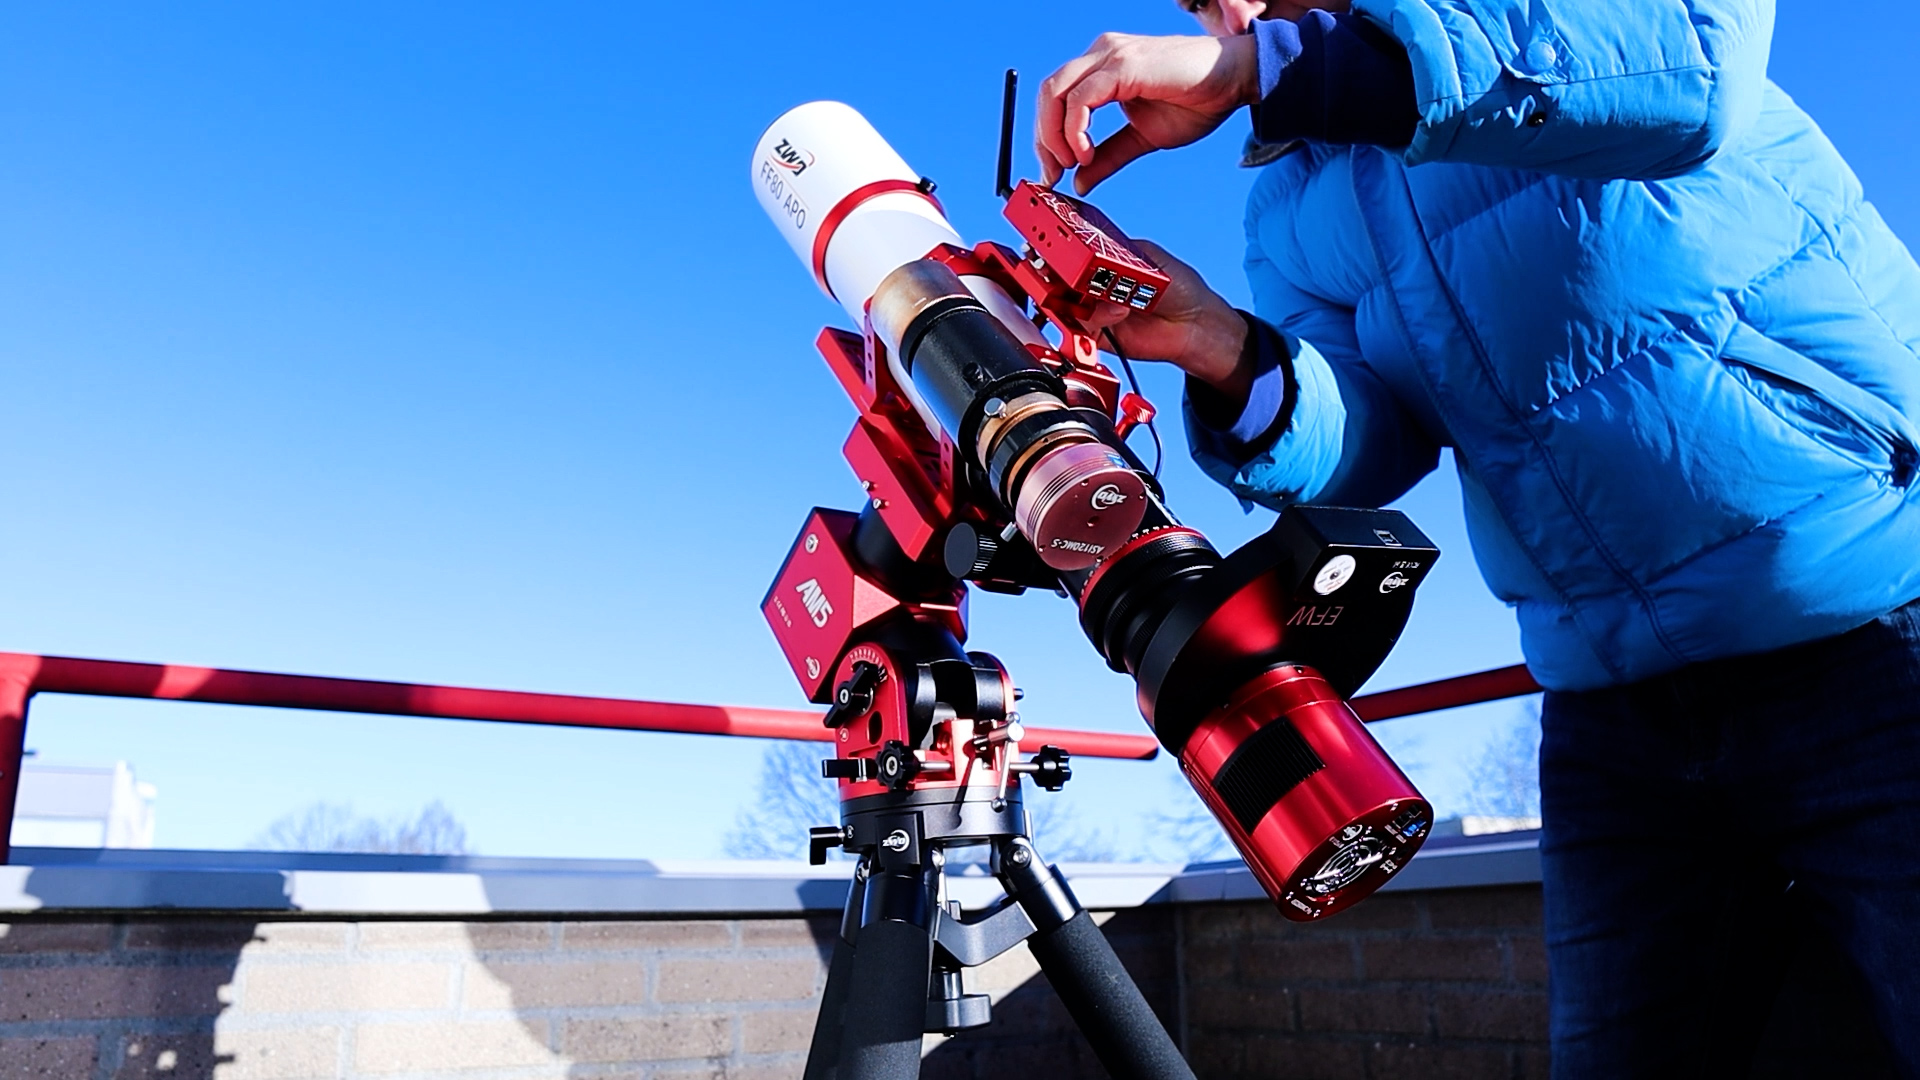
In my opinion, there’s nothing quite like spending a clear night doing astrophotography under the stars with your own gear. Whether you’re setting up on your balcony or in your backyard, the excitement of waiting for those dark skies and capturing your first long exposure photo of a deep sky object is unbeatable. But, as many of us know, dealing with unpredictable weather can be a real pain. For me, living in the Netherlands, cloudy skies can stick around for months. Or maybe you’re in a northern region like Sweden, Norway, or Canada, where the summer skies hardly get dark at all. And don’t even get me started on the ever-growing problem of light pollution in cities.
On nights when it’s all cloudy, we often find comfort in going back to old data we collected but never got around to processing. But once we’ve squeezed all we can out of that, we might be left wondering what’s next… And that’s where Telescope Live comes in. They operate from some seriously dark places like the south of Spain, Australia, and Chile, and they give their members remote access to telescopes and all the cool pictures those telescopes take. This opens up some pretty neat possibilities for us backyard astrophotographers.
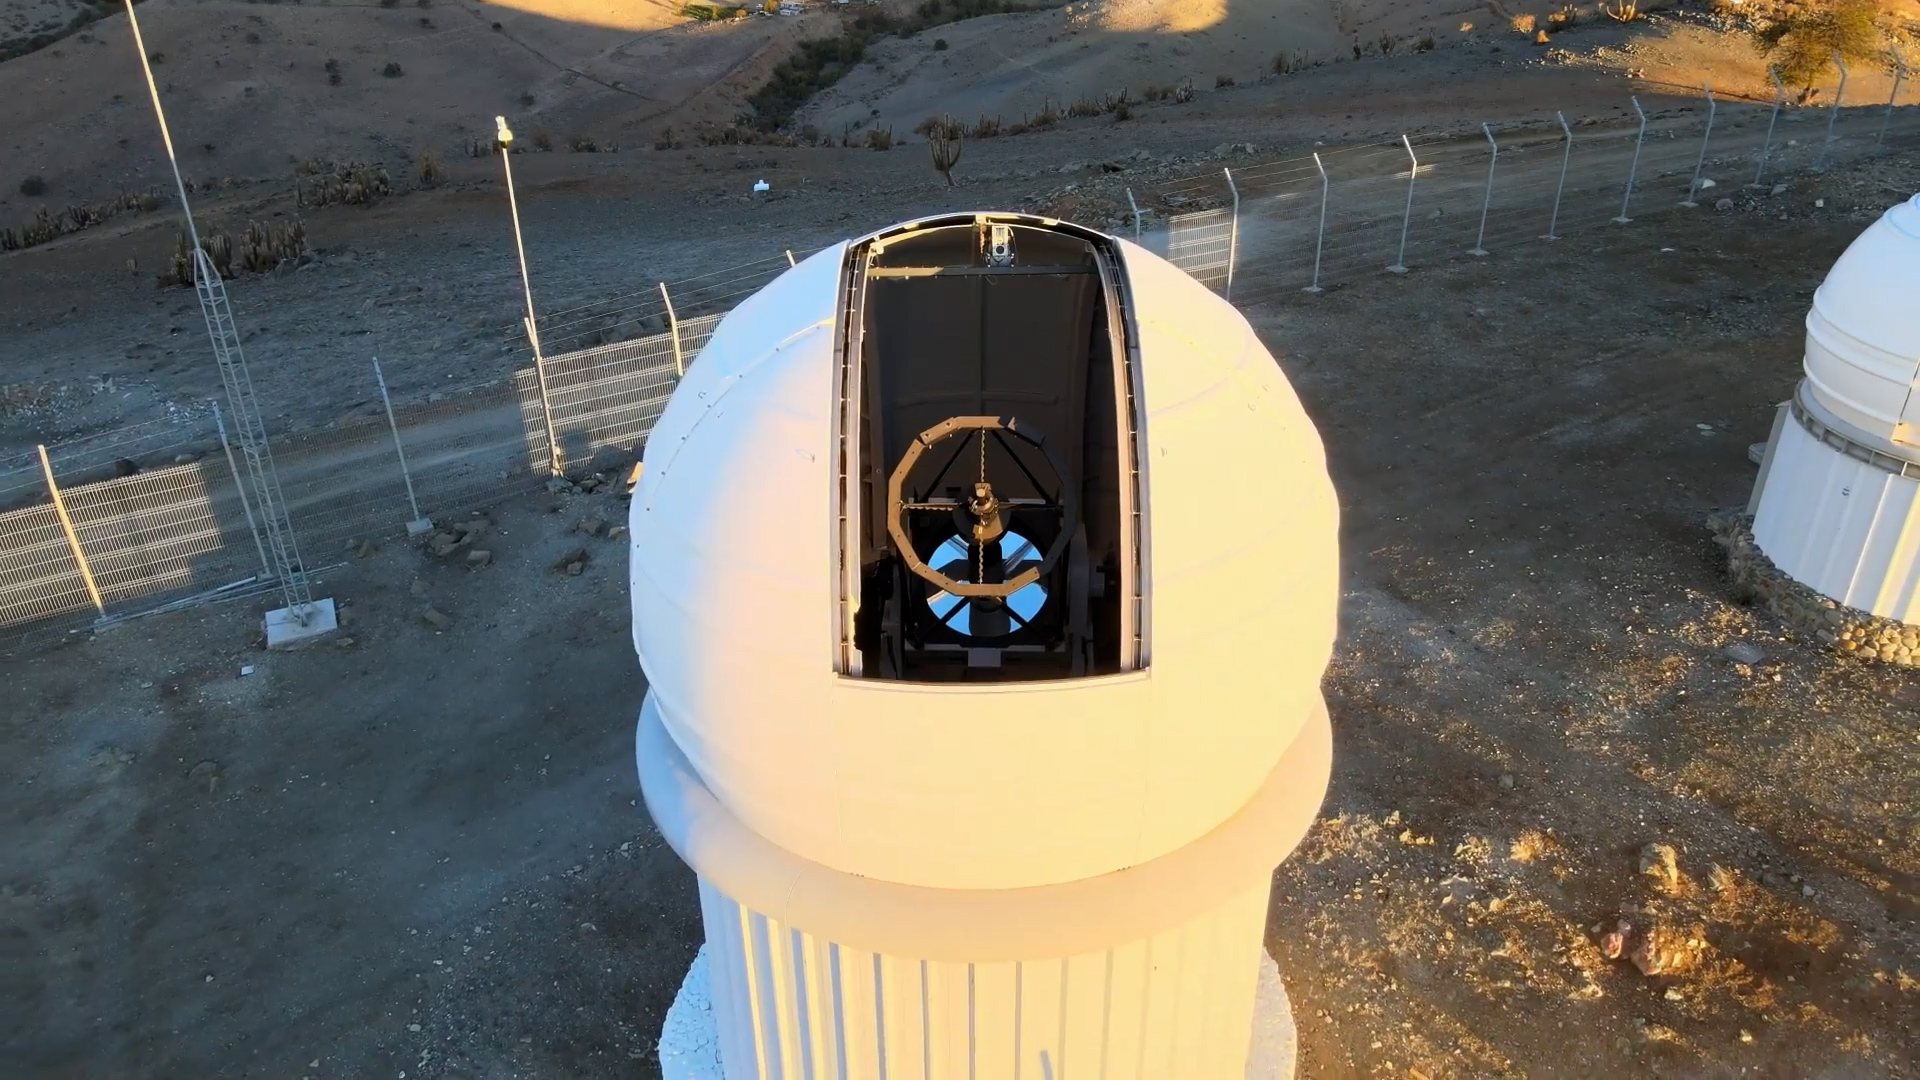

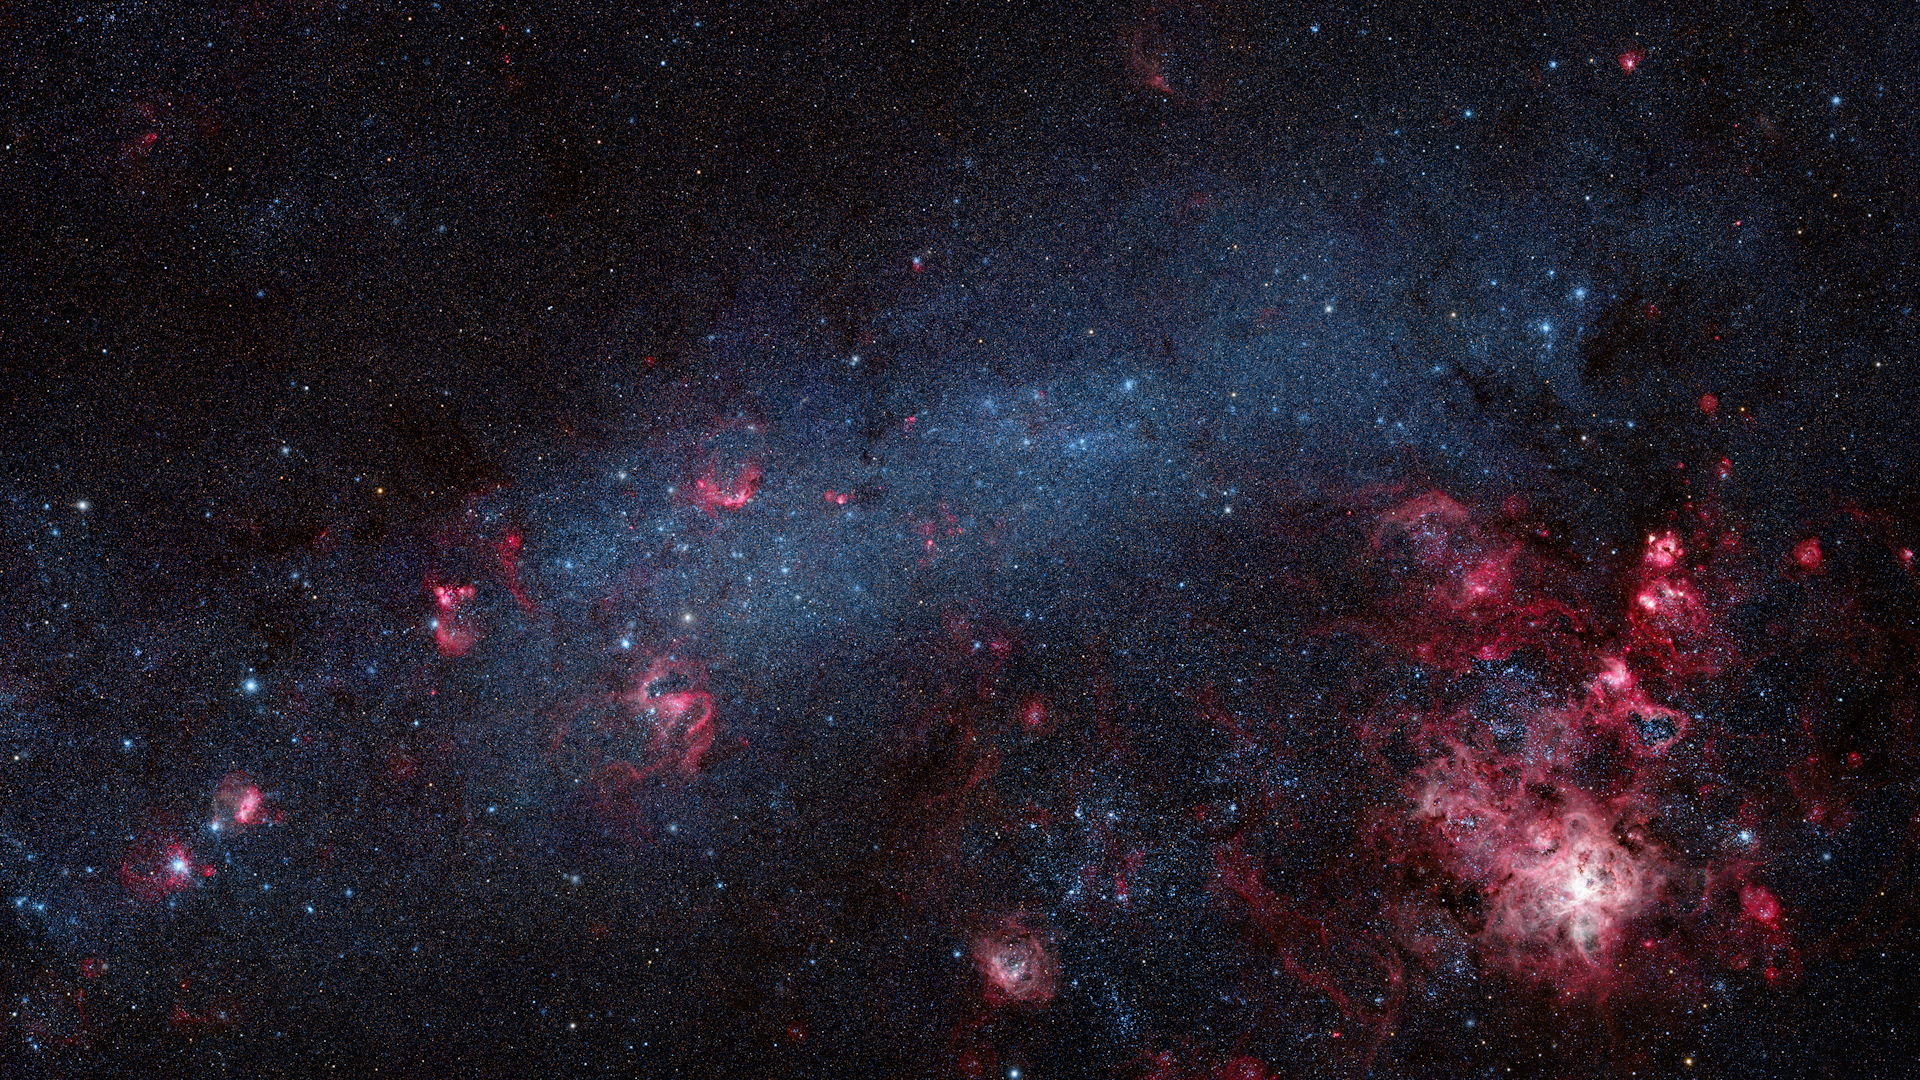
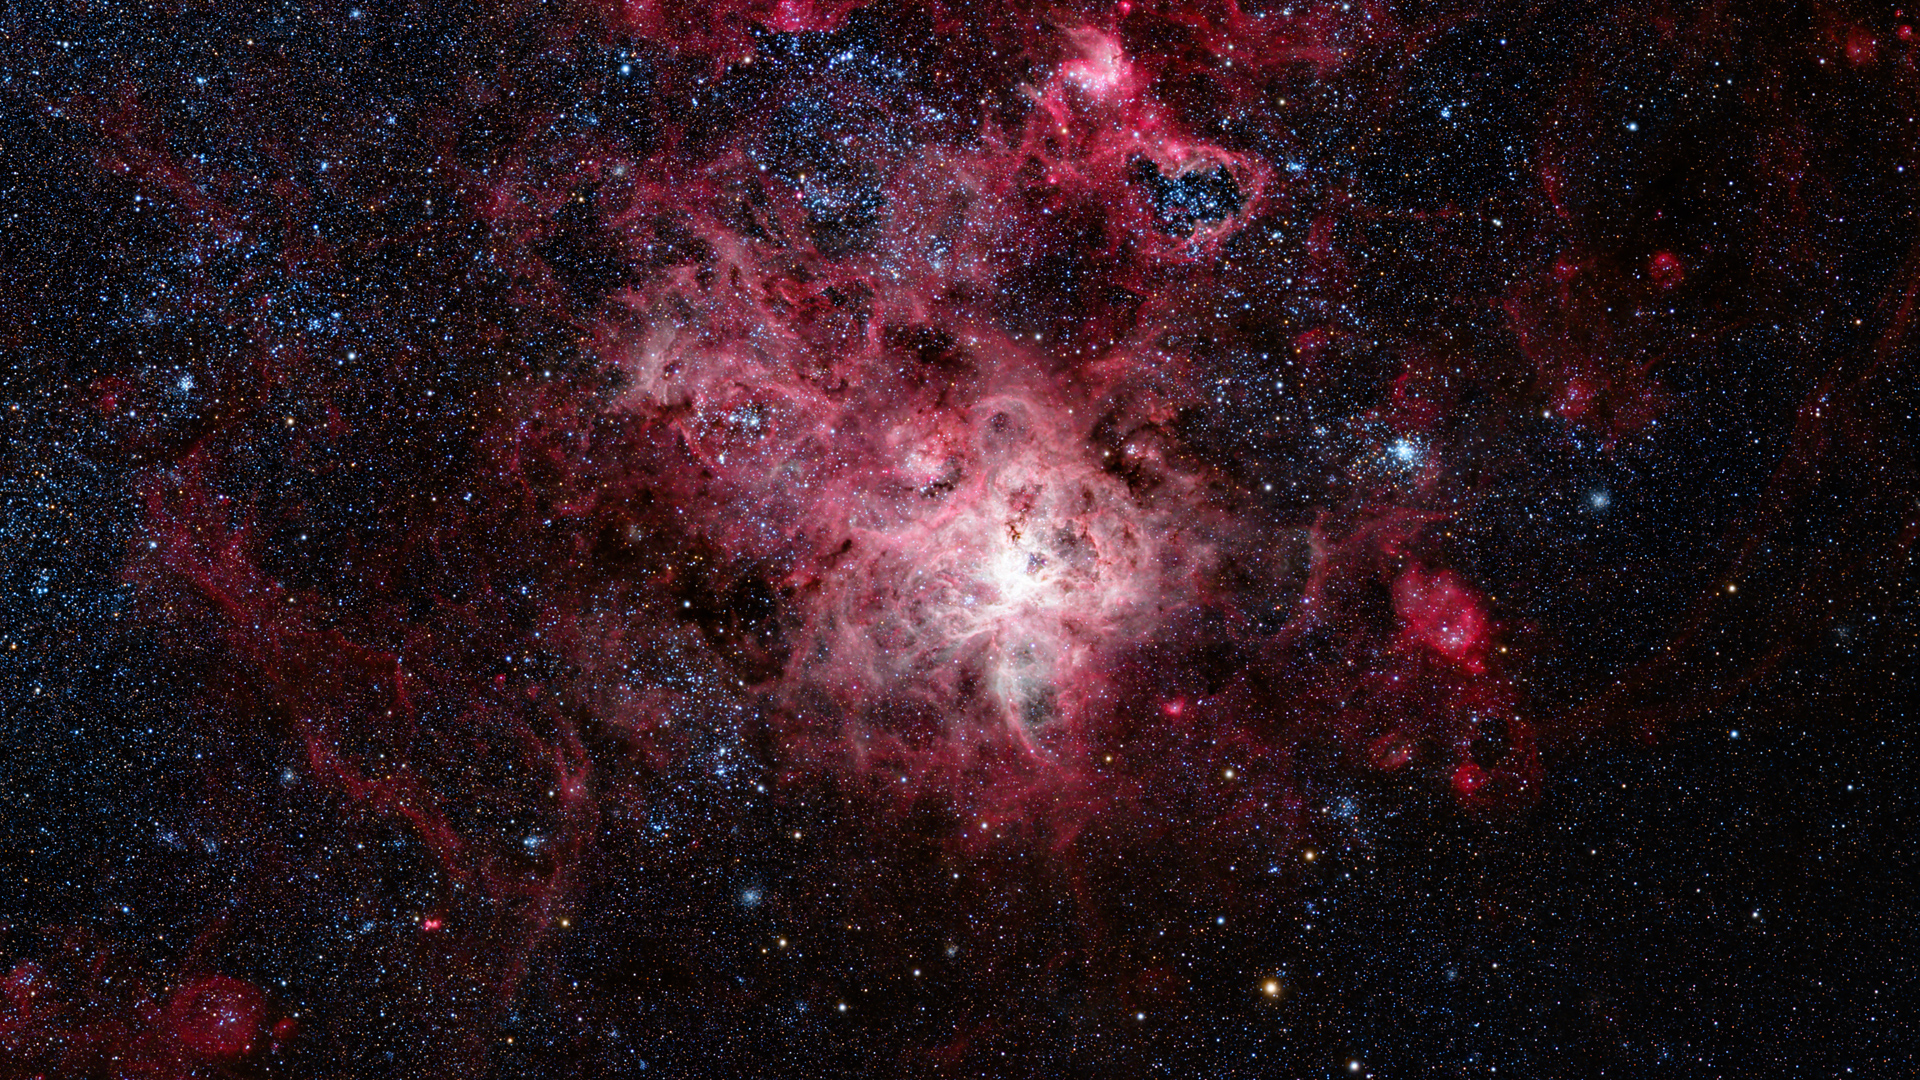
For one, it means we can get our hands on data collected with fancy astrophotography setups that most of us could only dream of affording. Think top-of-the-line gear like the Takahashi FSQ106ED or a Planewave CDK24 telescope paired with high-end CCD and CMOS cameras. And not just that, but it’s from skies so dark they put our urban backyards to shame. Plus, with locations in Chile and Australia, we can even check out objects in the sky that we can’t see from our northern hemisphere backyards, like the Large Magellanic Cloud and its famous tarantula nebula.
If you’re interested, stick around because I’m about to dive deeper into what Telescope Live has to offer. Plus, if you use the promo code: 2DD8Q, you’ll get a nice 20% discount when you sign up for one of their plans.
Telescope Live – A closer look
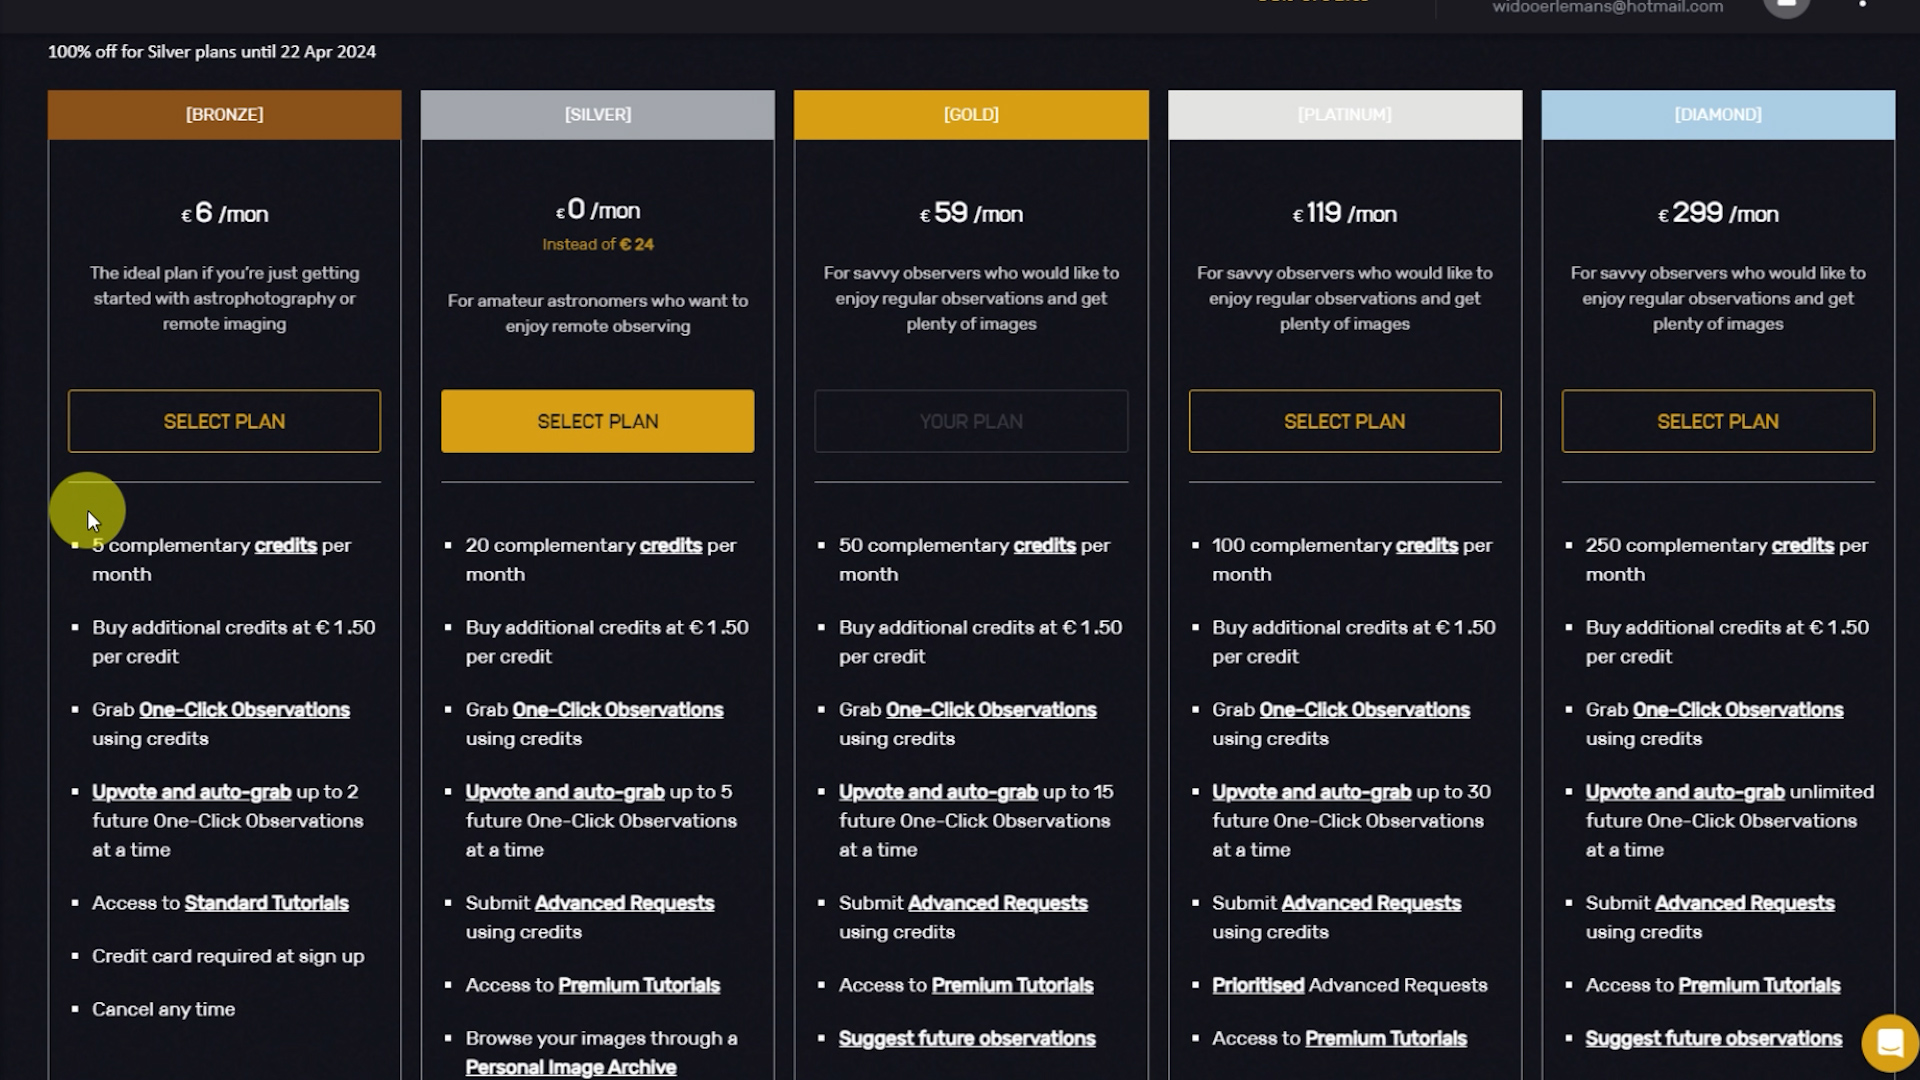
Telescope Live works on a monthly subscription basis, and you can cancel whenever you want. The subscription plans come at different prices, starting from around 6 euros or dollars a month for the Bronze plan, going up to 299 euros or dollars a month for the Diamond plan. In between, there’s the Silver plan at 24, the Gold plan at 59, and the Platinum plan at 119 euros or dollars. With these plans, you buy credits to use Telescope Live. Each plan gives you a different amount of credits: Bronze gets you 5 credits a month, Silver gets you 20, Gold gives you 50, Platinum gives you 100, and Diamond gets you a whopping 250 credits per month. These credits let you use two main services: one-click observations and advanced requests. Let’s take a closer look at both of these services.
One-click Observations
One-Click observations allows members to download calibrated RAW images of astronomical objects captured in the past by one of Telescope Live’s telescopes. At the time of this blog, Telescope Live offers over 600 observation bundles of deep sky objects. Observation bundles refer to one package of multiple imaging sessions of one deep sky object, taken with one specific astrophotography setup. They can consist of both broadband images using luminance, red, green and blue filters, and narrowband images taken with H-alpha, S2, and O3 filters. All images are calibrated with flat and dark frames if necessary. This service enables users to search for specific objects of interest, “Grab” the corresponding data bundle, download it, and commence processing.
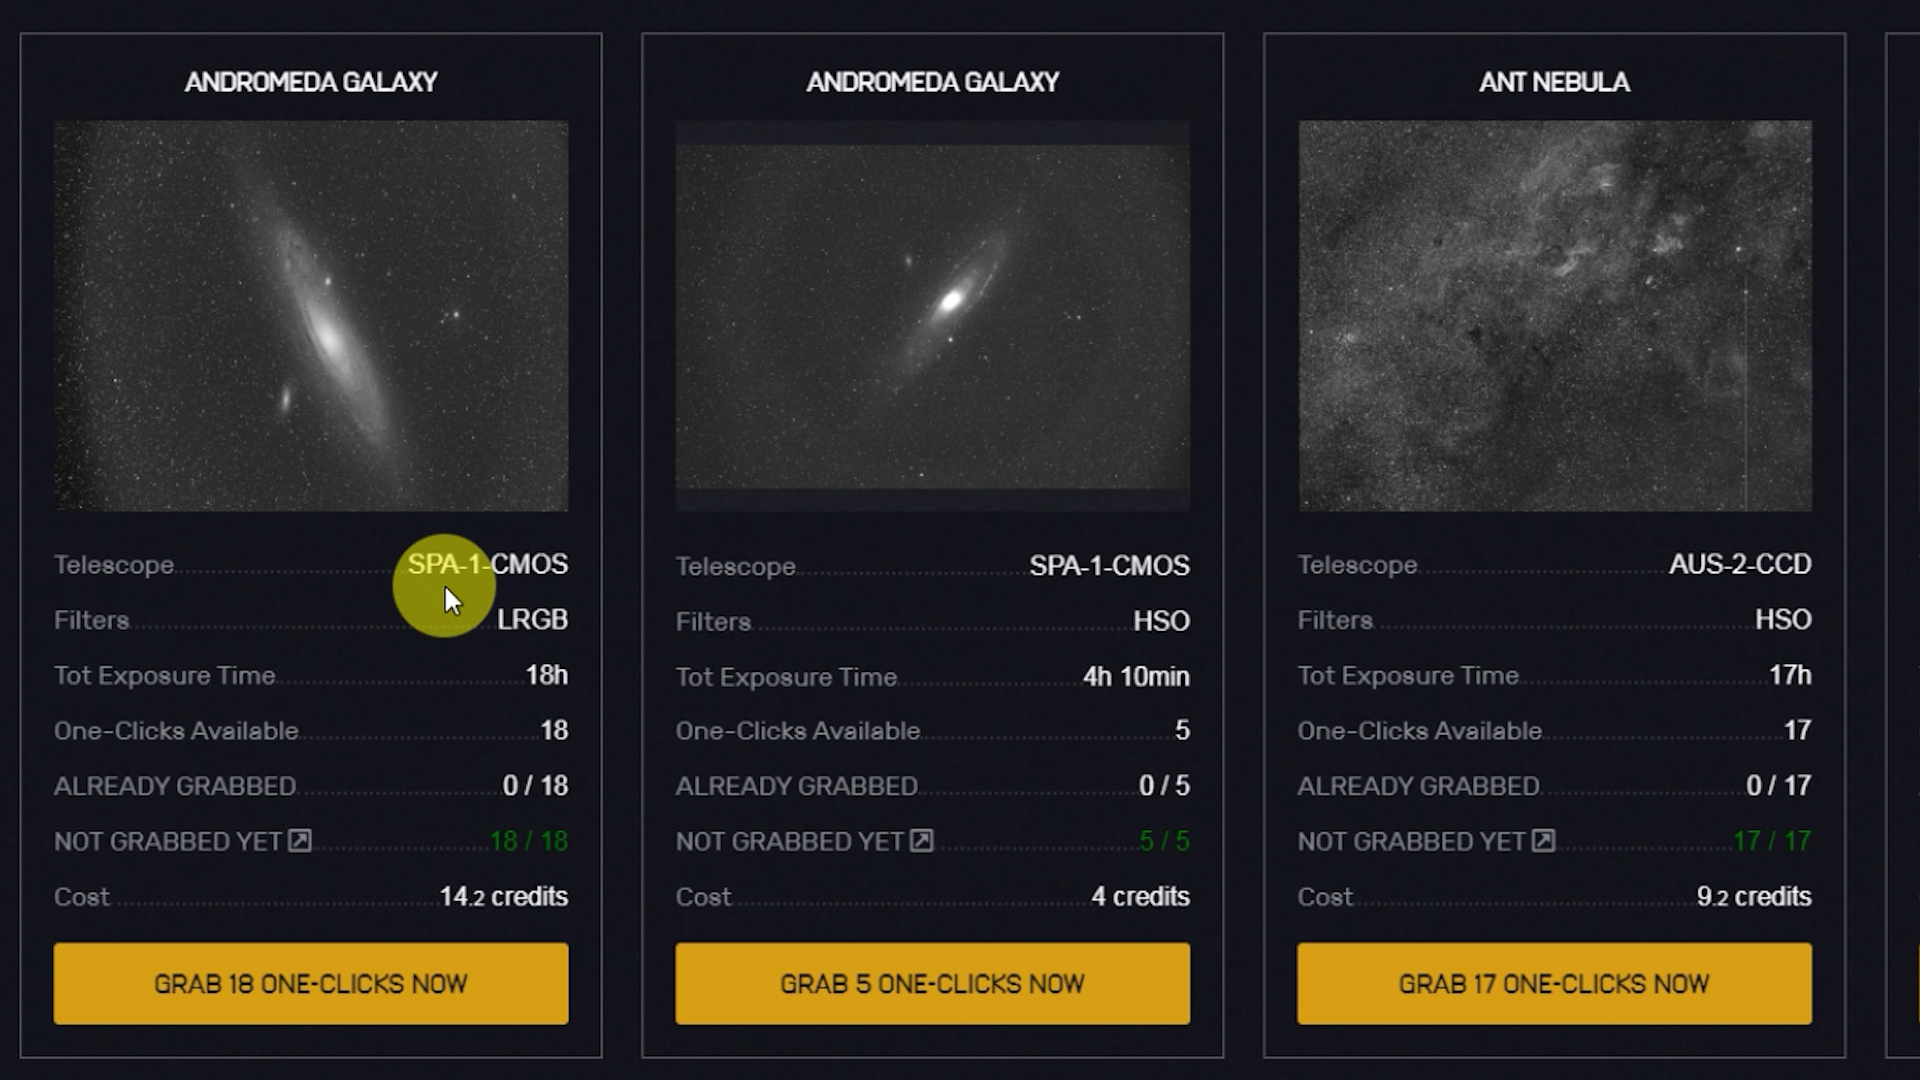
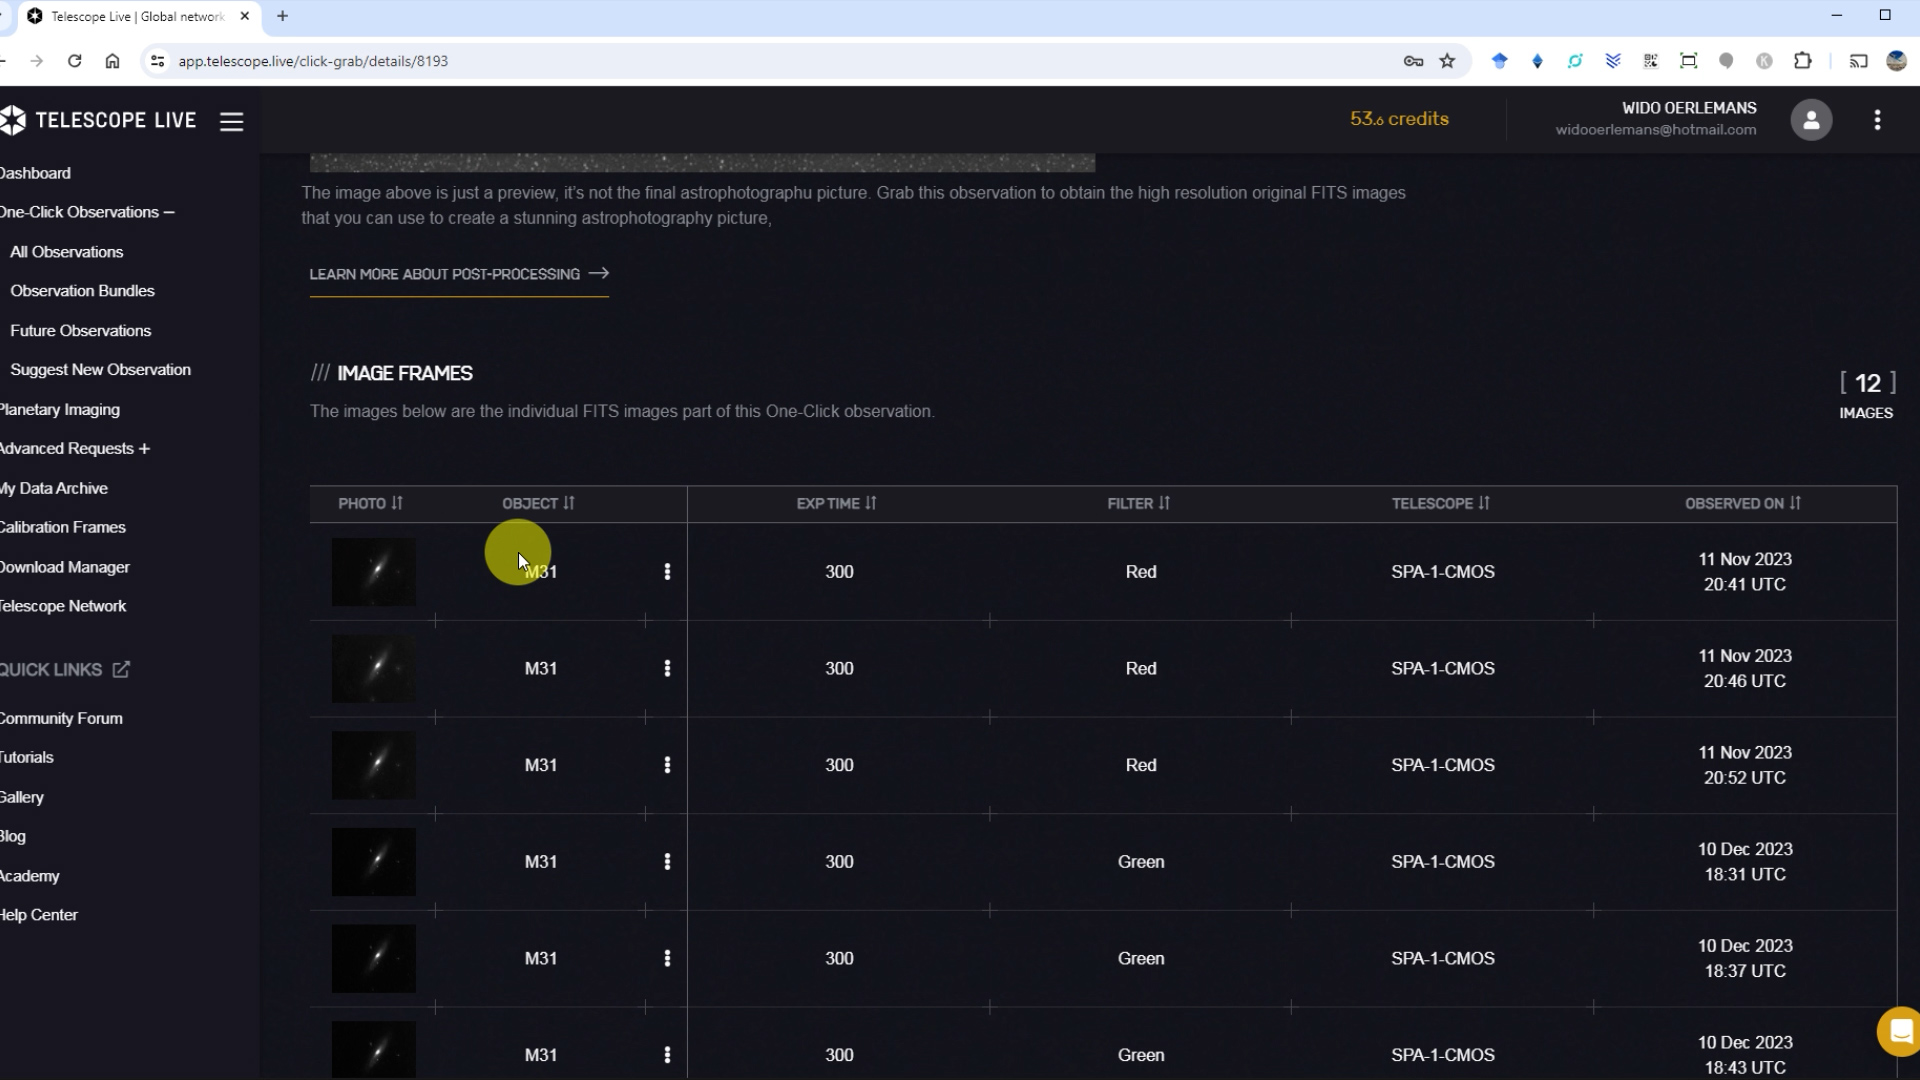
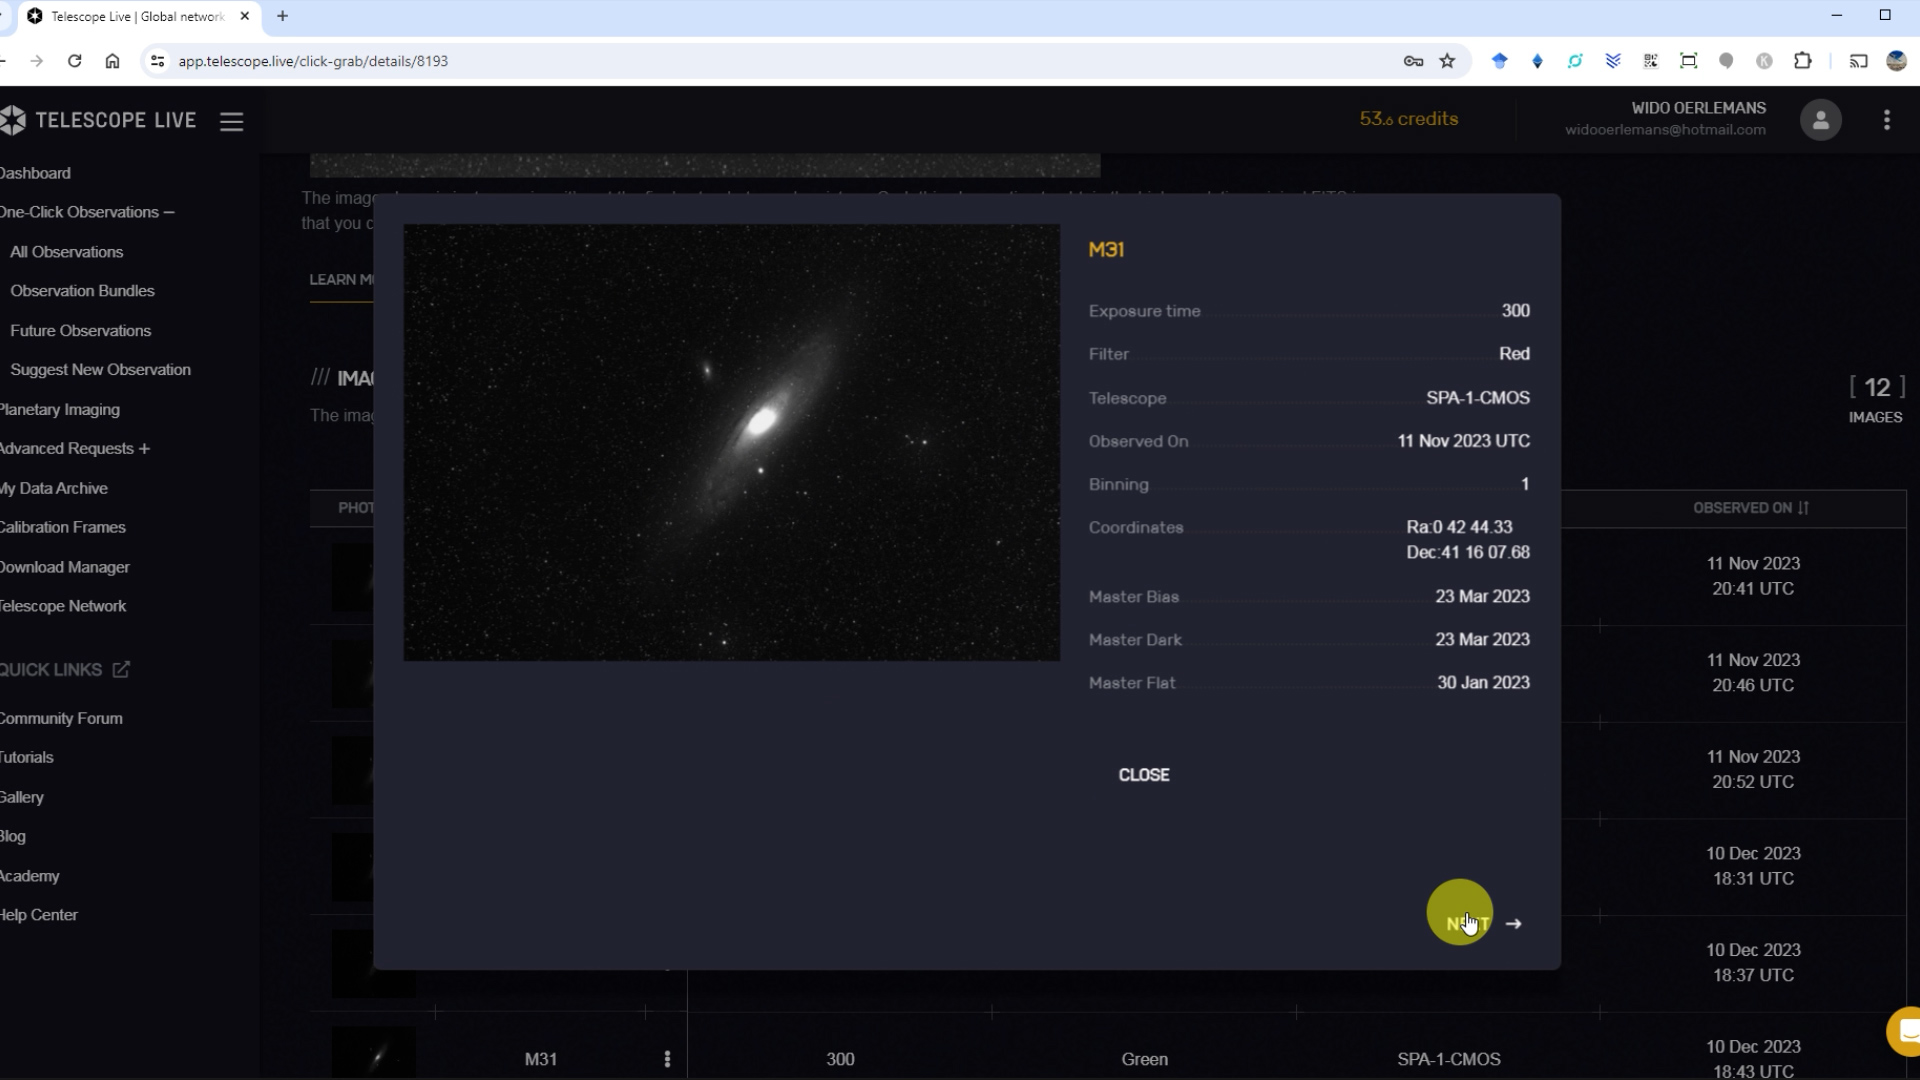
The procedure is pretty straightforward. First, sign in to your account by using your e-mail address and password. After that, click on “One-click observations” in the top left menu, which will reveal different options like all observations, observation bundles, and future observations. You can search the database by object name, coordinates, telescope used, filters used and object type. Clicking on “not grabbed yet”, will show details about the imaging sessions that are in a specific bundle, as well as preview images with exposure times and observation dates for each image. I recommend looking at these RAW preview images as they may reveal clouds or satellite streaks. Once you’re satisfied with a specific bundle, clicking on “grab one-clicks now” will put the bundle in your personal data archive, and the credits will be subtracted from your account. You can review and download your images in a personal data archive, and your personal download manager.
To really make the most of what Telescope Live has to offer, you gotta know your stuff when it comes to advanced astrophotography. This platform is mainly for folks who are already pretty good at capturing and editing astrophotos using mono cameras and different filters. But don’t worry if you’re not a pro yet—Telescope Live offers basic tutorials with the Bronze plan and premium tutorials in all the other plans to help out folks who might need a bit more help and support.
Advanced Requests – capturing the night sky
The other big service offered by telescope live is called “advanced requests.” This means you’re buying time to use one of the telescopes in the South of Spain, Chile, or Australia to take pictures of objects in space. Let me show you how this works.
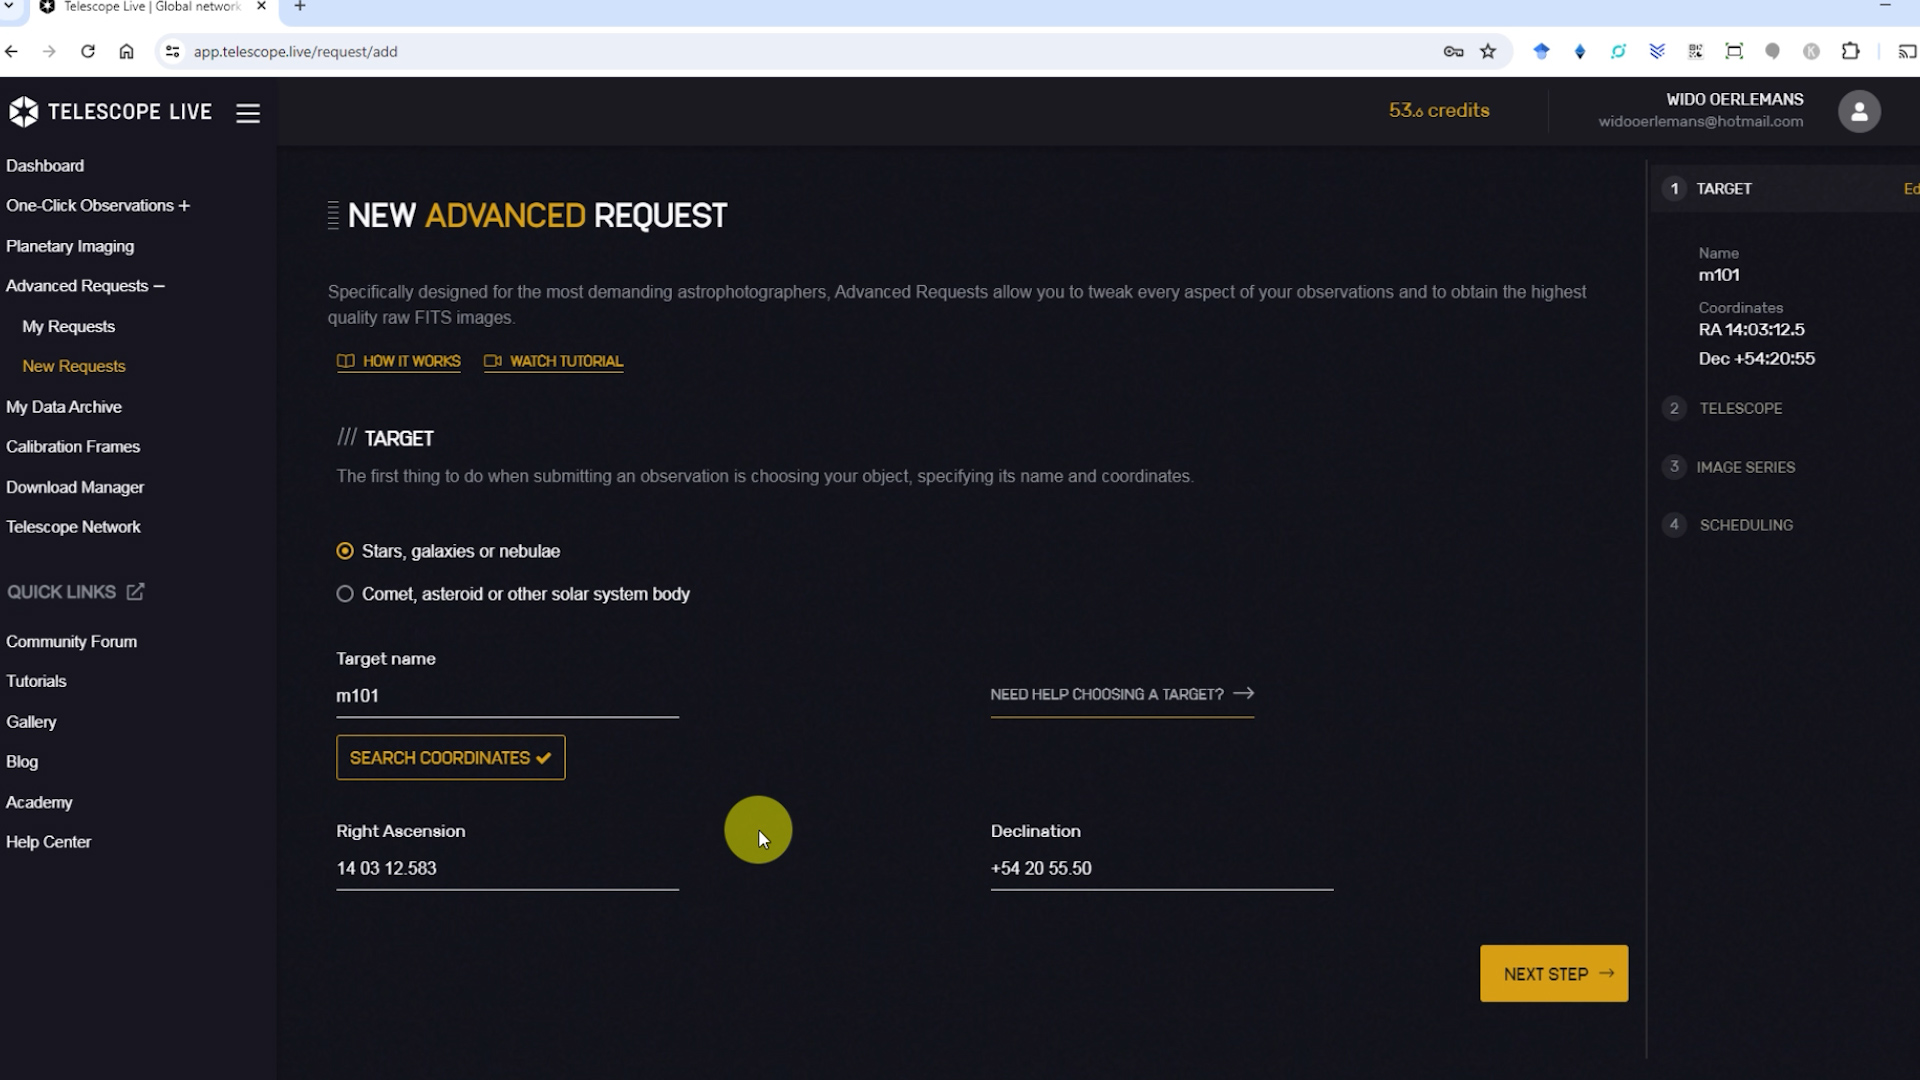
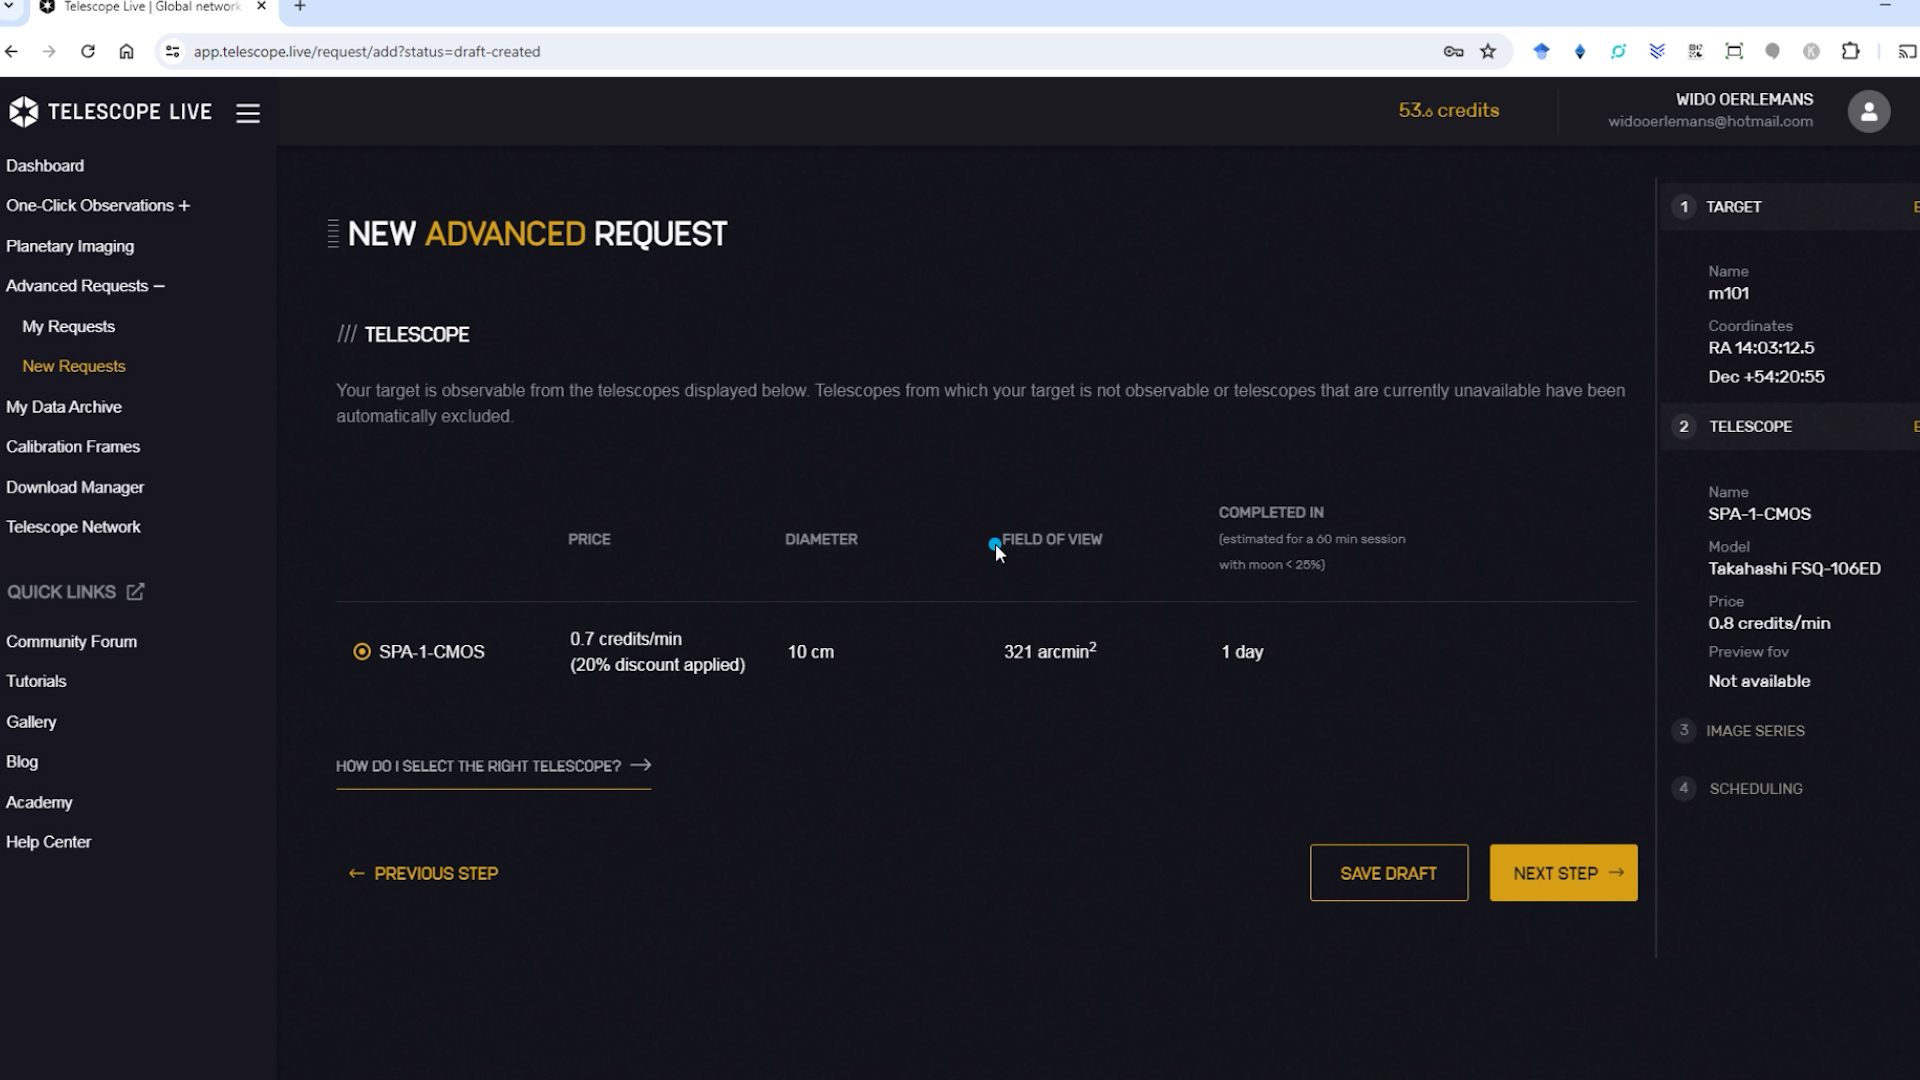
Clicking on “new request” allows you to select an object of your choosing to photograph. You can enter the object’s name and search for the coordinates or directly enter the RA and DEC coordinates yourself. After that, you can click on the next step, which will show you the telescopes and locations available to photograph that particular object in the night sky. Telescope Live will display the aperture of the telescope, the field of view you’ll get when using this telescope, and an estimation of the time of completion when using that particular setup.
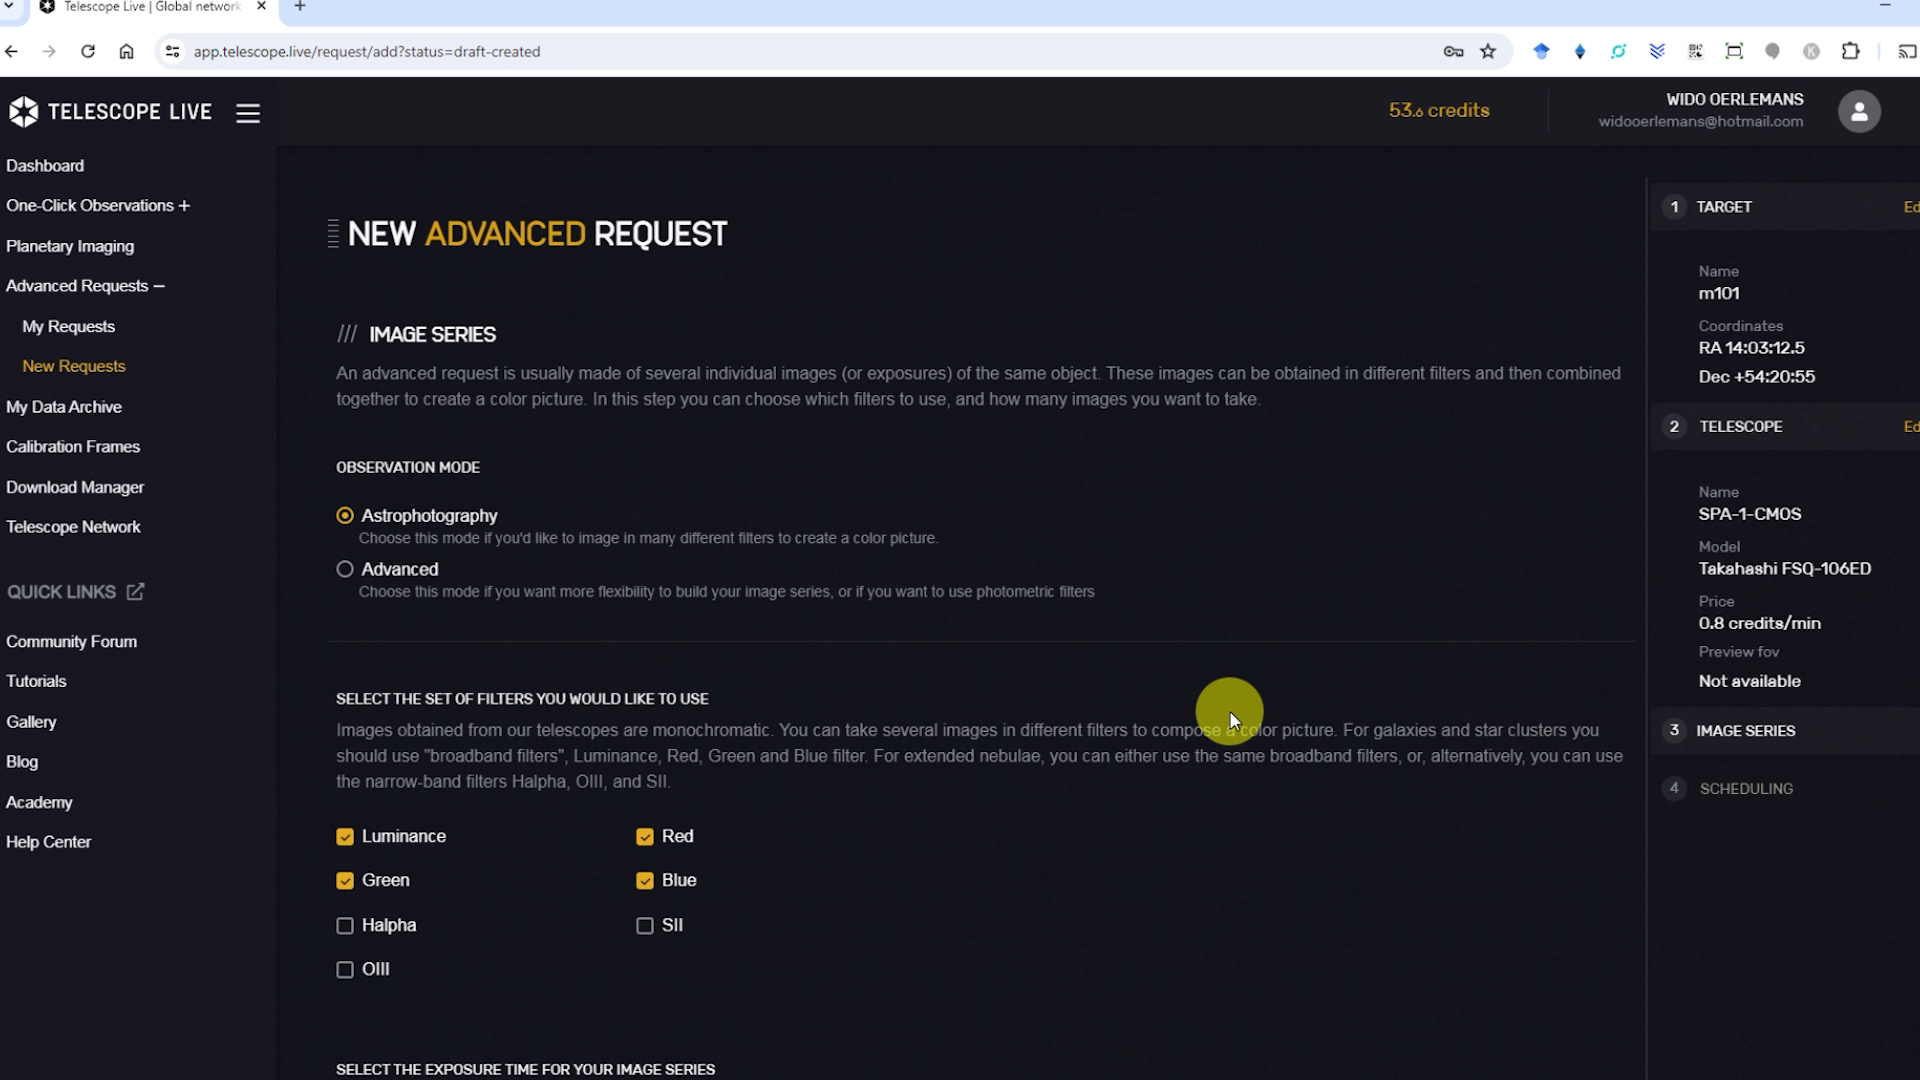
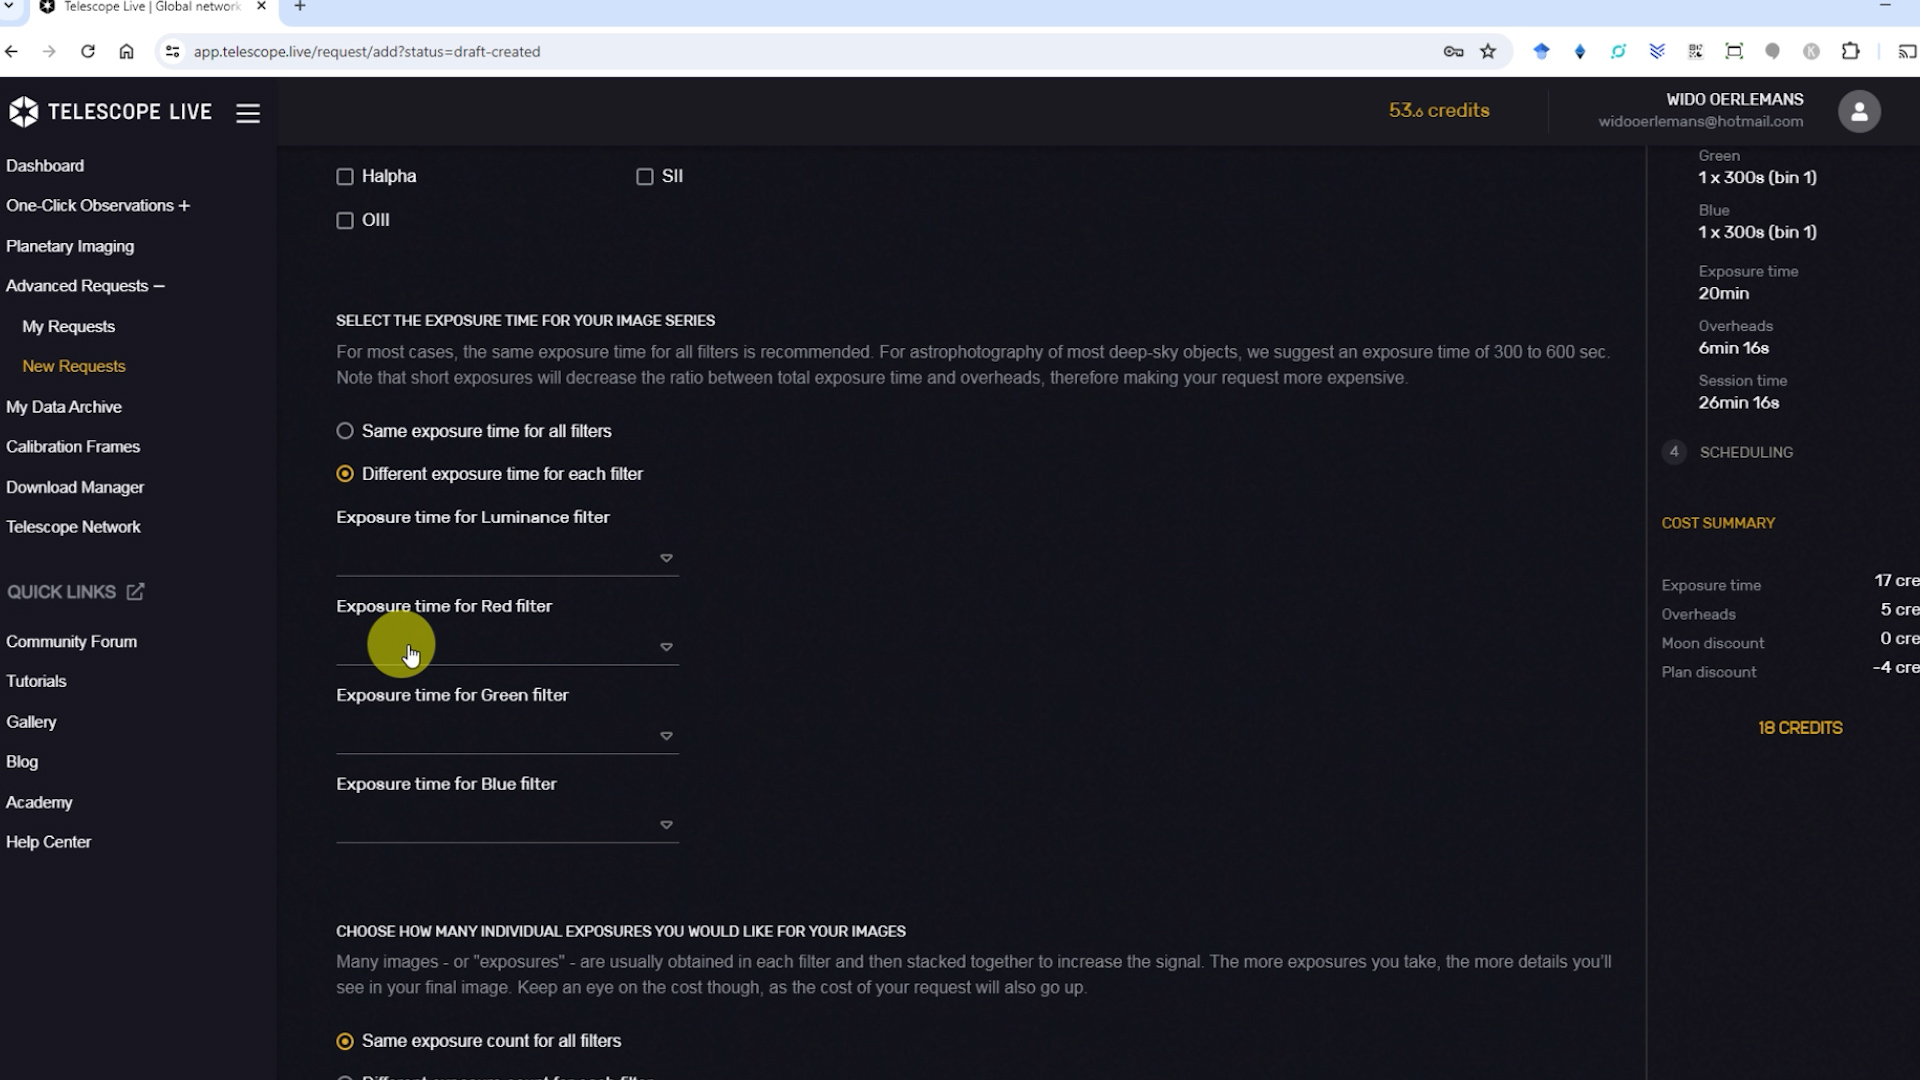
The next step will provide you with the opportunity to create a specific imaging plan, including the filters you want to use, the number of images you want to take, and the exposure time you want to use. You can choose to use the same number of photos and exposure time for all filters or request different exposure times and numbers of photos for each individual filter.
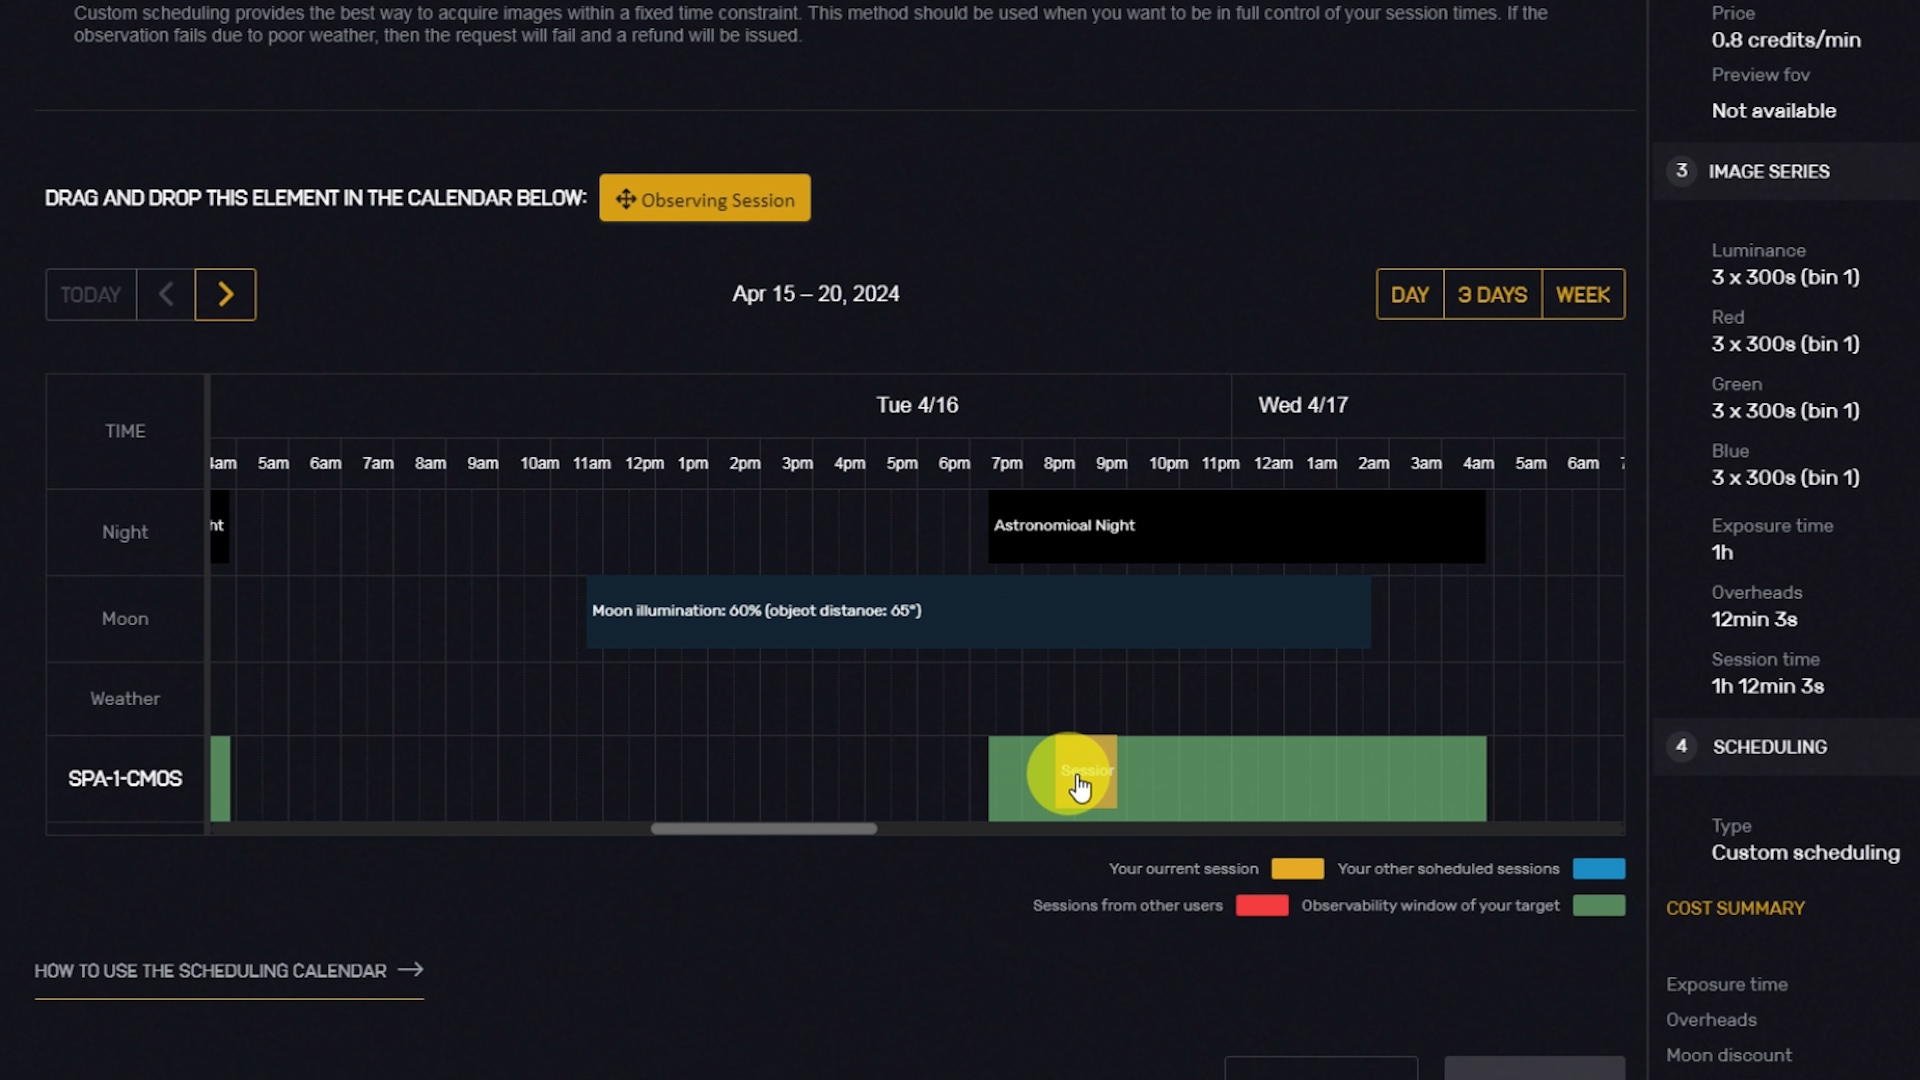
Once you’ve set up your imaging plan, you have the option to choose automatic scheduling or custom scheduling. With automatic scheduling, Telescope Live will execute the plan whenever the telescope is available, considering moon avoidance parameters which I’ll discuss shortly. Alternatively, you can select custom scheduling, which allows you to choose a specific date to execute your plan, provided that the skies are clear, and the telescope is available.
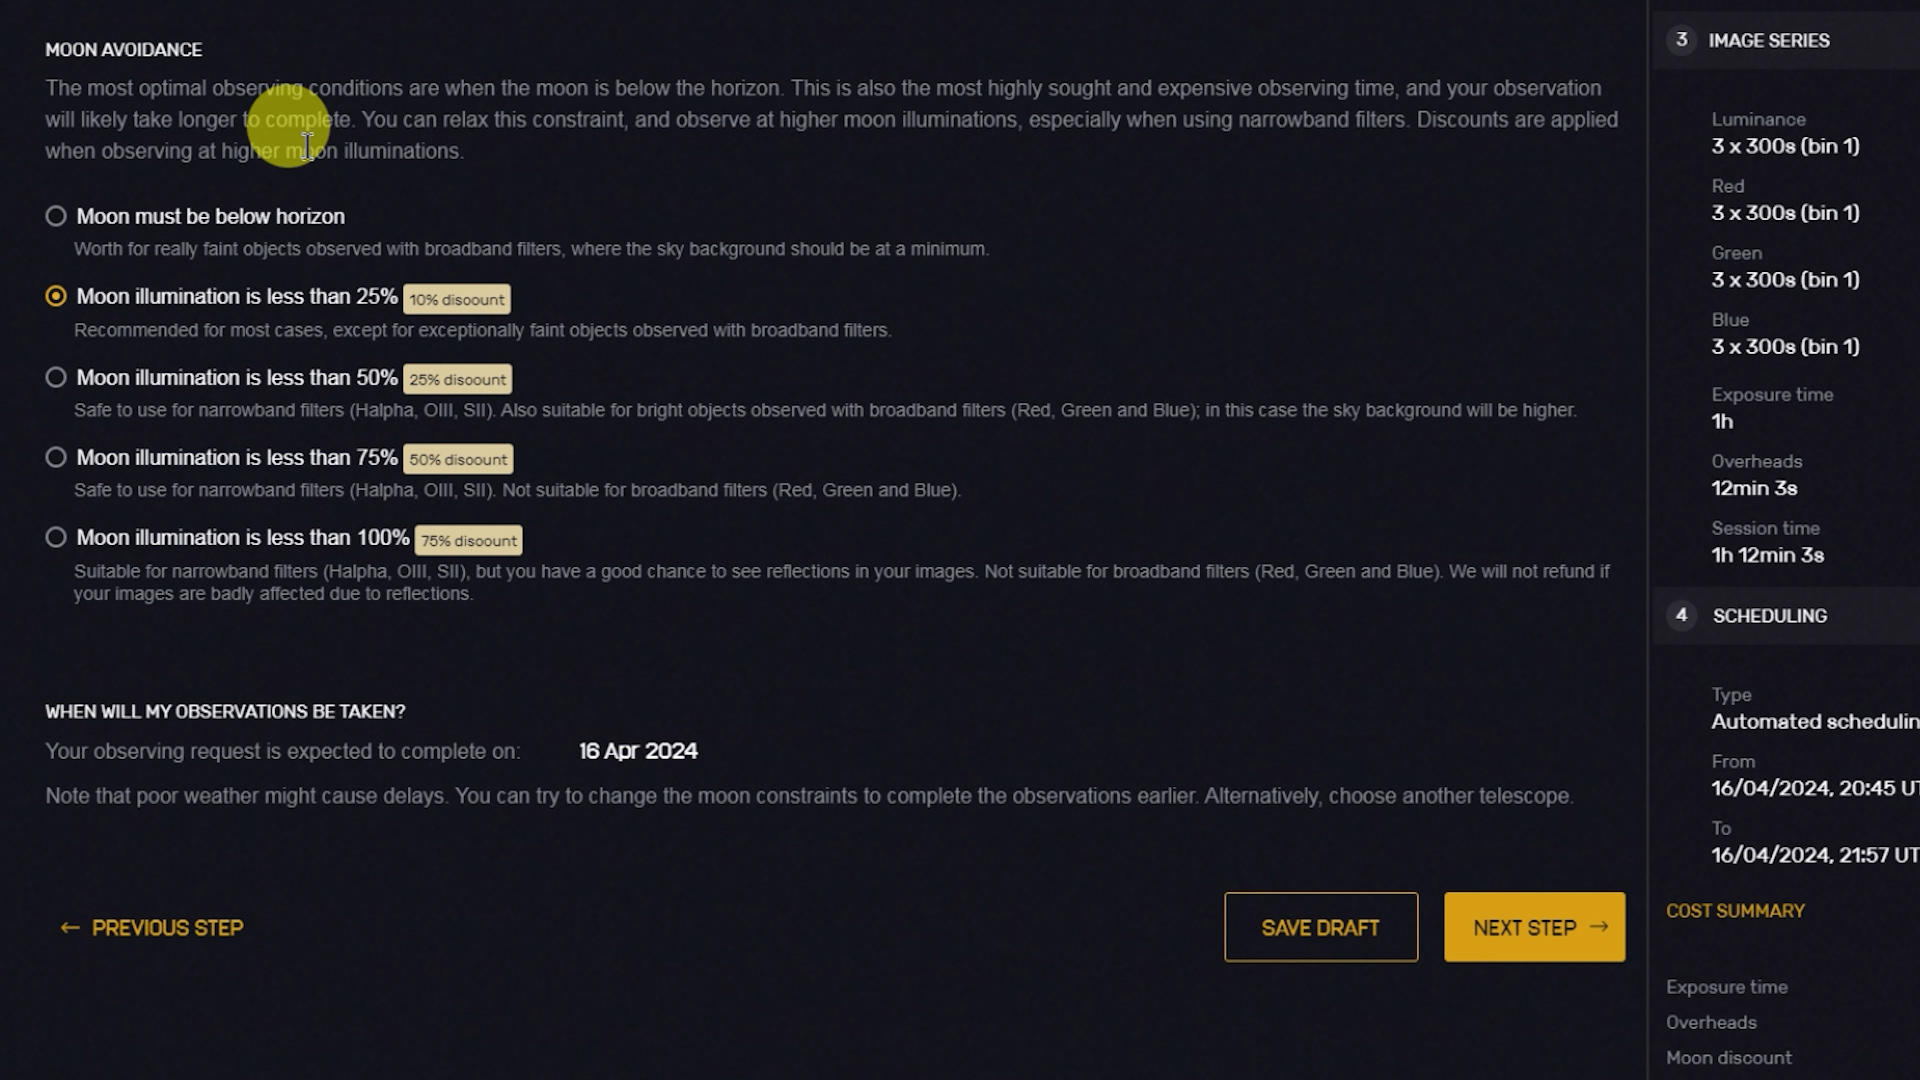
With automatic scheduling, you do have the option to select different moon avoidance modes. Discounts are offered when scheduling imaging sessions during increasing Moon illumination. For instance, you’ll receive a 10% discount for up to a 25% illuminated Moon, a 25% discount for a 50% illuminated Moon, a 50% discount for a 75% illuminated Moon, and a 75% discount for a fully illuminated Moon. For broadband objects like galaxies, reflection nebulae and star clusters, it’s best to avoid moon illumination, whereas decent images can still be acquired under increased moon illumination when using narrowband filters to capture objects like emission nebulae.
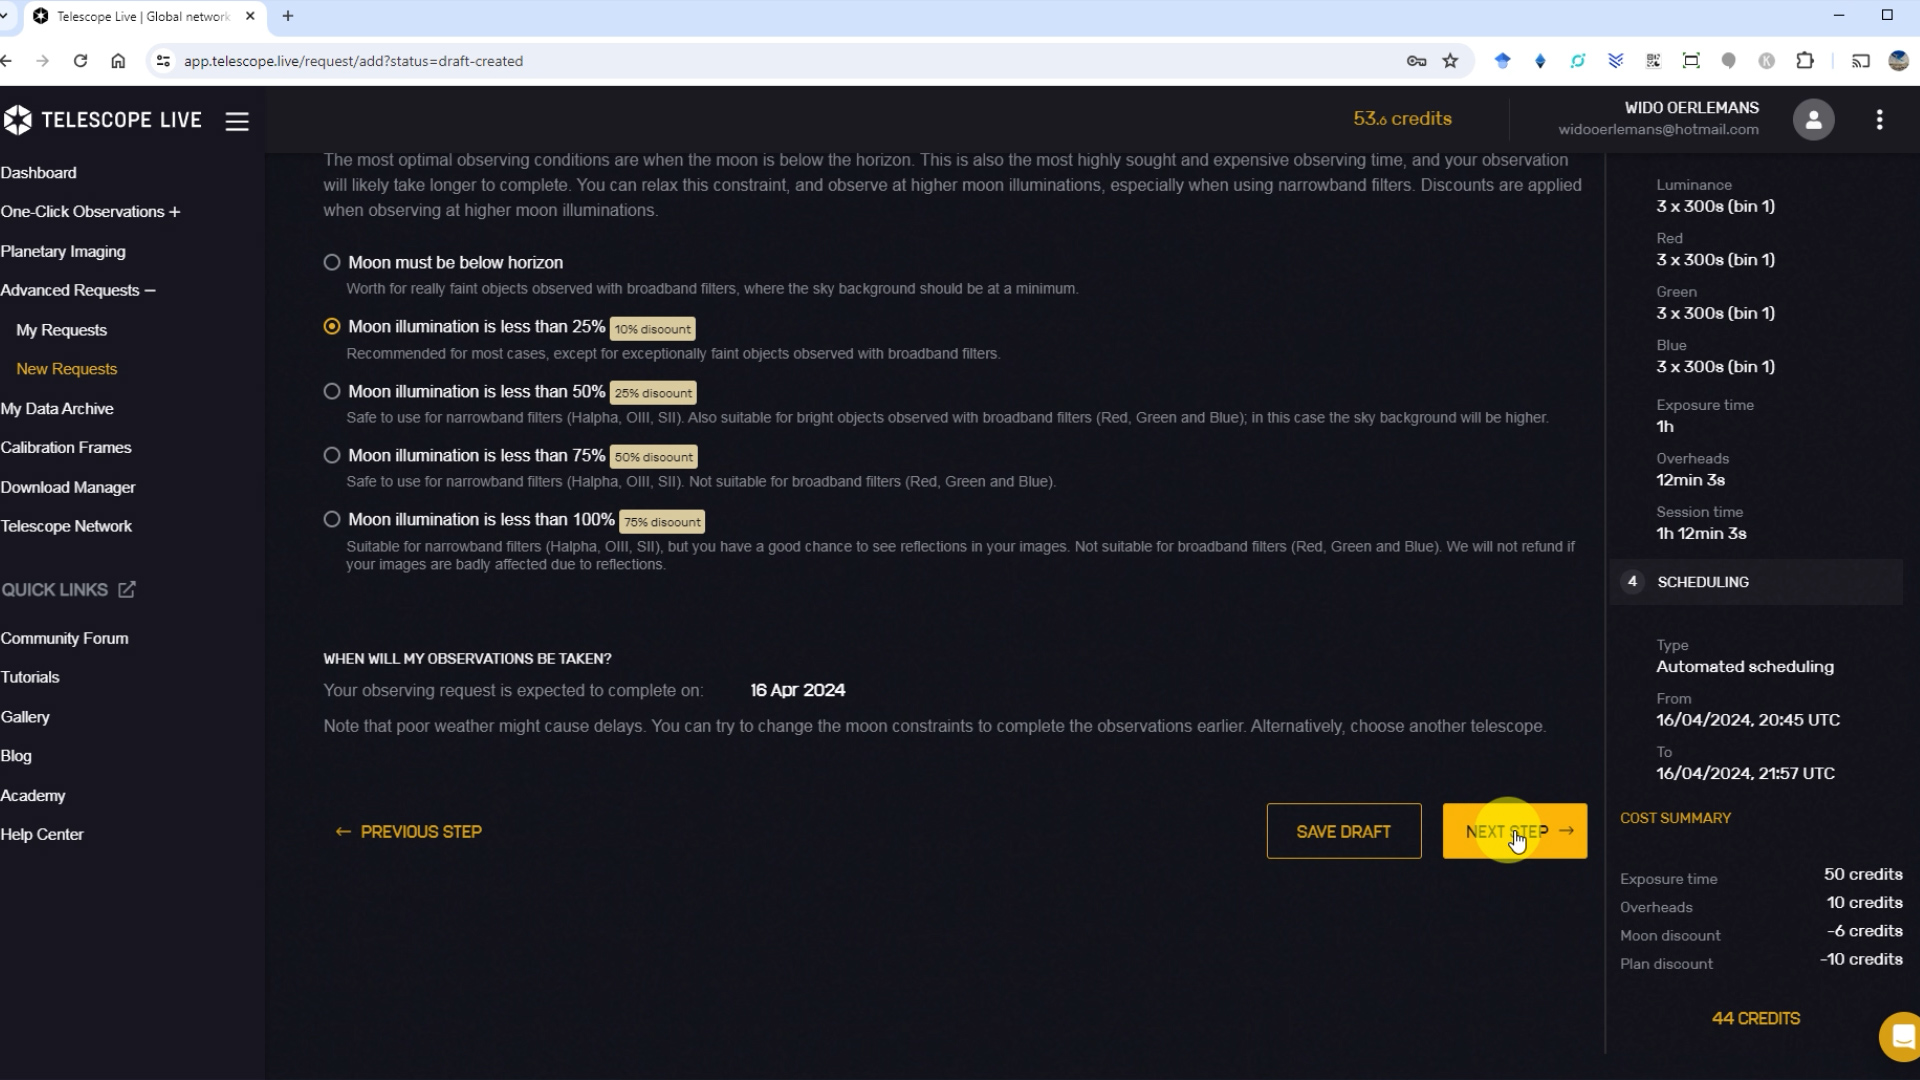
After selecting a moon avoidance mode, you’ll see an indication of the estimated observation date and an overall summary of the session time, the overhead time to set up the telescope, and the total number of credits you need to pay to execute the plan. Note that subscribers with a more expensive plan pay lower credit fees. When you agree to the plan, you can click next, and you’ll be asked to confirm the plan, after which it will be scheduled.
Of course, the exact observation date will depend on factors such as clear skies and the availability of the telescope. For example, if it is cloudy during a couple of nights and you have a moon illumination request below 25%, you may need to wait until next month until Telescope Live is able to capture the images you’ve requested. After Telescope Live successfully captured your images, you’ll receive an email notifying you that your images are ready for download. You can then access your download manager to retrieve the images.
Other services
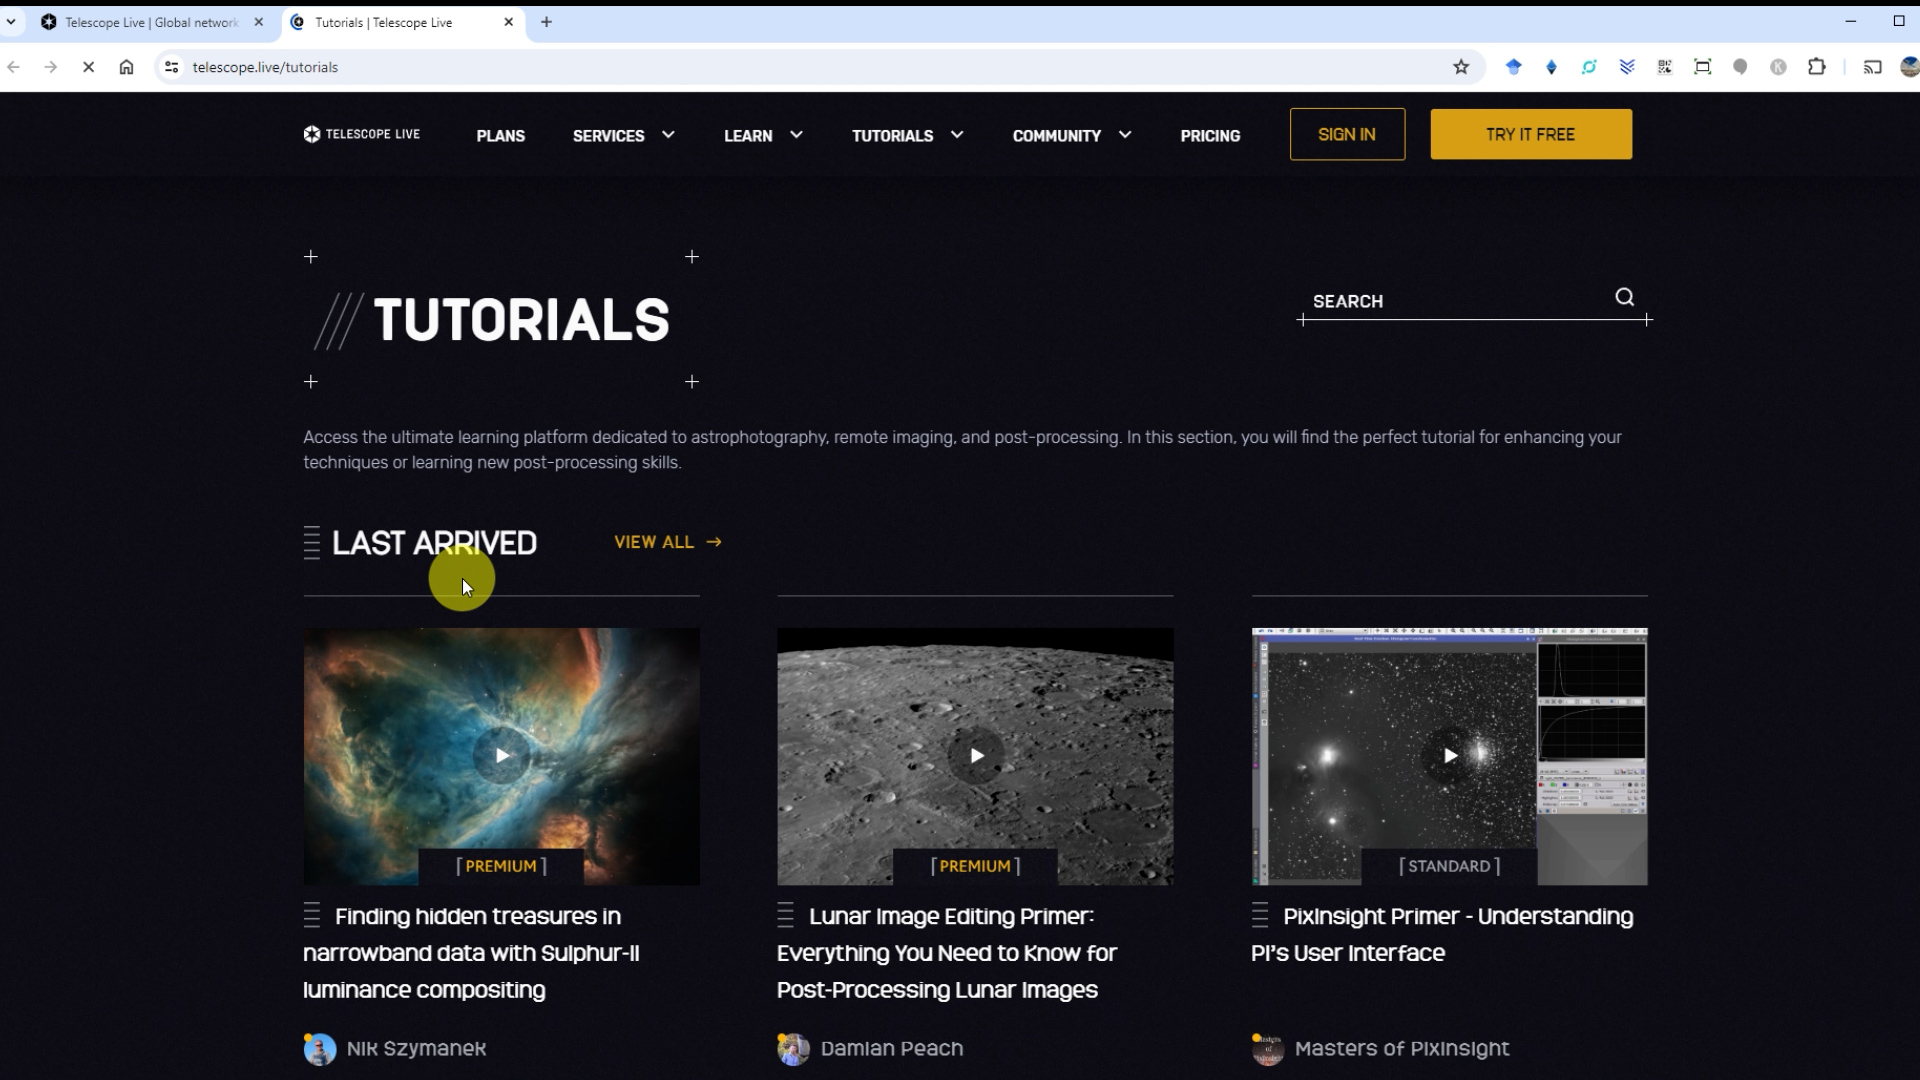
On top of the main services like one-click observations and advanced requests for taking pictures of the night sky, Telescope Live also has a community platform where users can interact. They’ve got a tutorial section that’s all about giving tips on astrophotography, and an academy where they dive deep into explaining what objects you can observe in the night sky.
In conclusion
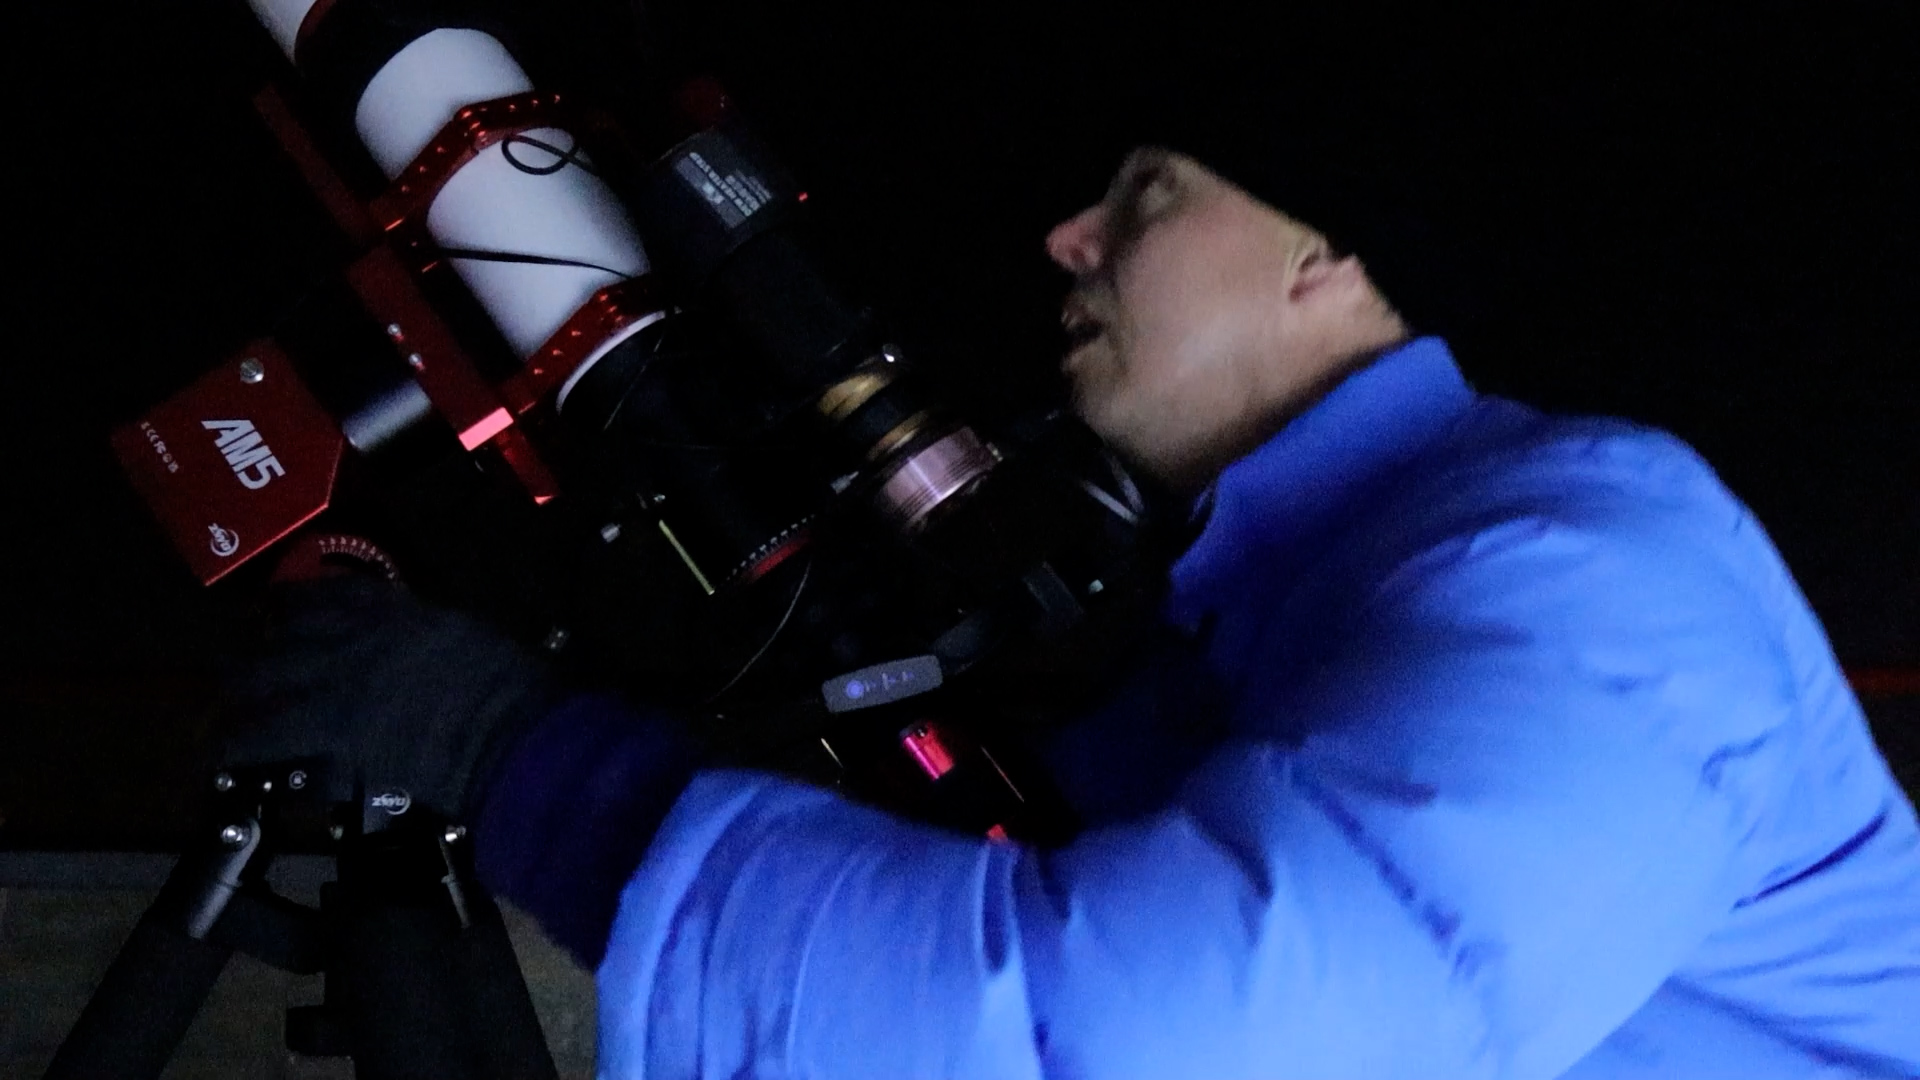
So, what do I think about Telescope Live? Honestly, a few years back, I wouldn’t have even thought about signing up for it. I was all about using my own gear and learning how to do astrophotography from my backyard. But after eight years of doing astrophotography from my balcony in the city and dealing with some pretty bad weather, I’ve started to see the value in what Telescope Live offers.
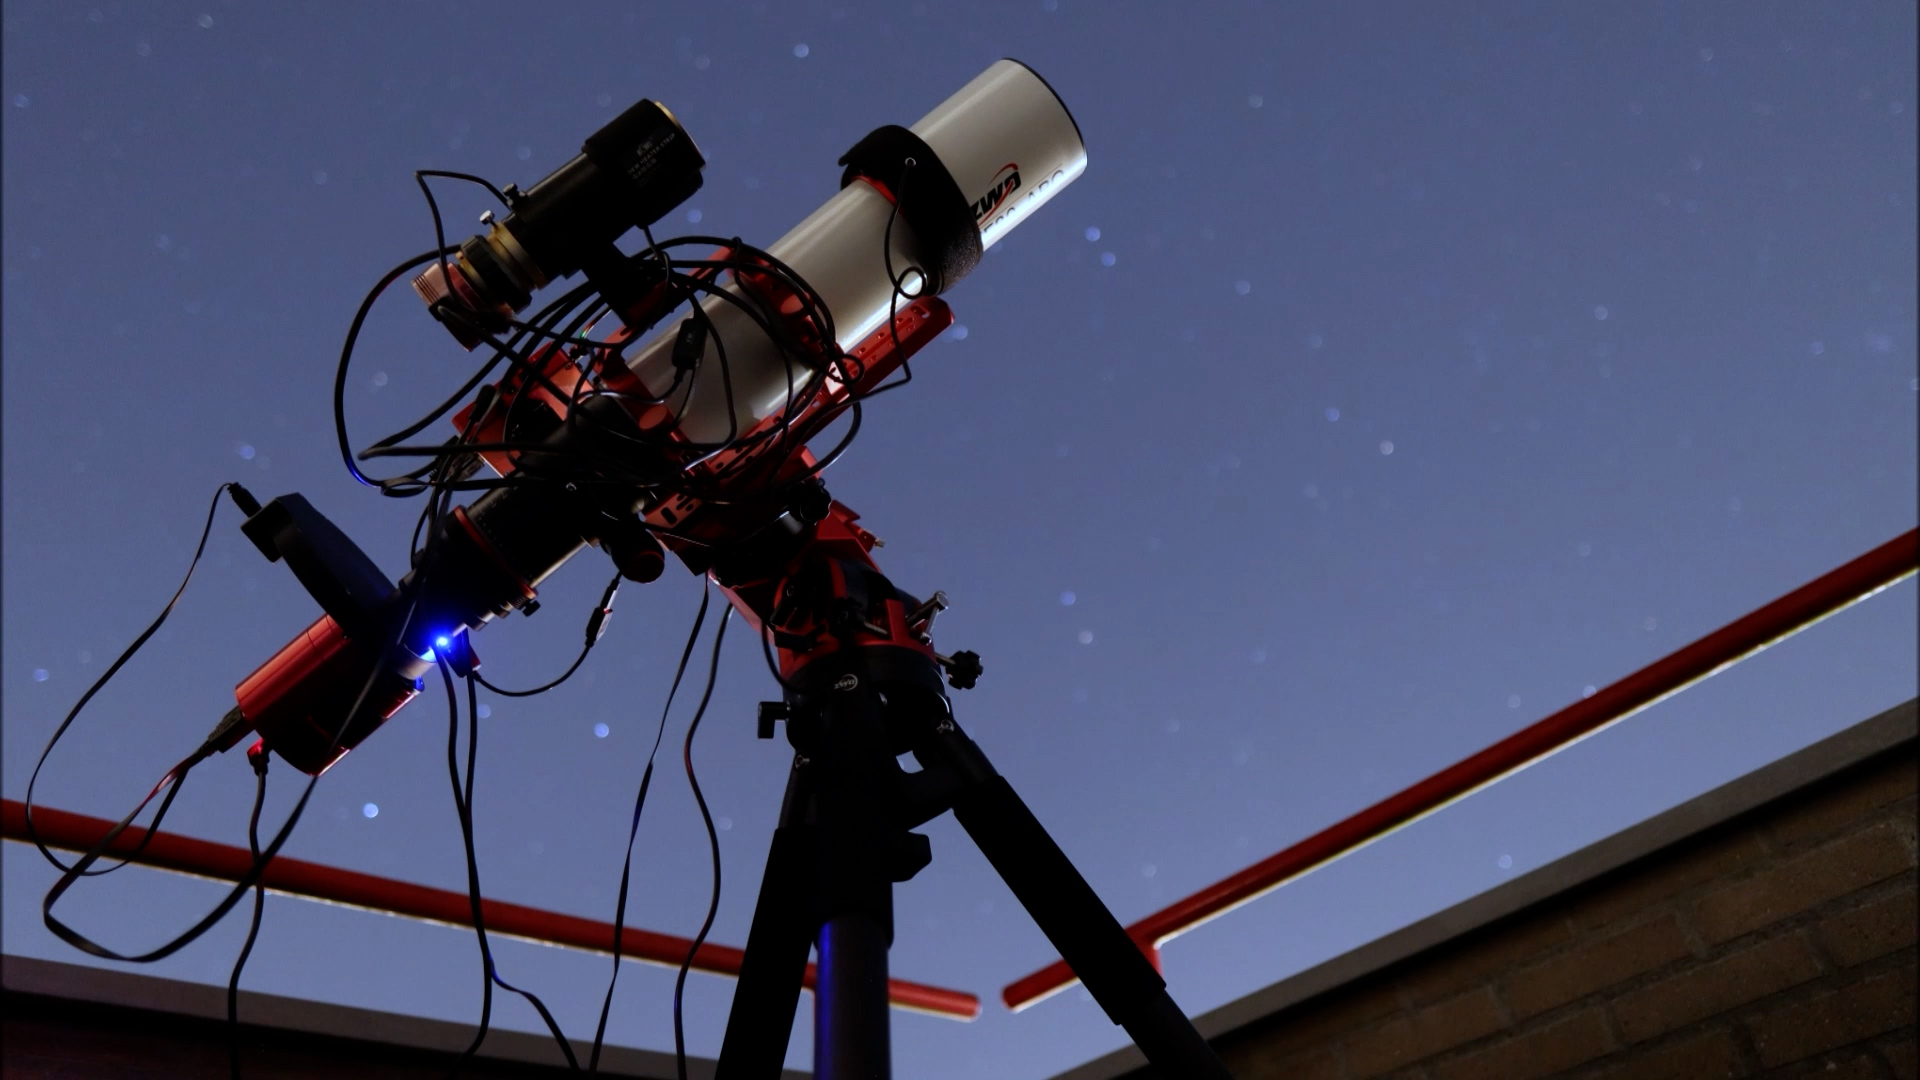
Don’t get me wrong, there’s nothing like the excitement of setting up your own telescope and capturing pictures right from your backyard. But sometimes, the weather just doesn’t cooperate, and those cloudy months can drag on. That’s where Telescope Live comes in. It gives me access to pictures taken from super dark skies with telescopes that I could never afford on my own.
So, I’ve figured out that Telescope Live is a great addition to my backyard astrophotography. And hey, if you’re thinking about giving it a shot, here’s that promo code again for a 20% discount off your subscription: 2DD8Q.
Hope you get clear skies!
Wido.